


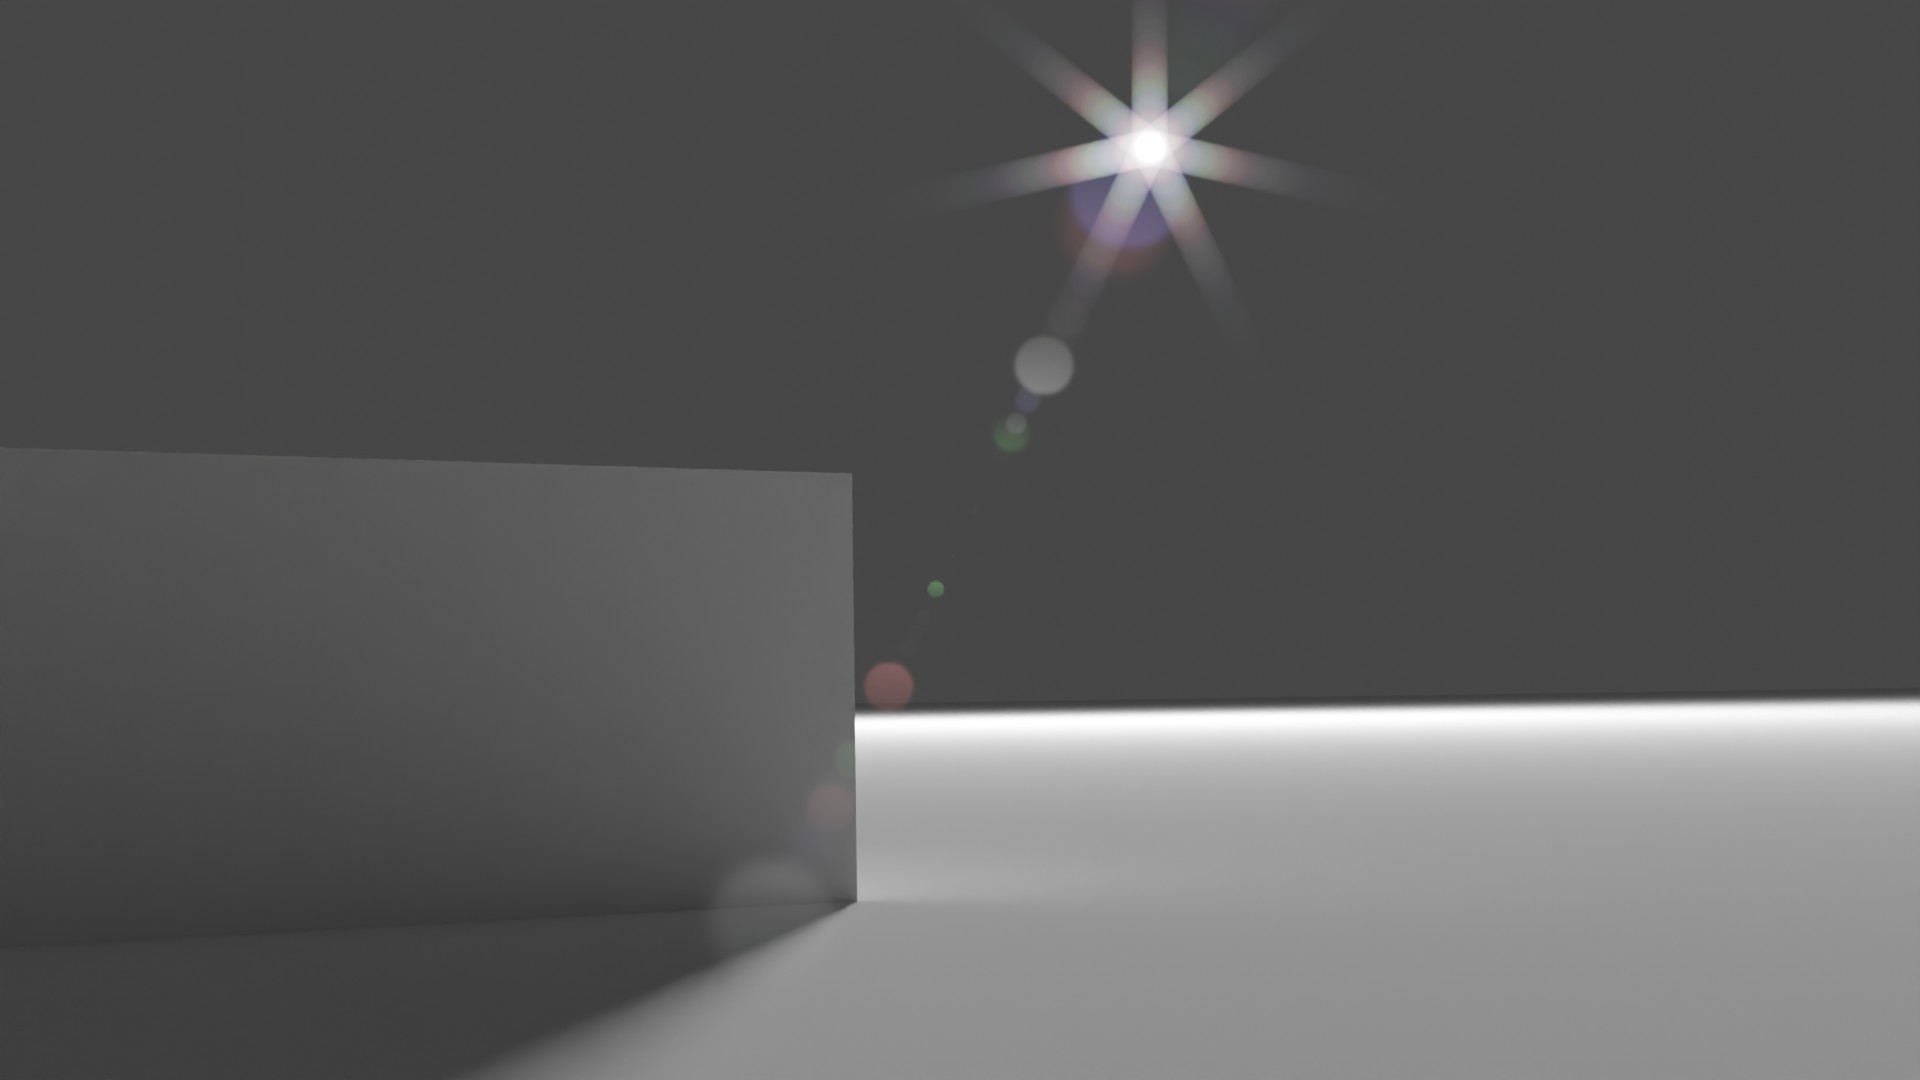
Lens flares can be a great way to spice up a render and give it a more realistic look. While we could add these effects in a separate program Blender comes with a built-in compositor that we can use to add these effects. So how do we do it?
To create a lens flare in Blender:
In the rest of the article we'll go into depth about this basic lens flare setup. We'll also go over how to combine different flares. Finally we'll go over some tricks we can use to adjust the look of the flares.
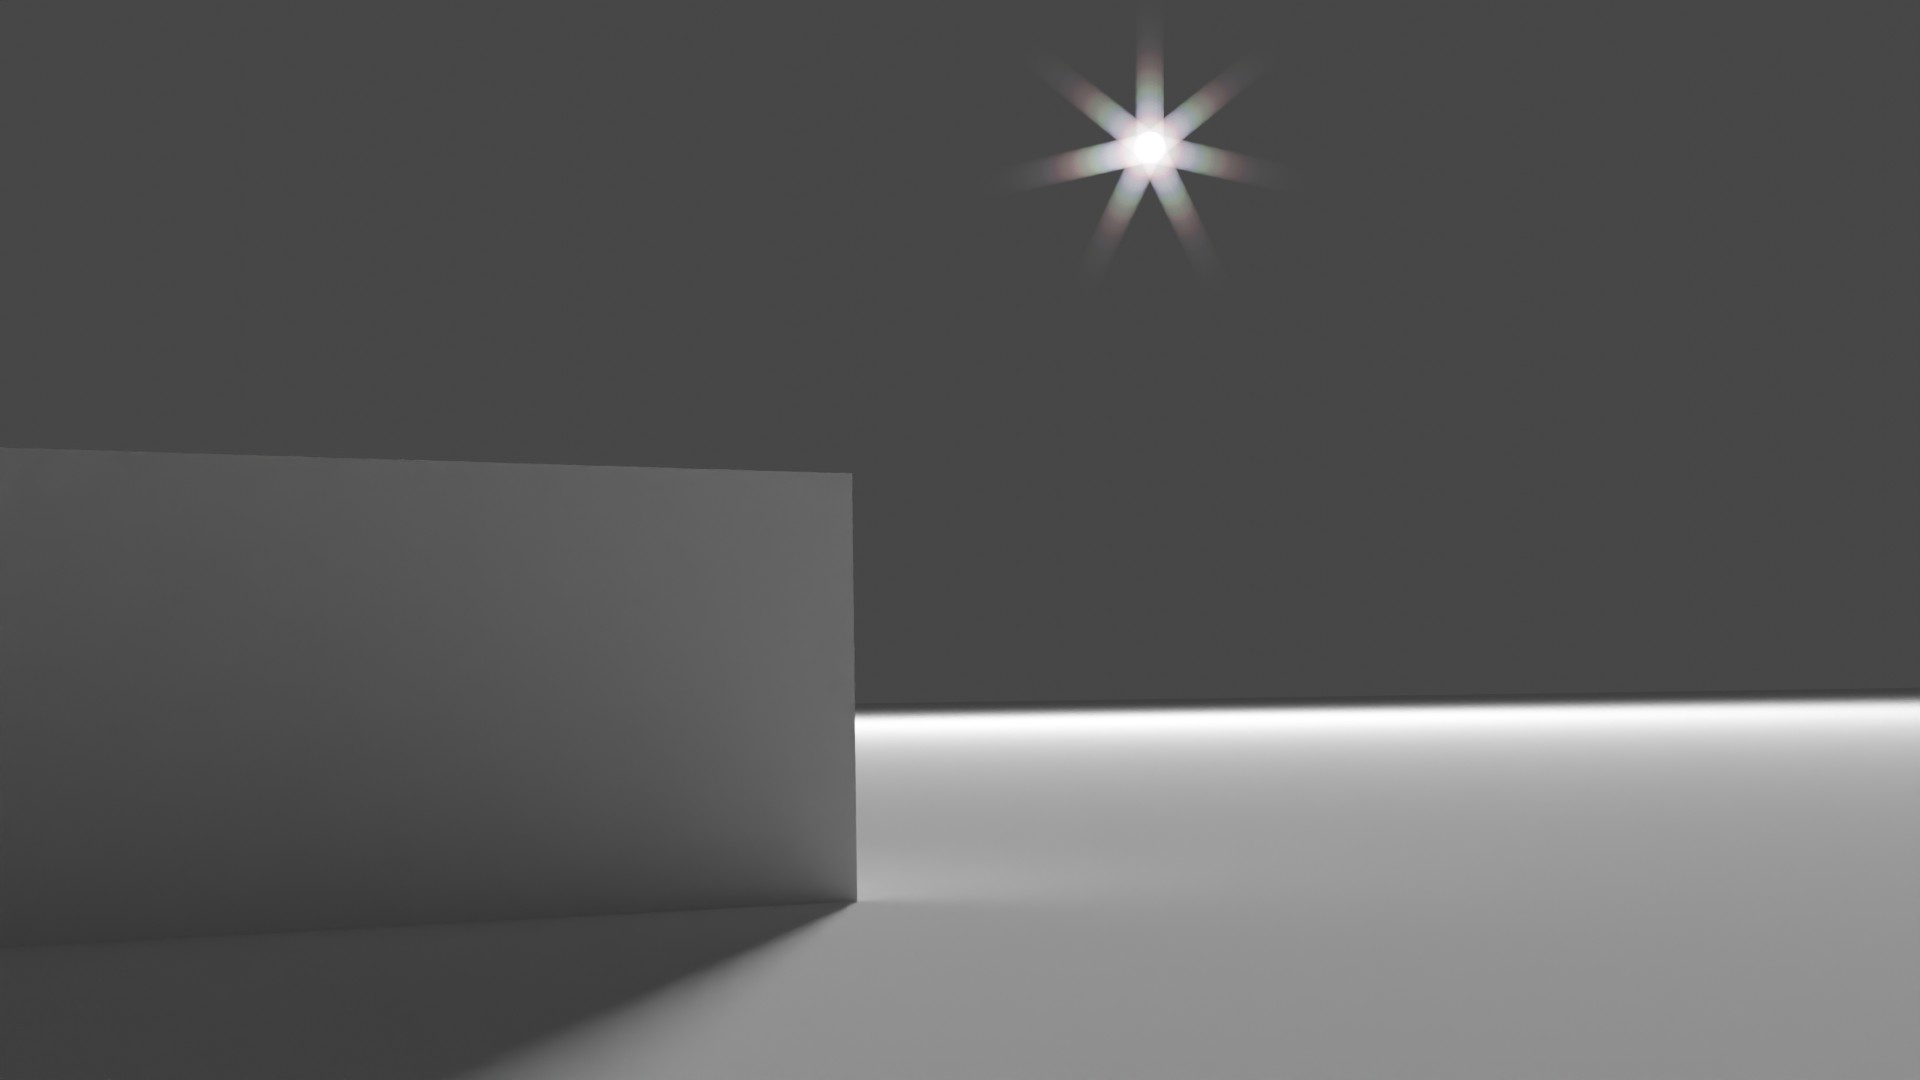
To create a basic lens flare in Blender:
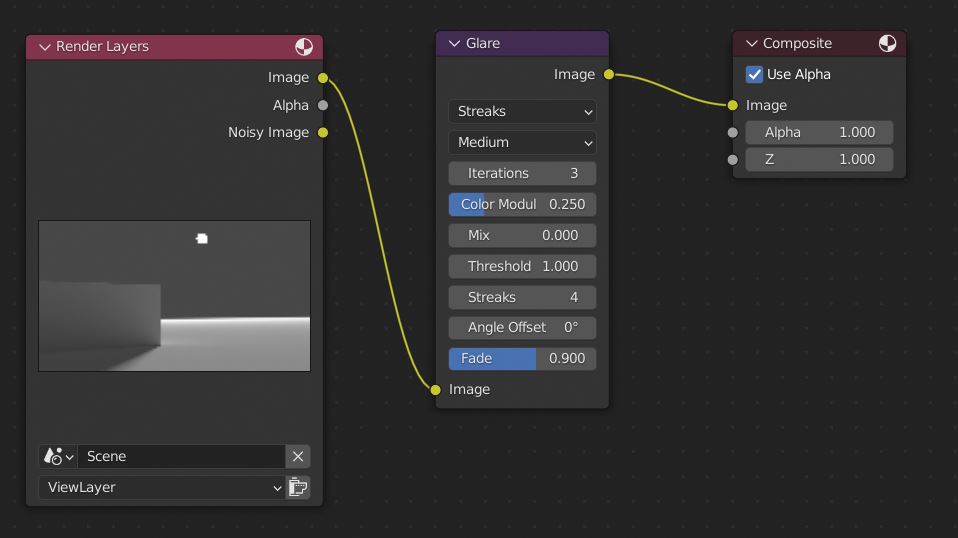
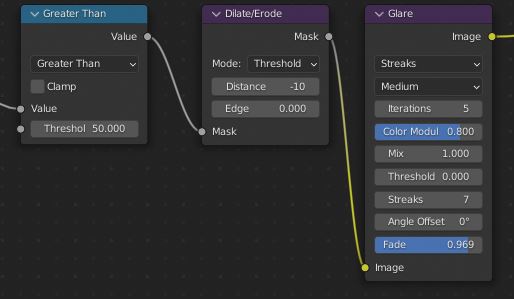
One issue you may encounter is that you cannot isolate the light with the threshold value. We'll need to make sure that the light is the brightest object in the scene. Make sure the light source has a bright object behind it so that we can isolate it.
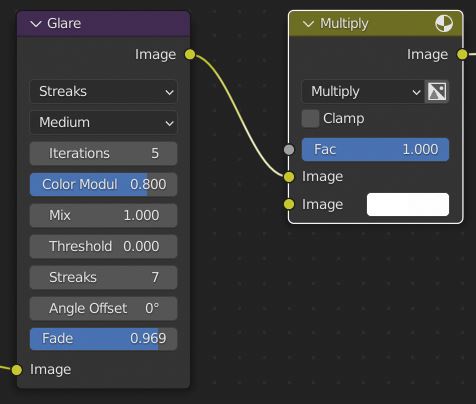
In this example we've just directly passed our render through the glare node. This setup works but we could also create a mix node instead and then additively blend the flare in with the original image. For this to work properly we'd also need to set the Glare node mix value to 1.
Mixing the flare in separately would allow us a bit more control over the intensity of the flare but for this example we are keeping it as basic as possible.
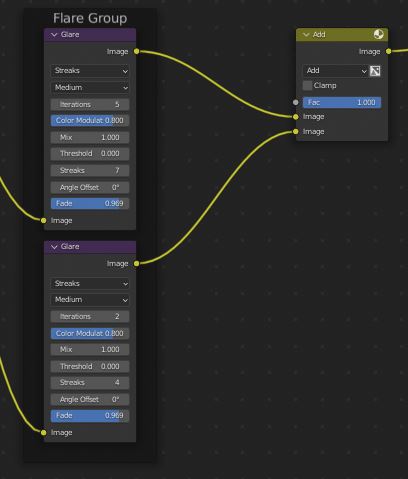
To combine different Lens flares:
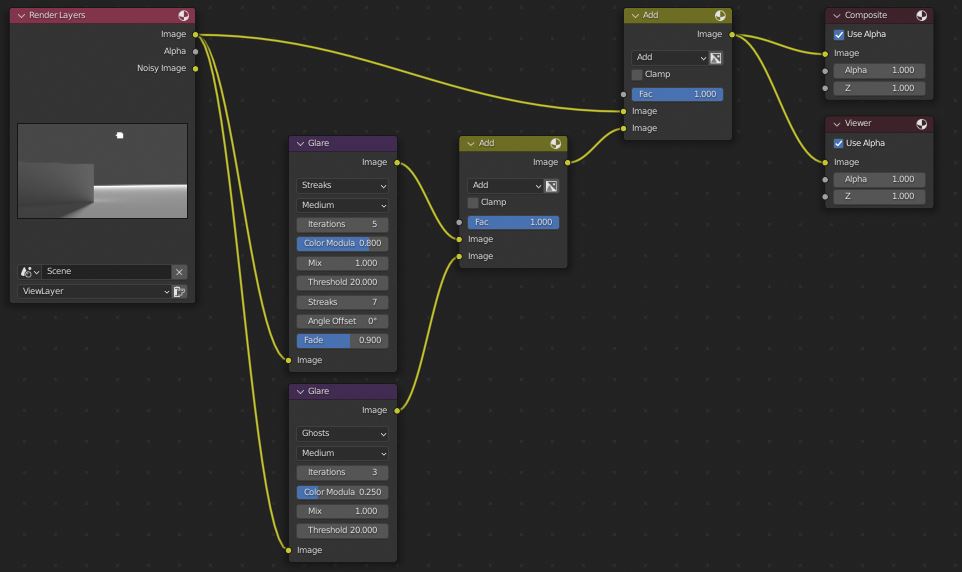
The written explanation for this can be a bit complicated but hopefully this image conveys the idea of the node setup better.
To help stay organized we can use frames to help organize our nodes. Depending on the complexity of the graph this may not be needed but if we plan on adding a lot of nodes this can be useful. First select the nodes you want to group together then press Ctrl + J.
As you can see this will create a frame around our nodes. We can give the frame a label by opening the properties tab with the N key, this should open a small menu on the right side of the compositing window. In the Node Tab just type the label you want into the Label field.
There are a few things we may want to adjust but don't have the options for. The examples provided below are intensity and scale. We can adjust both of these with just a few nodes and we'll go over that in these two sections.
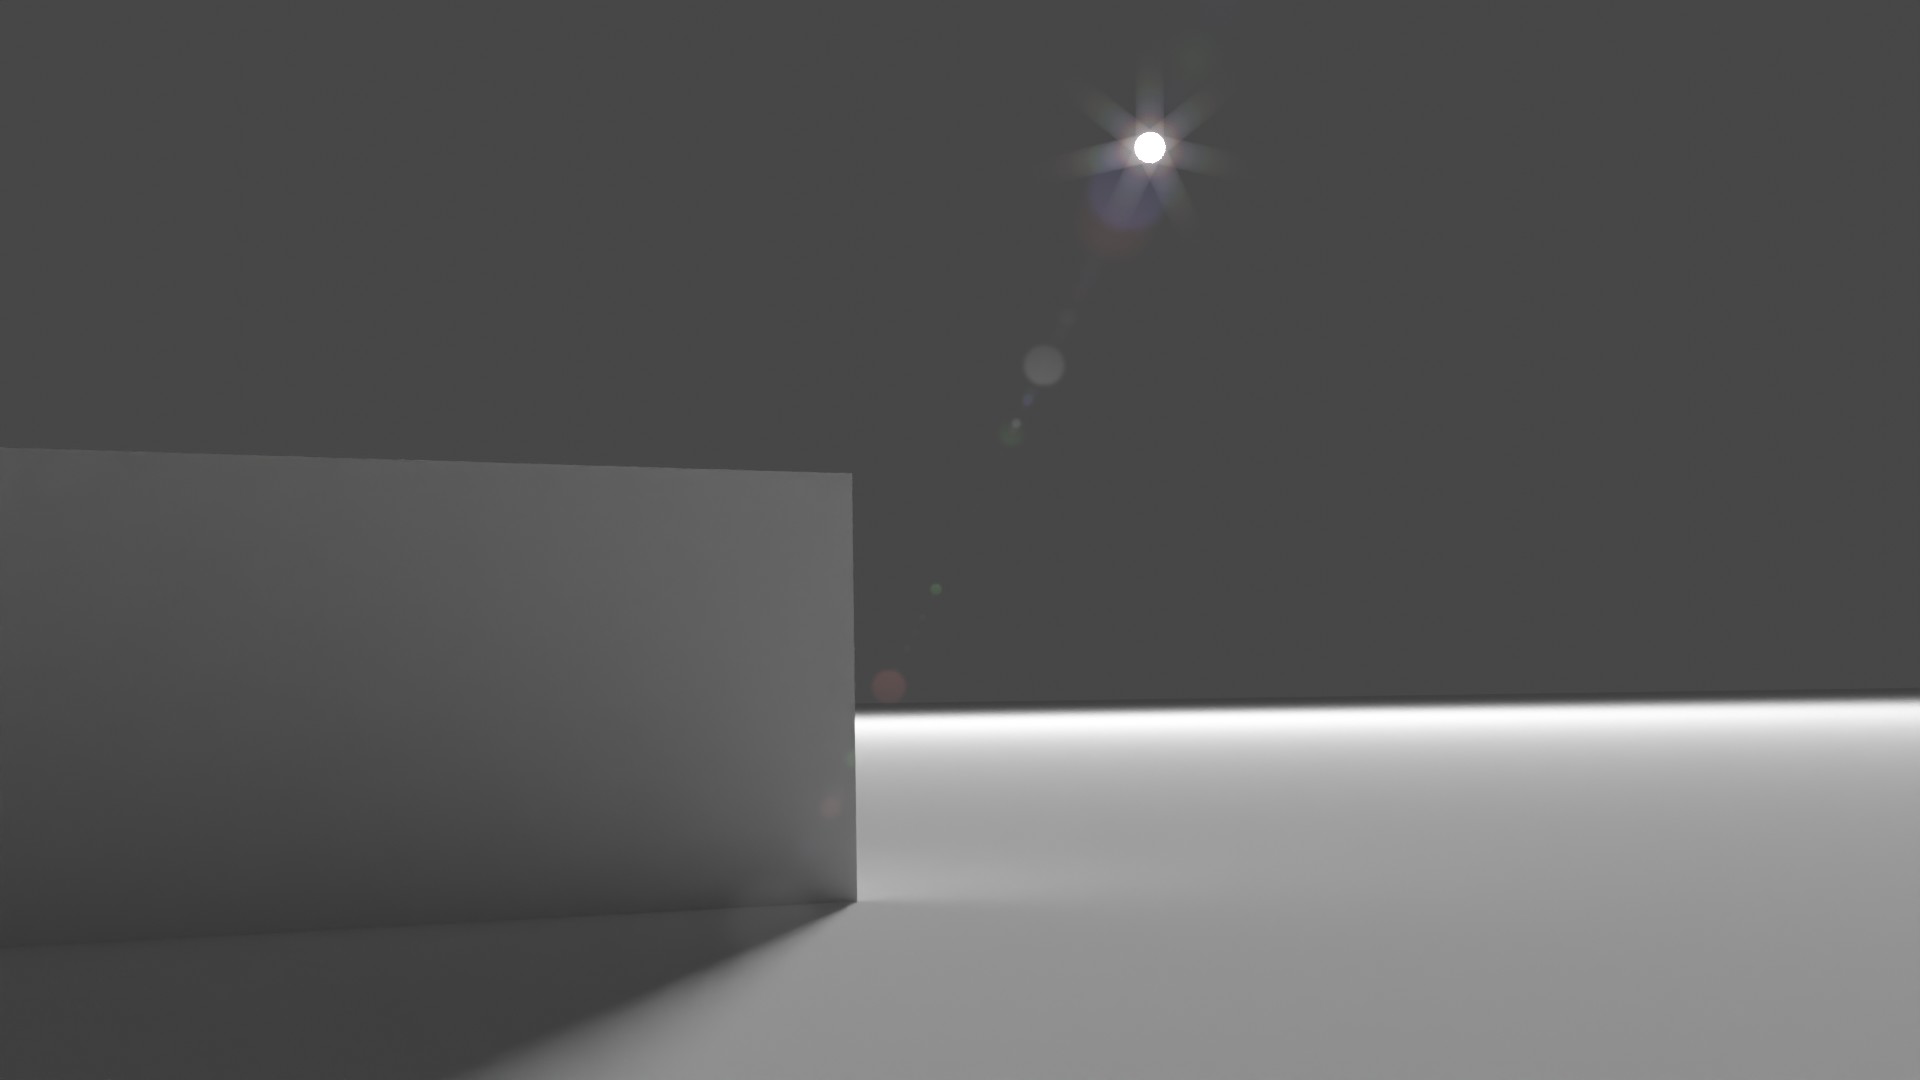
To change the size of the lens flare:
While it may seem like the best way to do this is to just use a scale node. A scale node likely would work but this method means we won't need to realign the flare with the light.
Being able to adjust the flare size can be especially handy when we want to combine multiple flares.
Note that we don't have to use the math node to separate our light source. If our light emitter is an object we can change its pass index and pass it in. For this example though it is the quickest method and should work for most cases.
We can also preserve the the color of the light by using the value we extracted as an alpha mask and then pass that output to the dilate node.
To increase the intensity of the flares:
While this isn't the most intuitive way of adjusting the intensity of the flare it seems to do a better just of increasing the contrast without changing the brightness or requiring a lot of changes.
We could use a Bright/Contrast Node it tends to overly darken the image and can take a bit to get the values where we want them. With the mix node method it seems to to be much more consistent.
We could also use a math node set to multiply if we're not worried about preserving the colors. If we want to keep the color modulation this method seems to work the best.
Technically we could also separate the flare into it's R, G and B channels and multiply them separately then recombine them. At that point though we're basically doing what the mix node is doing just with more nodes.
Lens flares can be a nice touch to add to a render. They can help give our lights a more realistic look and help smooth the harsh edges we might get with a really bright light.
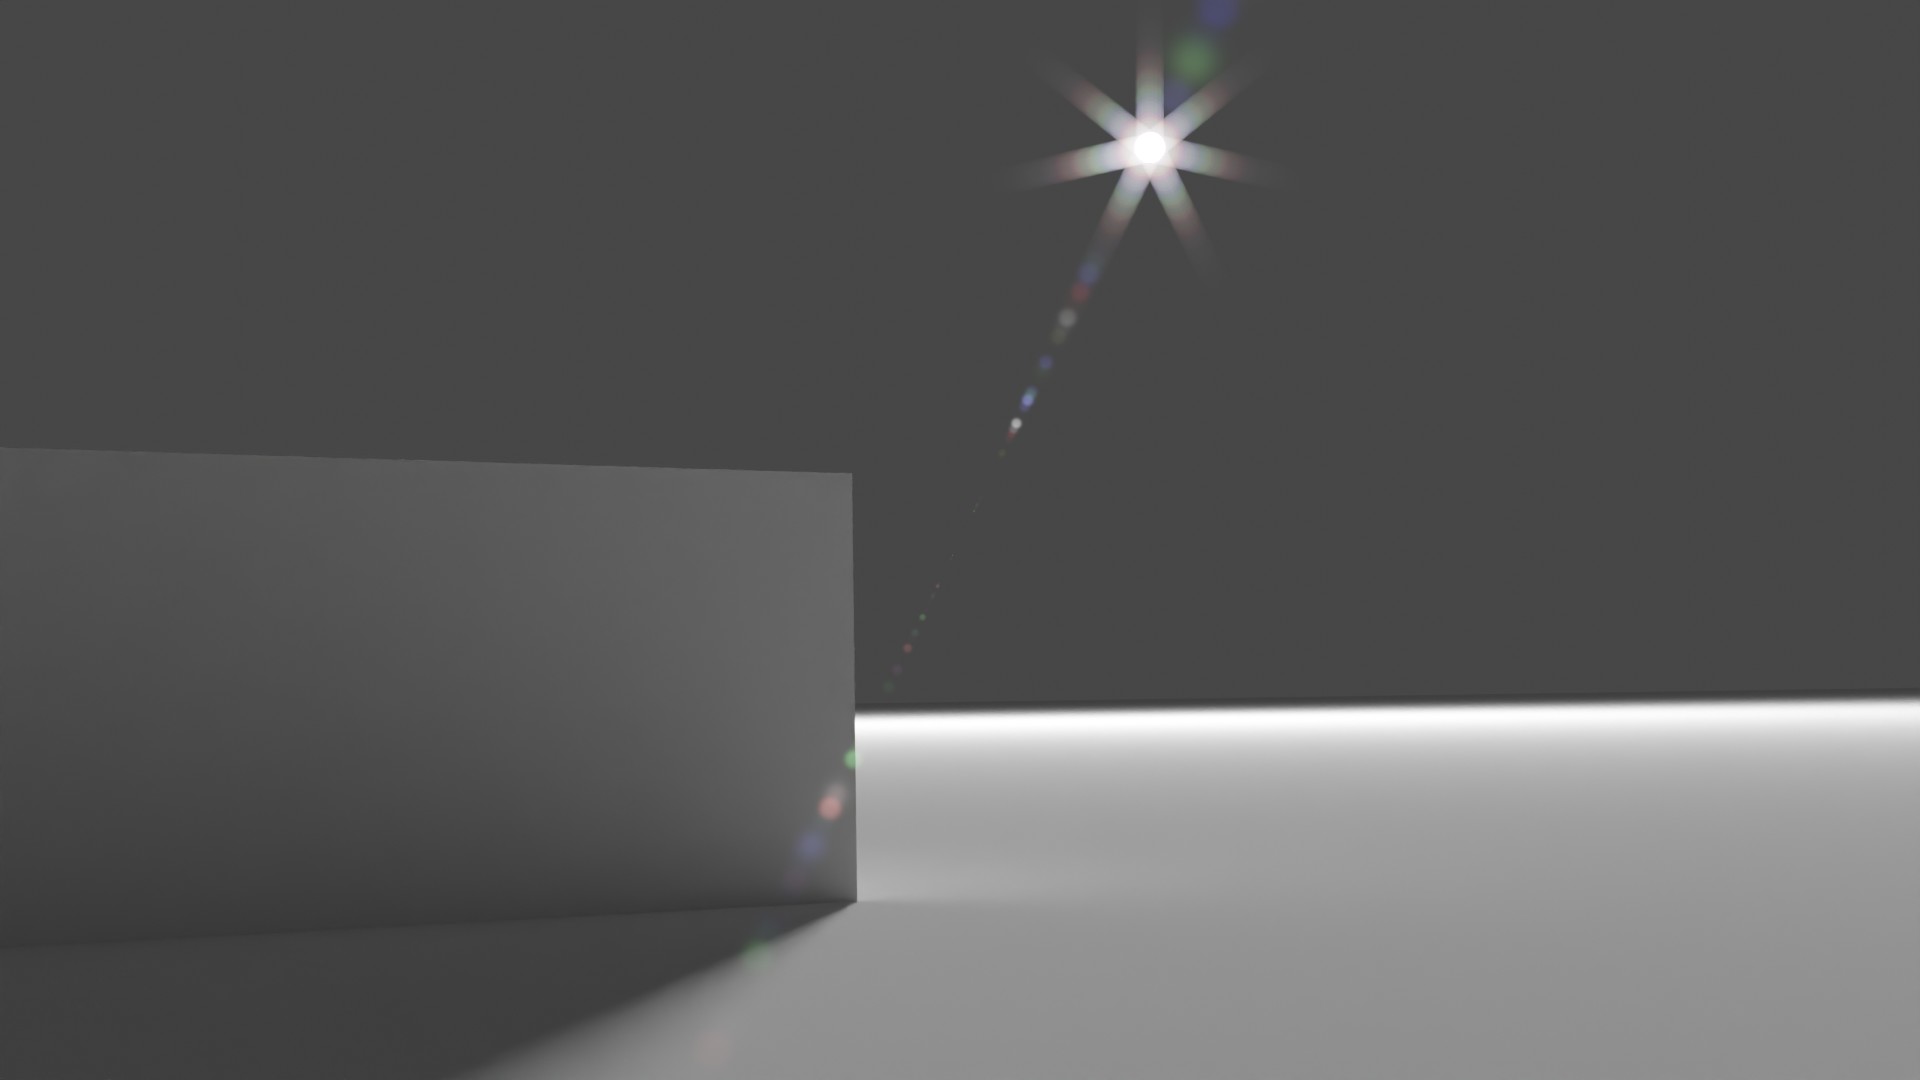
With a basic setup we can get a few different types of lens flares right in Blender and without much hassle. Using a bit of mixing we could easily combine a few of these to create a much more advanced looking flare.
Adding a couple more nodes to the graph gives us the ability to resize the flares as well as adjust their intensity. combining this with additive blending means we can fine tune the flares to look just how we want them to.
Thank you for your time.
