


AI artwork generators have become quite a powerful and useful tool for artists. Recently the Dream textures add-on has been developed for Blender and with this add-on, we can generate textures using AI by just typing in the texture we want. So how do we use it?
To generate a texture with dream texture:
To Project a texture with dream texture:
In the rest of this article, we'll go over how to install dream textures and get around some common issues we might encounter. We'll also go over installing the necessary AI models to get everything working. Once we have the add-on working, we'll get into both of its generation tools.
First download the correct version of the add-on for your system here:
External Content: Dream Texture Github
The process for installing the dream textures add-on is pretty similar to most other add-ons but we may hit a few snags. First, we'll need to install 7-zip, Winrar, or any other similar archive program of your choice.
Once we've extracted the zip file from the 7-zip archive, attempting to install it through the add-on menu might just refuse to work.
For Windows users, this could be an issue with the file path for some files being longer than the 256 character limit. We could edit the registry to fix this but if we'd rather not mess around with the registry files there is another way around this.
Extract the zip file to your downloads folder then open it and right click on the dream_texture folder and select copy. Now go to the add-ons folder.
C:\Users\YourUsername\AppData\Roaming\Blender Foundation\Blender\LatestVersion\scripts\addons Would be the default path for addons. Paste the dream_texture file into there. Now just wait for the files to get moved and we shouldn't get any path_too_long errors.
In the case that the path is still too long we can also try making it shorter by first moving the dream texture file to our users/username/ folder and then moving it to the add-ons folder.
After that, we can open up Blender and in edit > preferences > add-ons search for dream textures and enable the add-on. Now click on the dropdown for the add-on and then click install model.
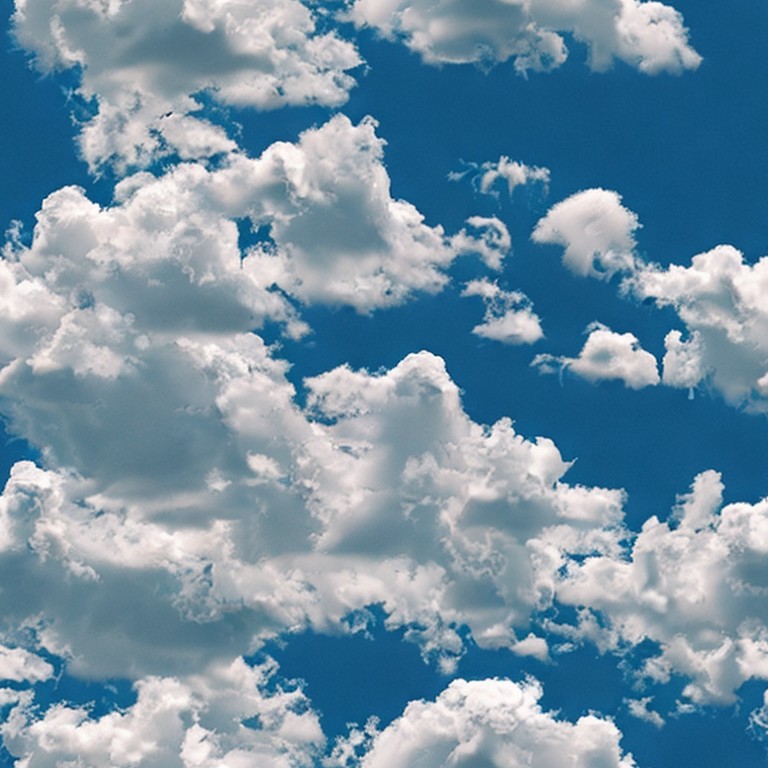
The main feature of dream textures is being able to generate textures by simply typing in what type of texture we want and then using AI to generate that texture. Dream texture also allows us to generate seamless textures, as well as allowing us to upscale textures.
As well as that we can also project AI-generated textures onto geometry. This takes into account the depth and perspective of the view as well as the prompt and tries to generate a texture that fits the geometry. For example, we may model a cup and then use coffee cup as a prompt to texture the cup.
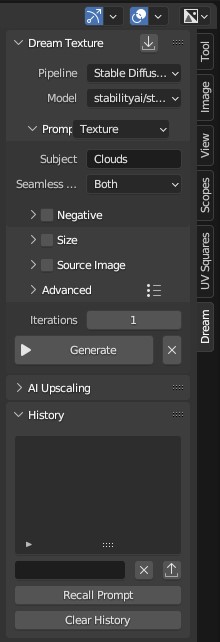
First, we'll need to access the image editor, the quickest way of doing this is just to switch to the rendering workspace. While hovering the cursor of the image editor press N to open the sidebar and click on the Dream tab.
Under prompt, we can type what texture we want into the Subject text field. To generate an image all we have to do is click the generate button and wait. The image editor will automatically be updated with the generated image as well.
Projecting textures works similarly to generating texture this time though we'll need to have an object selected and in edit mode. Select the geometry you want to project the texture onto. Press N to open the sidebar and under dream type the texture you want and click project dream texture.
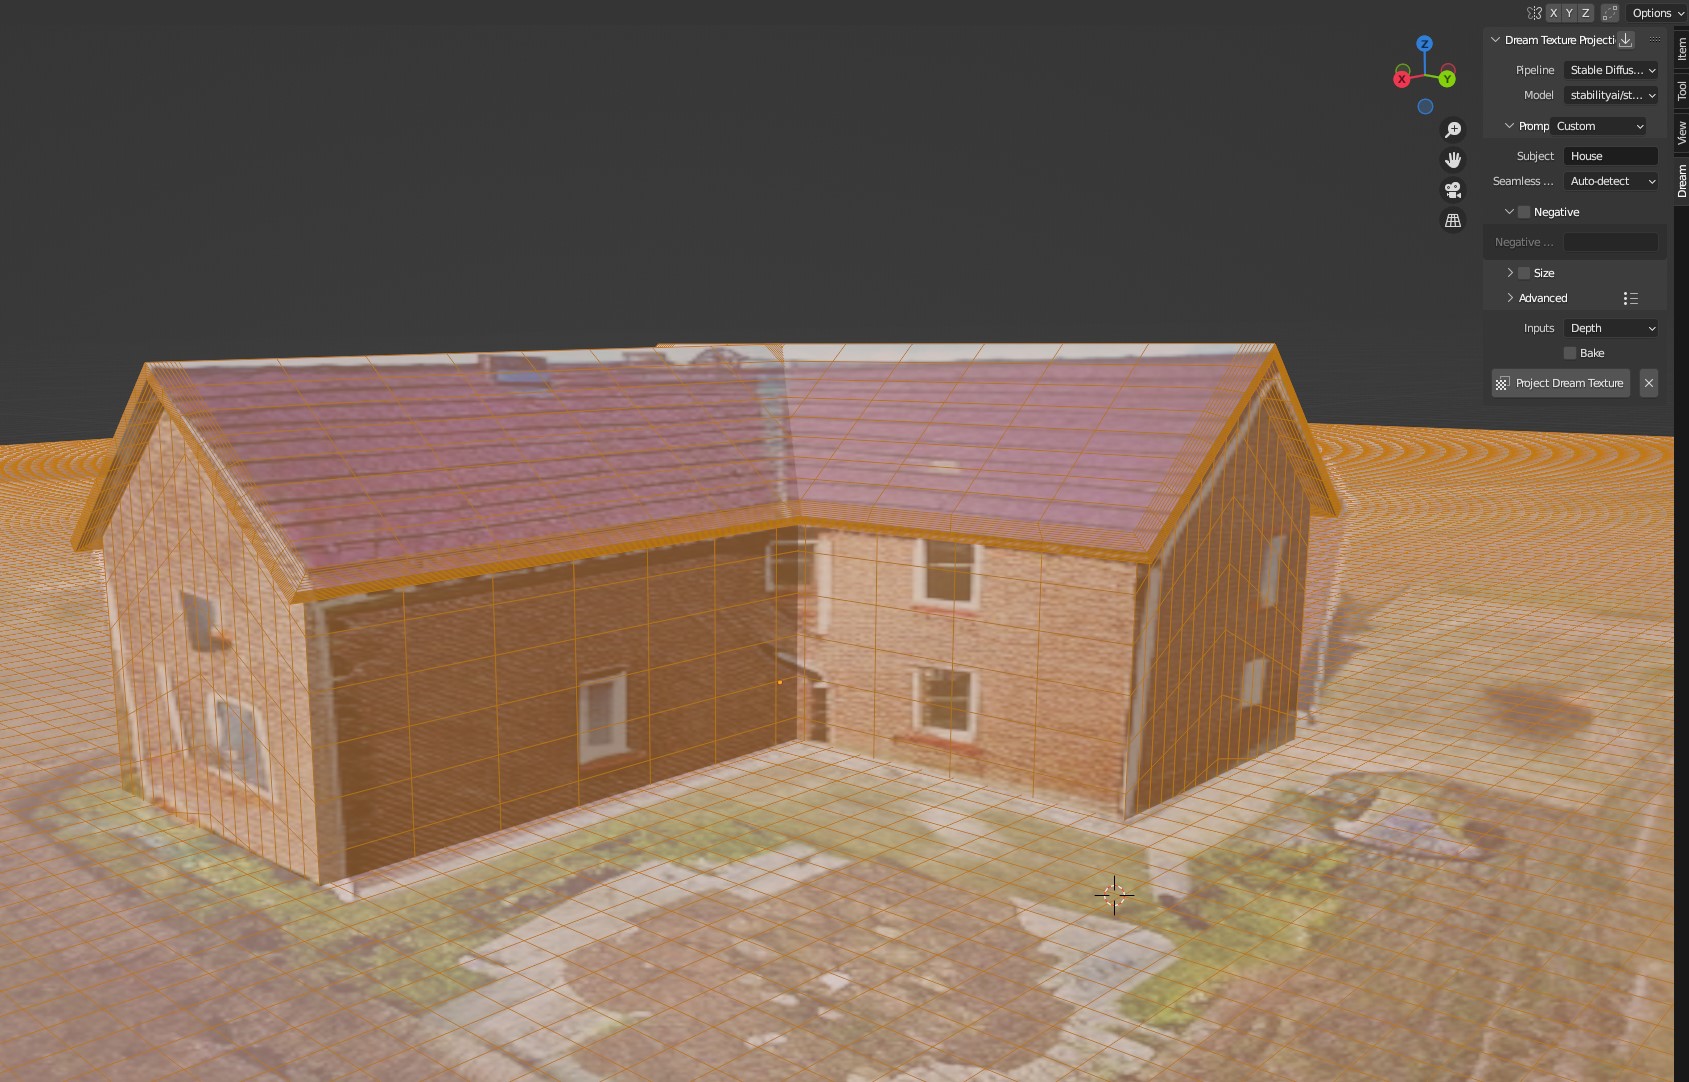
Now we can follow the same process we did for generating textures. If we just selected all the geometry you'll notice that the texture is only being projected from view. This will results in some pretty ugly texture stretching on the sides of the model and a mirrored image on the back.
To get around this make sure to only select the geometry facing the camera. After that, we can move the camera, select another section, and repeat.
Dream texture also comes with a 4x texture upscaler that works fairly similarly to the texture generator. It has the same advanced settings as well as a prompt for the generator. This will work for any image currently open in the image editor and will scale it to 4x its current resolution.
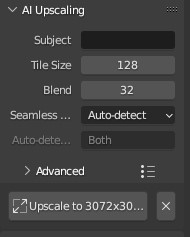
This means that we can either upscale the images that we've generated or we can upscale whatever image we want. To use it all we have to do is open the image we want to upscale. Click on the AI upscaling dropdown and then click upscale.
The first and easiest way to get dream texture to generate results closer to the prompt is just to be very verbose. Make sure to describe the texture you want to generate in detail so that the AI has less room to misinterpret it.
Next to prompt there is a dropdown that is set to custom by default. Here we have a few options for what type of image we want to generate. Texture will give us results that are better suited for use as textures. Photography gives us results closer to something that would be taken by a camera.
We also have a bunch of options for what type of photograph we want to emulate. Concept art will give us a concept art style and also includes a few options for what type of concept art.
File batch will generate a batch of prompts, it also supports blender text files and will generate a new image for each line in the text file.
Under prompt, we can enable Negative and type in something that we want the AI to avoid generating. For example maybe in the image we're generating the AI keeps adding trees we don't want. We can type trees into the prompt to get the AI to try and avoid generating them.

Again being more verbose or just adding more objects to the negative prompt will usually help.
In the dream texture window, we can enable Source image to use an image as the basis for the AI generator. This gives us three options, Modify, Inpaint, or Outpaint.
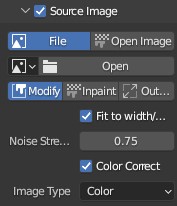
Modify will use the source image as a base for the AI generator with a certain amount of noise added. The noise amount will influence how much the AI can change the source image.
A really low noise value like .01 won't change the image at all while a high noise value like 1 will completely change the source image with only basic shapes being carried over to the new image.
Inpainting will attempt to fill in the masked area. This mask can either be the alpha channel of the image or an AI prompt. For prompts, the confidence threshold acts sort of like a cutoff for the mask. 0 will adjust the whole image and 1 would adjust almost nothing.
Replace will change how much noise is added to the masked areas and noise strength will change the strength of that noise.
Outpaint Will expand the image based on the origin point. The size of the square that this generates is the resolution we've set in the size dropdown. We'll also need to make sure that the origin point we've typed in overlaps with the current image.
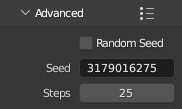
In the dream texture window under advanced, we change the number of steps that ai takes as well as changing the seed. Increasing the AI steps will usually improve the results up to a point. I would recommend only going up to 100 as after a certain point increasing the steps won't change much.
Clicking on the icon next to the advanced dropdown will allow us to just use presets as well as set our own presets.
We can also regenerate images by using the same seed and prompt. To change the seed just disable random seed and the seed prompt will be available. Any images we've generated will include the seed and prompt in their name so we can just type those in again and we should get a similar image.
Dream textures is a very powerful tool that has a whole bunch of uses in Blender. The texture generator comes with a bunch of different options that allow for quite a bit of control. The texture projection tool lets us include geometry as part of the prompt and allows us to quickly texture our models.
The AI upscaler allows us to both scale textures we've generated as well as upscale any other images we want. Overall Dream Textures is a very handy add-on for Blender and now we should have a good idea of how to use it.
thank you for your time.
