


Quite a few 3D models and renders include leather materials, especially furniture models and interiors. With that in mind at some point we'll likely want to create a leather material.
To Create a Leather Material in Blender:
In the rest of this article, we'll go over more detail on setting up our leather material using PBR textures. We'll also go over how to create a leather material procedurally. Finally, we'll go over how to add wear and tear to both the PBR textures and procedural leather materials.
Before we can set up a material with PBR textures we'll first need to find them. Below is a list of some sources which we can download these textures from. Note that you can use whatever textures you'd like though as long as they're PBR.
Related content: What is PBR and how do we use it in Blender?
Related content: Top 10 material libraries for Blender artists
External content: Polyhaven leather materials
For Poly Haven we can just download the blend version and in the blender file we're working in, go to file > append. Then, browse to the leather blend we just downloaded. Open that blend file in the browser and under materials, we can select the leather material.
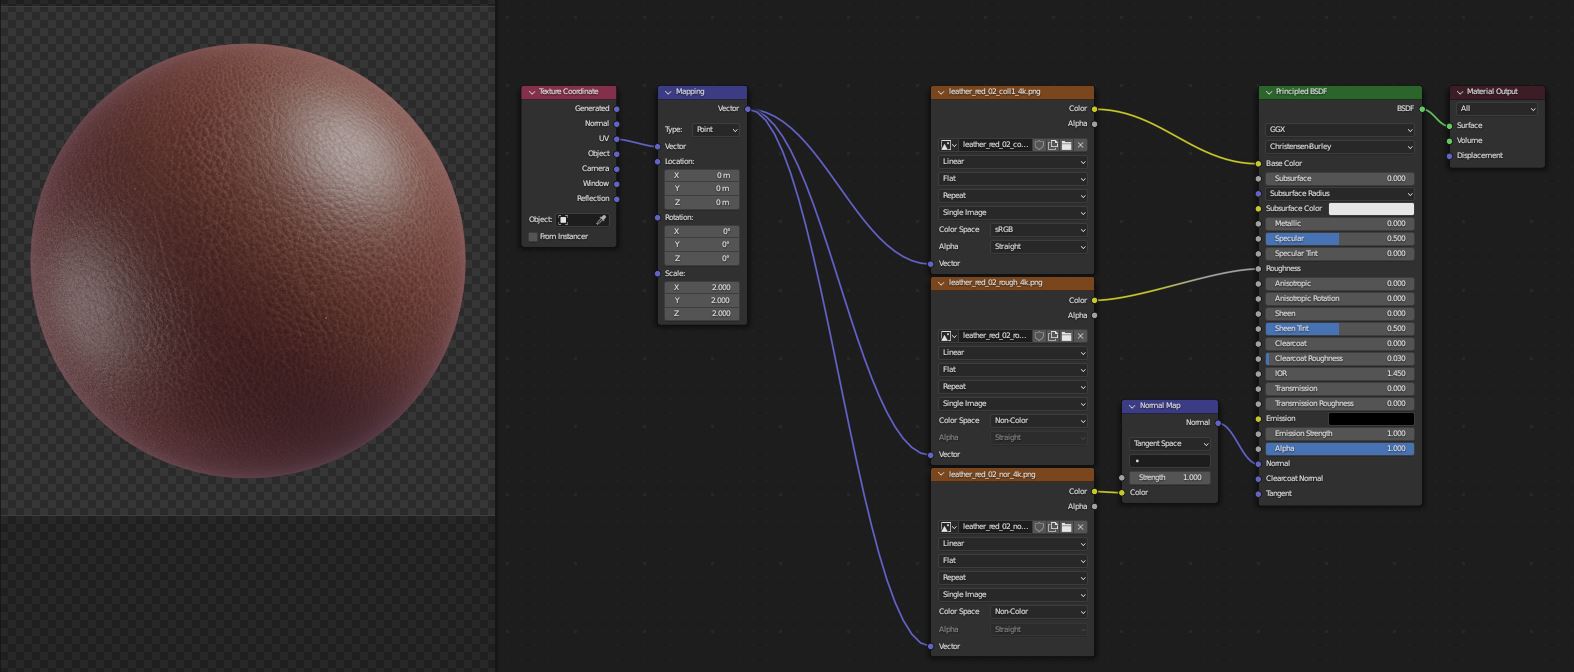
With our pbr textures downloaded, we can head into Blender and set them up. Go to the shading workspace and if we've selected our object and added a material to it we will have a Principled BSDF shader already in the graph.
Go to add > search and find image texture then place the node in the graph. Then, click on the file icon to open the file browser and navigate to the textures we've just downloaded.
Next, select the color/diffuse/albedo then click open and connect the image texture image out to the Principled BSDF base color input. Repeat for the roughness and normal textures, for the normal and roughness set the color space to non-color. After that, go to add > search and find the normal map node.
Connect the normal image out to the normal map image in then connect the normal map normal out to the Principled BSDF normal in.
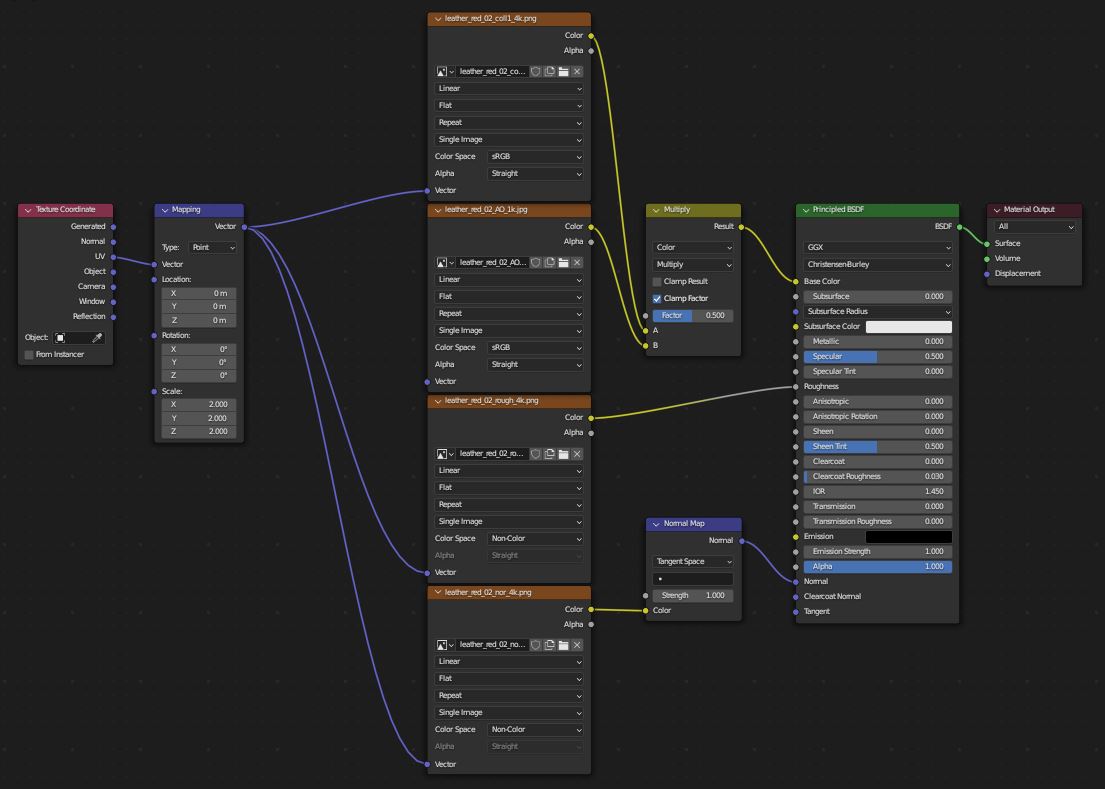
If the material includes an ambient occlusion texture, we can use it by adding another image texture as well as a mix node.
Set the mix node type to color and then connect the diffuse/albedo texture to the first input of the mix node and the ambient occlusion texture to the second input of the mix node. Connect the mix node output to the base color input of the Principled BSDF.
Now just set the mix node mode to multiply and we can use the factor to change how much ambient occlusion we have on our leather material.
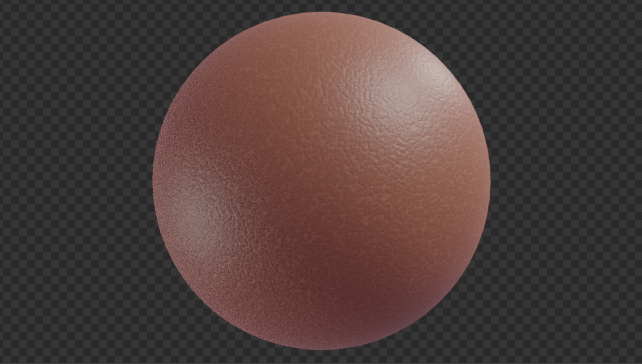
Go to the shading workspace and under add > search we can quickly find any nodes we need. With that recreate the node setup shown below.
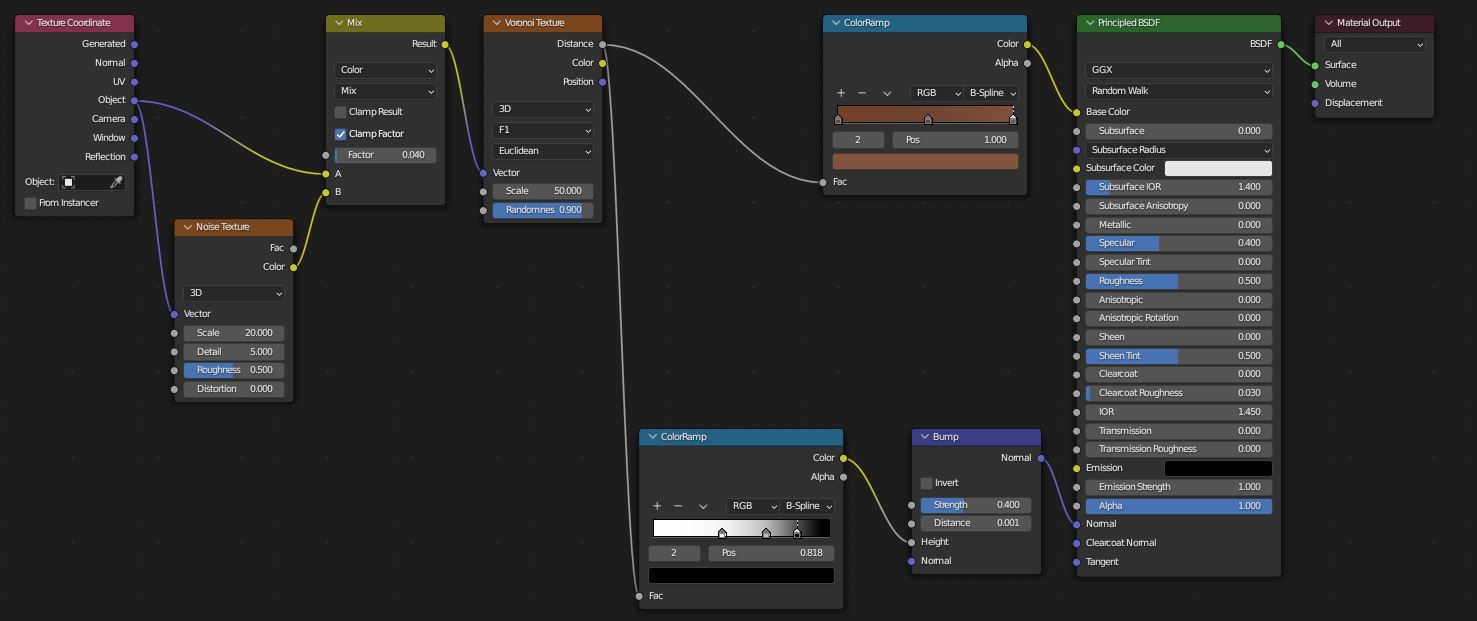
Starting from the left we use the mix node and the noise texture to distort the Voronoi texture. The mix factor controls how distorted the texture is and the noise texture scale changes the size of the wobbles in the texture. We can also change the detail to add more wobbles to the texture.
For the Voronoi randomness value, I've set it to 0.9. The randomness value will blend between a grid of squares and then just random polygonal shapes. After that, we sample this texture to create the Base Color and Normal.
For the bump colorramp I use B-Spline to give the leather a smoother shape. Then, I clamp off the peaks of the texture by moving the first two handles to the right to create flat bumps in the leather material. For the color you can use whatever values and handle positions look good.
For the bump node I've set the distance to 0.001 and the strength to 0.4. I use the distance value for large adjustments to the bump and then the strength value to fine-tune the bump.
First, let's go to the shading workspace and open the leather material we've set up. Go to add > search and here we can find all the nodes available in the shader graph. With the add menu recreate the node setup below.
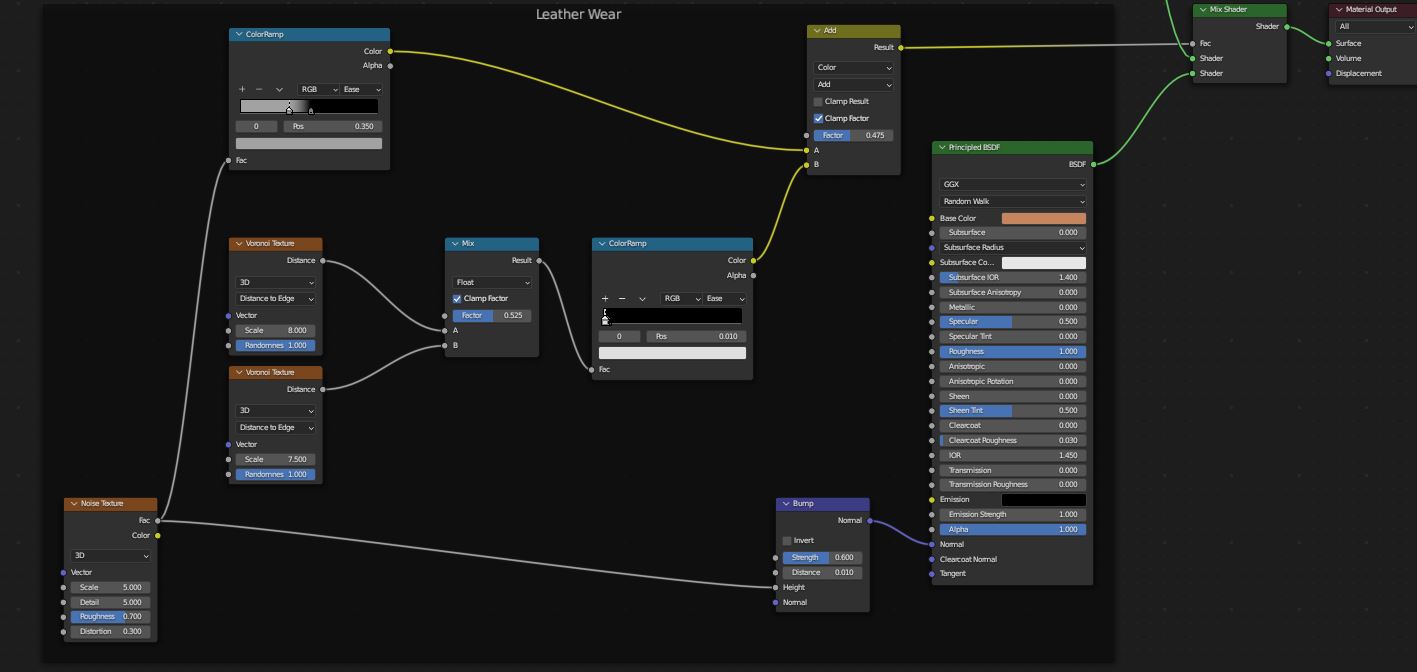
The mix shader has the leather material connected to the first input and then we've created a separate shader for leather damage.
Just to give a quick summary of this node setup works, the two Voronoi textures create a sort of scratch texture. The noise texture creates a sort of splotchy wear effect. As well as that the noise texture is used to create the bump map for our worn leather material.
The mixed Voronoi textures are then run through a colorramp, the handles are pretty close together to make sure that the textures look like tears and scratches.
The colorramp for the noise texture is used to adjust the falloff of the splotches. For adjusting the look of the wear we'll mainly use this colorramp, we can use the first handle to adjust the intensity of the splotches. The mix node factor will adjust the intensity of the cracked look.
To adjust the shapes of the crack we can use the scale values of the Voronoi textures. I recommend keeping both scale values pretty close to the bottom Voronoi texture. With a slightly lower scale, we can get a bit of a scratched look without it looking like cracks.
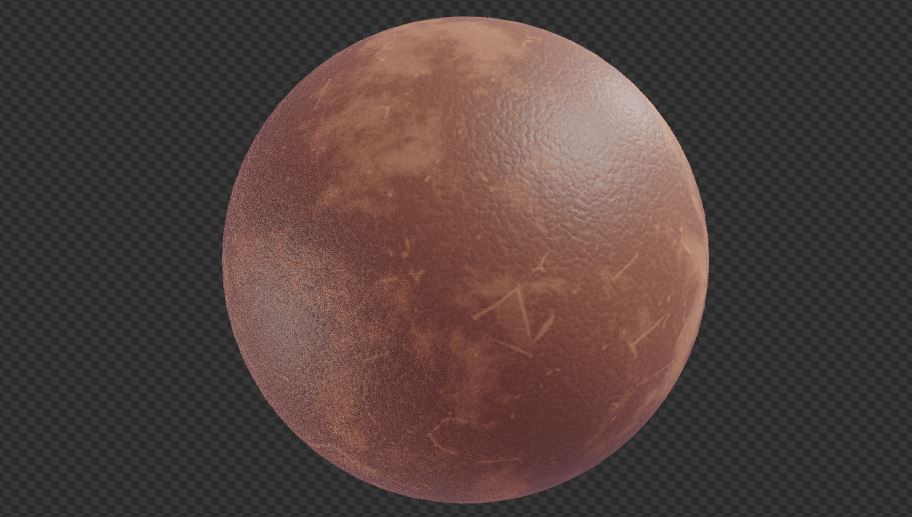
After following the examples given in this article, we should now have a pretty customizable leather material. Both the procedural leather material and the wear shader serve as an example of how we can build out materials procedurally just by layering the various procedural textures.
Thank you for your time.
