


Looping animations can be quite useful in a number of ways. For example, we wouldn't want to manually animate hundreds of frames of walking. Instead, we'd just create a short walking animation and play it on a loop. So how do we create a looping animation in Blender?
To create a looping animation in Blender:
What makes an animation loop is that it starts and ends at the same place so that it doesn't make a sudden jump when the animation repeats. We do this by making sure that the animation gets back to where it started.
In the rest of this article, we'll go into the process of setting up a looping animation. We'll set up a basic animation and go over how to smoothly loop it. Interpolation will also be adjusted so that it loops smoothly. Finally, we'll go over how to create a looping particle animation.

A looping animation is an animation that ends exactly the way it starts as well as interpolating smoothly between the start and end. This allows the animation to be played on repeat without any jump when the animation repeats.
start on the first frame so that the last and first frames can look the same, this way the animation doesn't start and end with an identical frame.
Let's set up an example animation so we can get a feel for how to set up a looping animation. For this animation, we'll set up a rotating cube that floats around the center of the scene. To start just set up a scene with a cube if you haven't already.
While this won't be a step-by-step guide on how to animate our object here's a rough outline of how we should set it up. Place the cube a bit away from the center and rotate it slightly. Press I to insert both location and rotation, and copy the newly created keyframe to the end of the animation.
move the playhead forward 1/8th of the animation length. move the cube 45 degrees clockwise roughly following what would be a circle and again rotate it slightly. Next insert the location and rotation again and repeat until we've reached the last frame making sure not to overwrite it.

Now we should have an animation of our cube flying around the center of our scene while rotating and returning to its original position.
Now you'll notice that instead of the cube following through the circle smoothly it has to come to a stop first. To fix this pause we'll need to adjust the frame interpolation at the start and end.
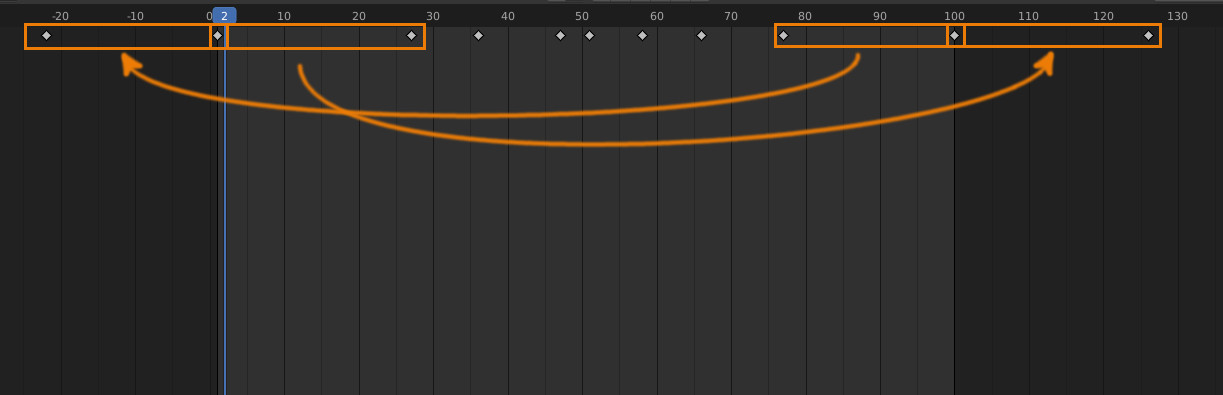
One of the quickest ways to get the interpolation speed to match at the start and end of the animation is to just copy the second to last keyframe before the start of the animation and then just copy the second keyframe to the end of the animation.
To do this go into the timeline and first select the last and 2nd to last keyframe. Duplicate these with shift + d and then drag them so that the last frame overlaps the first and the 2nd to last is past the start of the animation.
Next, select the first and 2nd keyframes and duplicate them. Move the duplicate keyframes so that the first frame overlaps the last. Now the interpolation from the 2nd and 2nd to last keyframes will follow through on the first and last keyframes and create a smooth transition.
Particles can be quite a challenge to loop. Unlike most animations, it can be a bit unintuitive how we can loop our particle animations. Now for particle animations that contain forces that don't change during the animation, we can actually create a fairly perfect loop.
To start setup your particle animation, to get the animation to loop as smoothly as possible make sure the rate that your particles are being emitted stays consistent at the start and end of the animation. We'll also need to make sure all forces on the particles stay constant for this method to work.
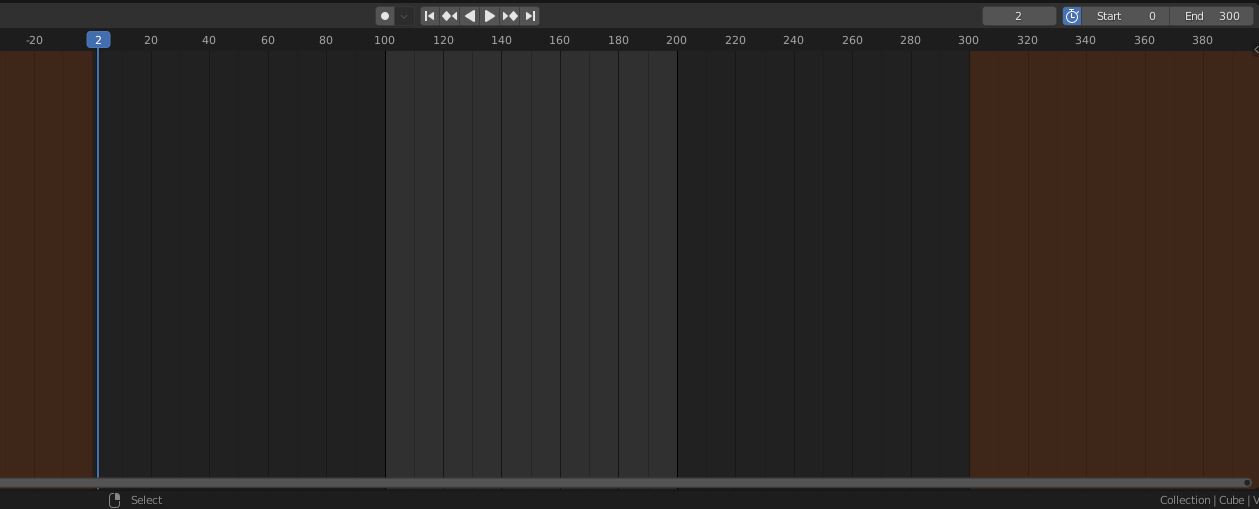
For this example let's set our start frame to 100 and end frame to 200. In the timeline next to the start frame value click on the little clock button. Now we can modify the simulation start and end frame. Set the start to 0 and the end to 300. Now we can click on the clock again to go back to the normal timeline.
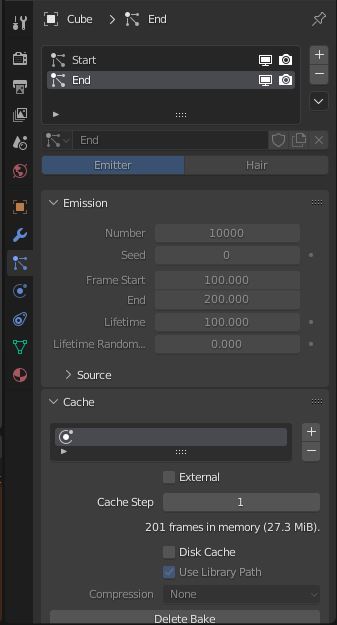
On the particle system set the start frame to 0 and the end frame to 100. Set the particle lifetime to 100. Now Create a new particle slot and select the previous particle settings. Click on the new particle setting button to create a copy.
With this copy set the start frame to 100 and the end frame to 200. Now to make it easier to refer to these let's name the first particle slot start and the second one end. For both slots, in cache select bake. Now when we play our particle animation it should loop pretty cleanly.
One final thing we can do is set the end frame to 199 so that we aren't playing the same frame of the animation twice.
Finally, let's go over why we used these specific frames. This should help you can apply this to any length of animation you want. You may have noticed that our animation is basically 300 frames long, but we only use the 100 frames in the middle.
The reason for this is that we start in the middle of the first particle animation and end in the middle of the last particle animation. Since the forces are constant and the animations have the same seed, these end up being identical.
We also move the end frame back 1 so that we don't play the identical frame twice. The particle lifetime makes sure that by the end of the animation, all particles from the first particle animation have disappeared. If we didn't do this there would be more particles at the end of the loop than at the start.
Finally, we adjust the simulation length to be long enough to fit both of the particle systems. This is so that the first half of the first animation simulates, and the second half of the second animation simulates.
The video below goes over this technique in detail:
Looping animations can be quite useful and now we should be able to create them in Blender with what we've gone over in this article. It can also be pretty unclear how we could loop particle animation, hopefully, with the examples we've gone over in this article we should be able to manage most situations.
Thank you for your time.
