


Metals are fairly common materials to find in a Blender scene or in real life. Aluminum is quite a handy material both in real life and in Blender. With how many objects can be made out of aluminum we'll likely need to have it for a model at some point. So how can create an aluminum material in Blender?
To create an aluminum material in Blender:
In the rest of the article, we'll go into depth about how to create a more detailed material. This will include using image textures to create basic details, a brushed look, as well as scratches and damage. We'll also go over how to make this all adjustable so we can fine-tune the look of the material.
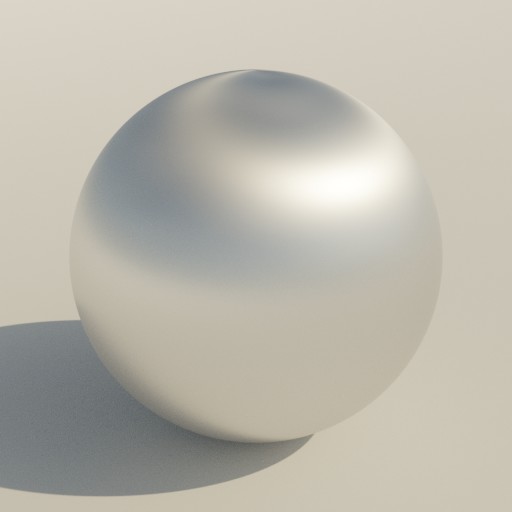
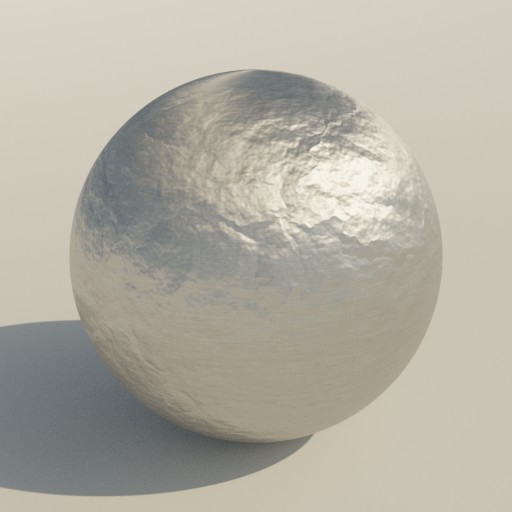
First, Select the object we want to add the material to and go to Properties > Material Properties, and click add material slot to create a material if we have not already. Go to the shading workspace and on the principled BSDF node set metallic to 1.
For roughness values anything from 0.4 - 0.1 will give good results as well as that set the anisotropy to around 0.5 to stretch the reflections out a bit.
By using an image texture for the roughness of our aluminum material we can add quite a bit of detail. For this example we'll be using the roughness texture from this texture haven material:
External Content: Poly Haven - Green Metal Rust
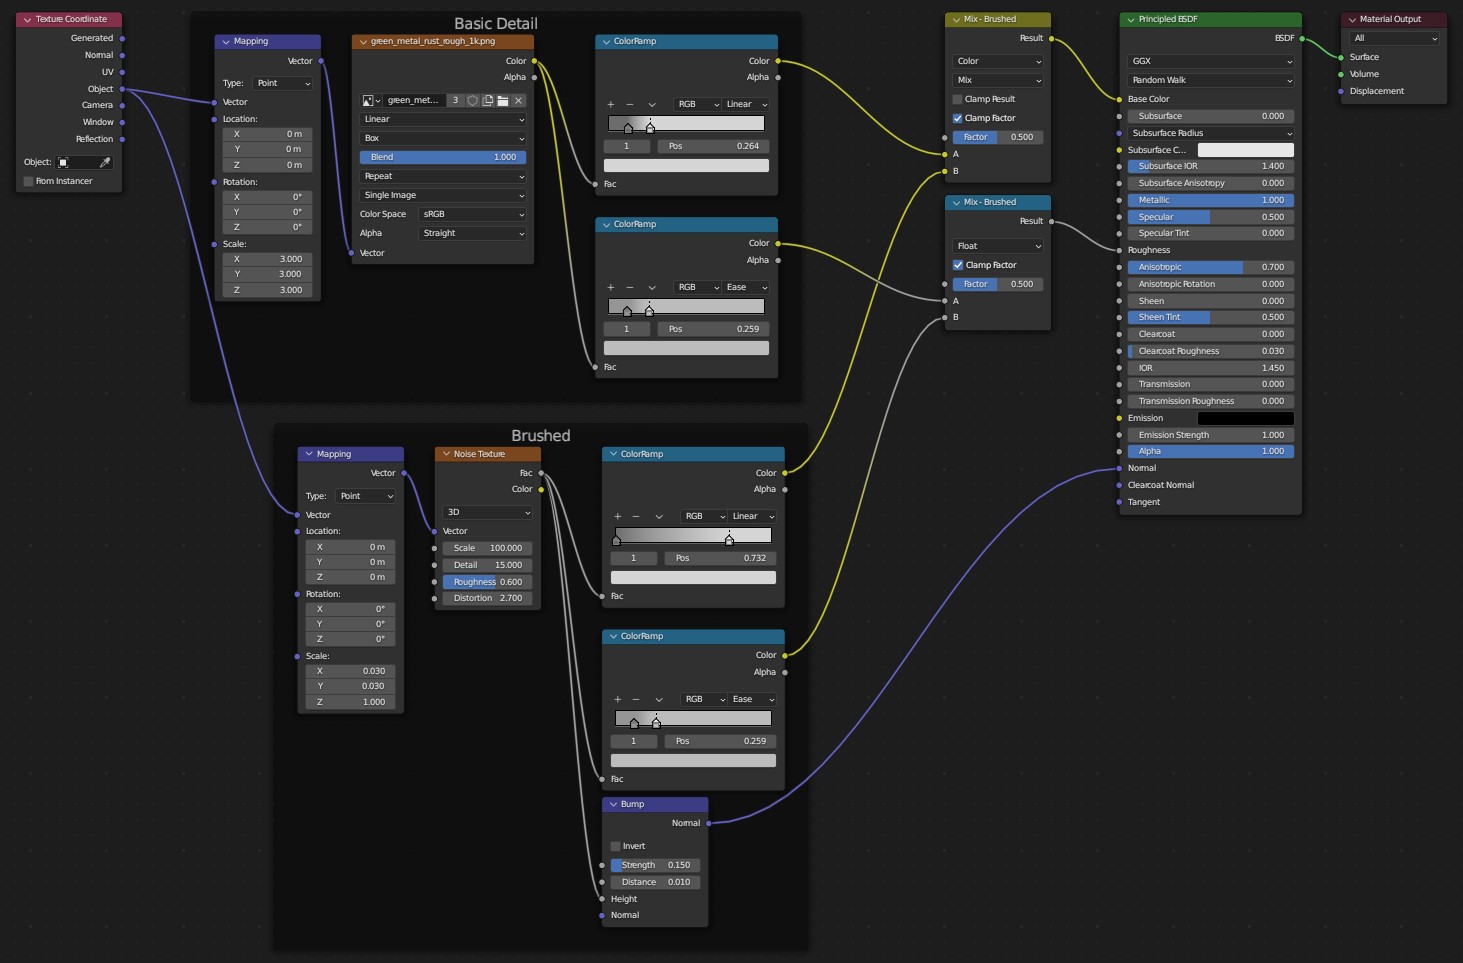
Now once we have the roughness from the material or any other roughness we want to use we can set up the nodes. In the shading workspace go to add > search and here we can quickly find nodes and place them in the graph.
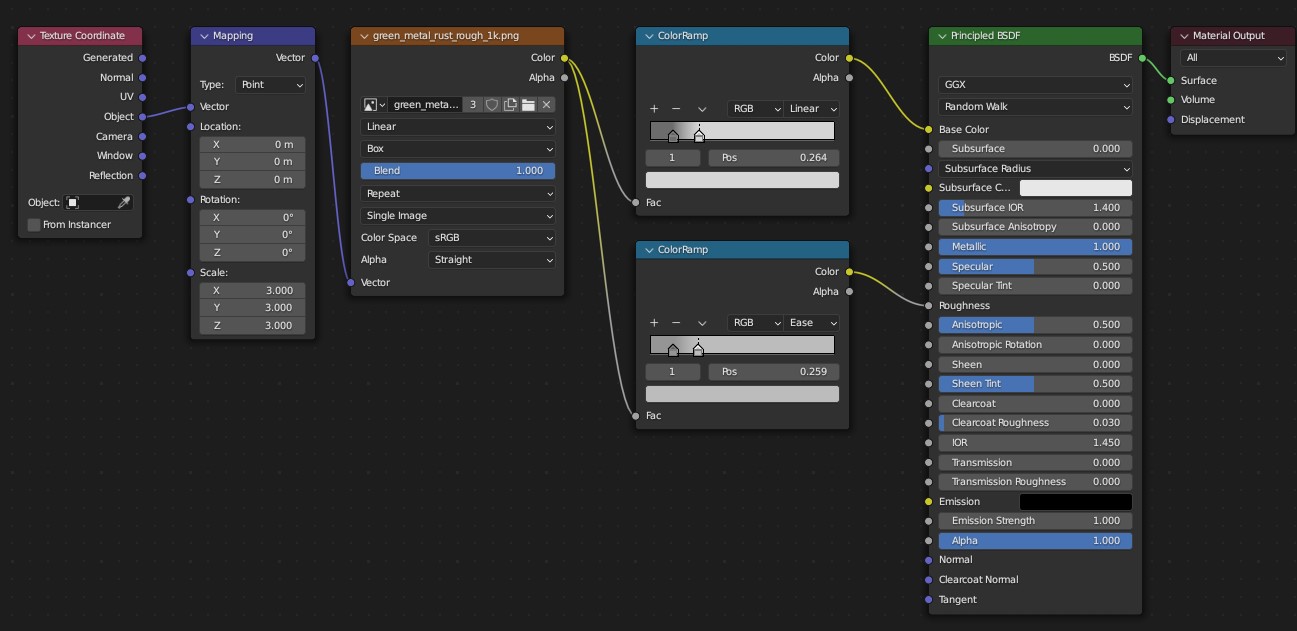
Through the add menu go ahead and add the nodes above and replicate the above node setup. For config make sure the image texture matches the setting shown above. The mapping texture scale values will change the size of the detail.
For the colorramp connected to the base color, I've set handle 1's color value to 0.15 and handle 2 to 0.66 the handle positions aren't too important just get them close or to your liking. For roughness handle 1 has a value of 0.3 and handle 2 has a value of 0.5.

For our first layer of detail let's add an adjustable brushed look to our material.
There are quite a few ways to give our aluminum material a brushed look. For this example, we'll use a stretched noise texture but you could use an image texture as well. Through add > search we can find and add nodes to the graph. Recreate the node setup below.
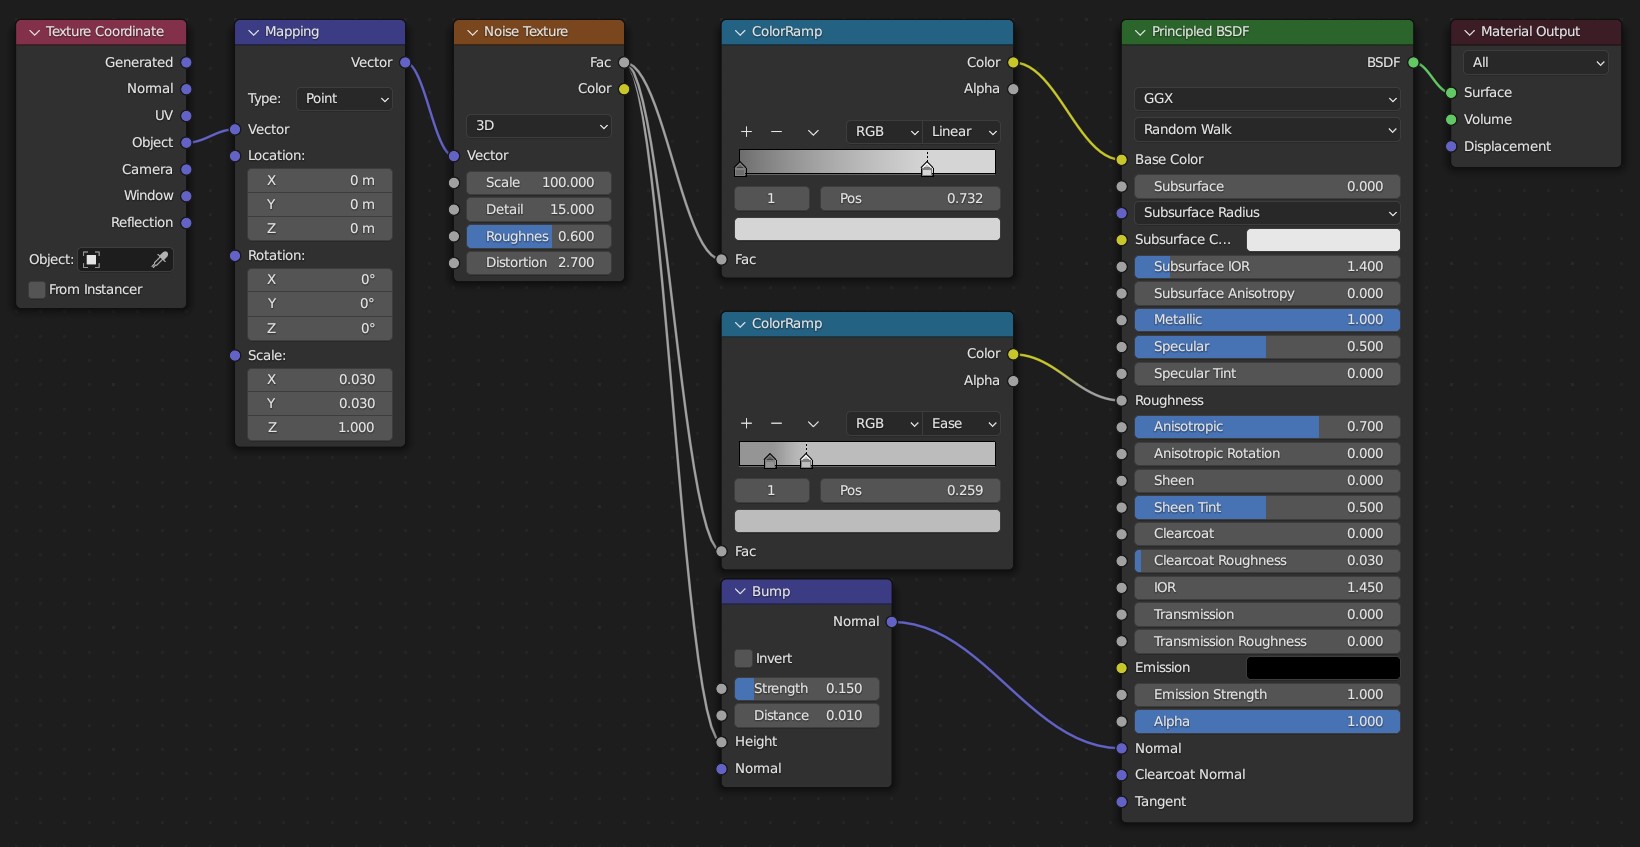
The uneven mapping scale is what gives us the horizontal bands and we can play with this to adjust the look of the bands. We'll also want to make sure to set the scale, detail, and distortion values for the noise texture to something similar to get a similar density and look to our streaks.
It's also important that the bump distance is fairly low like the example above. We can use the strength value to fine tune the intensity of the brushed normal.
Now we can use the mix factor to adjust how brushed we want our aluminum to look.
To help keep track of everything we can recreate the frames above by selecting the nodes we want to frame and then pressing Ctrl + J. To name the frames and nodes first select them then press N to open the sidebar and under the node tab we can use the label field to set the name.
With this node setup, we can use the colorramp handle positions to clamp the higher values of the noise texture and change the size of the dents along with the noise scale. The value of the second handle will adjust how much we mix in these dents.
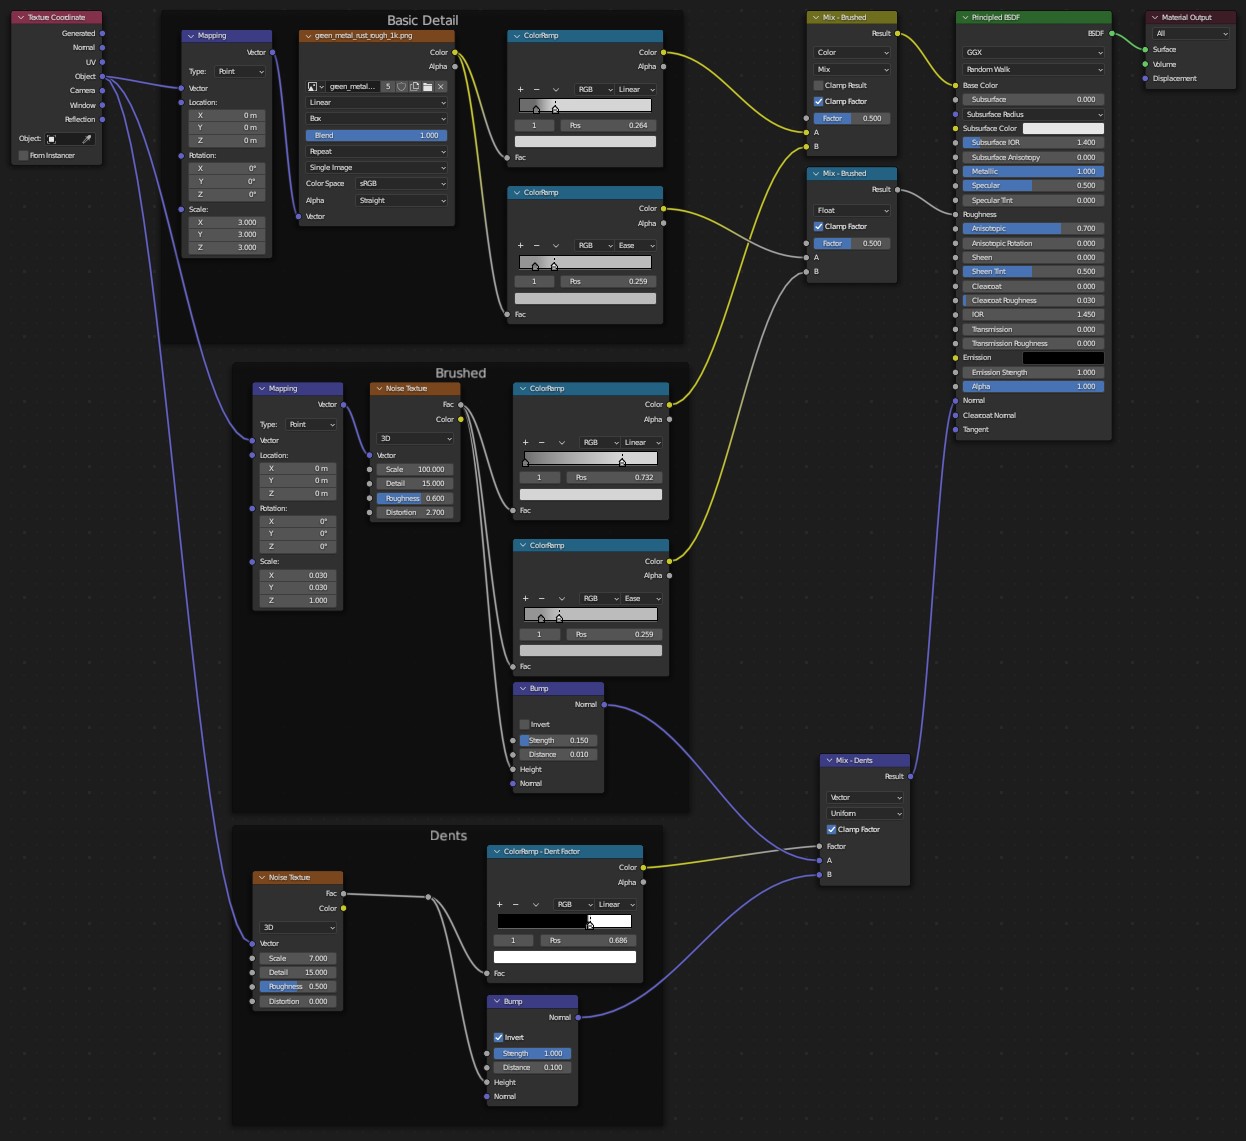
Similar to our other detail layers we could use an image texture for these but it would need to be a height map. There may also be some challenges with mapping that texture onto the model and resolution. By just using a noise texture we can make the dents procedural.

With these nodes, we distort a Voronoi texture which by default has sort of a polygonal look. After distorting it we feed that into the bump map to create a sort of crumpled foil look. We can use the factor to change how crumpled we want our aluminum material to look.
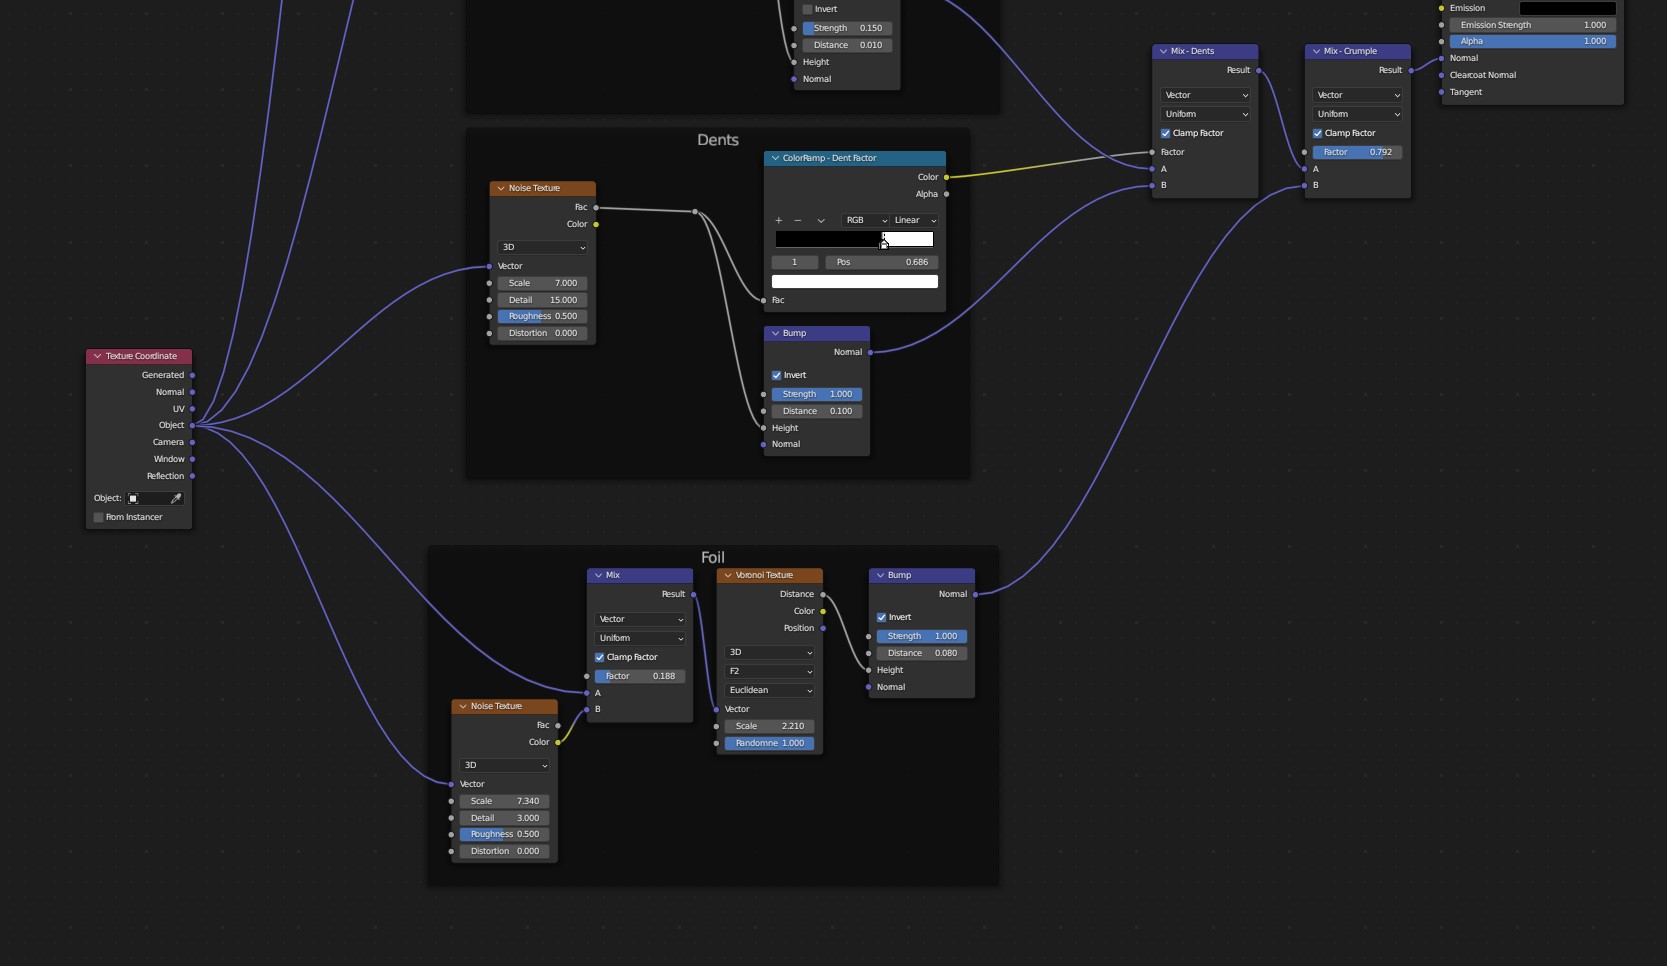
For actually changing the intensity of the crumple we should mainly use the distance value. Set the distance value to something small like 0.1 or even 0.01. We can use the strength value for fine-tuning the intensity.
Like before we can frame these nodes and label them to quickly figure out which nodes do what.
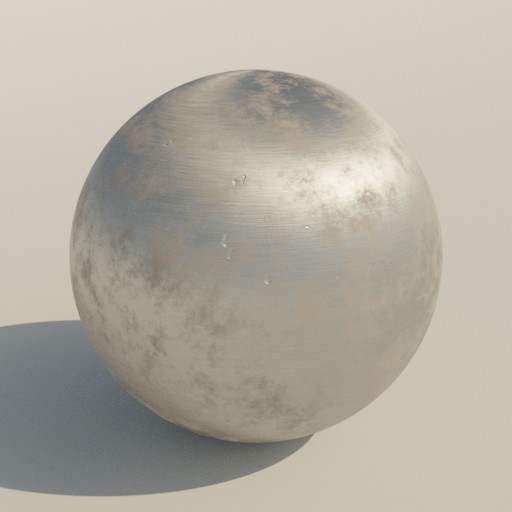
For adding dirt to our aluminum material we'll use a noise texture and a new shader for setting our dirt material values. Just to recap we can search for and add nodes by going to add > search.
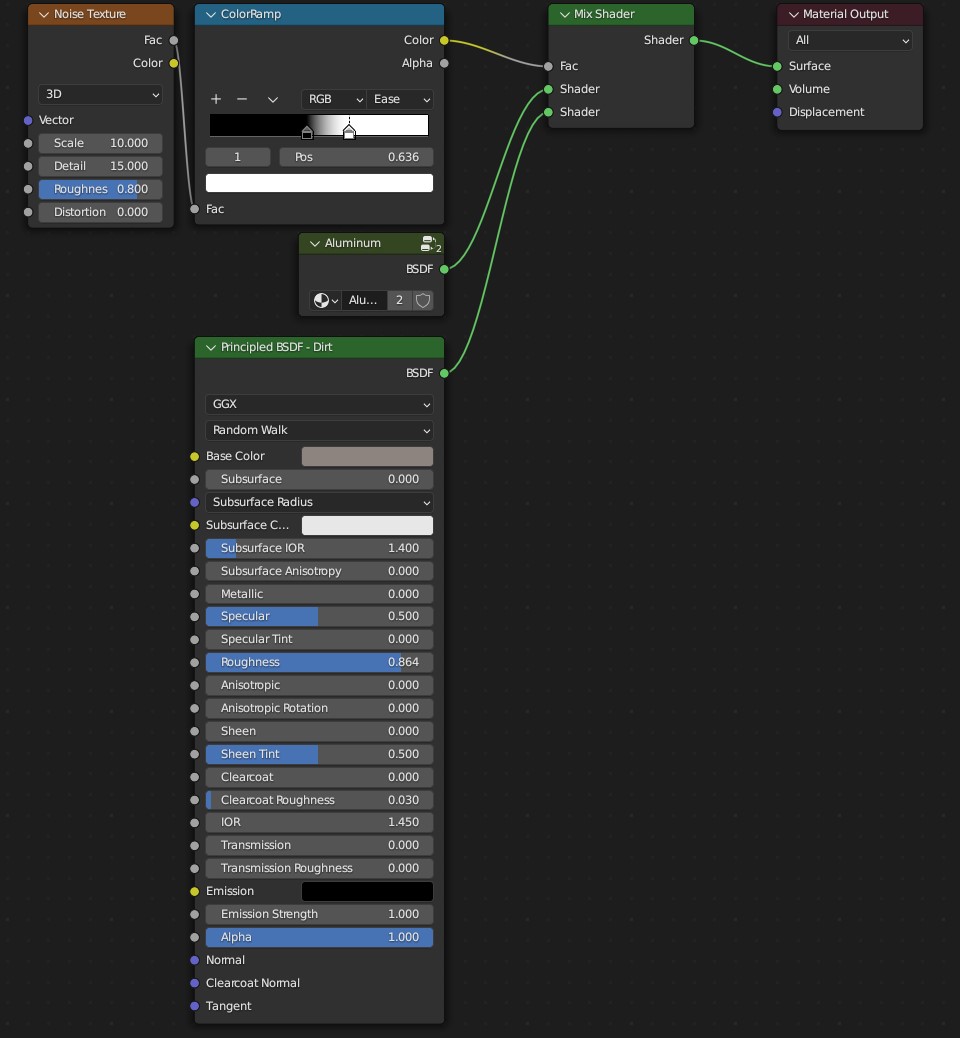
While we could mix in more details into our existing principled shader this can quickly get messy. For the sake of simplicity, I've separated the dirt into its own shader so we can easily adjust the shader values. Next, we just use the noise texture as the factor for the mix shader.
Note that in the above image the aluminum node is just the previous node setup grouped together to simplify the example. You can do the same by pressing Ctrl + G with all the nodes selected. Just like the aluminum shader we can build as many layers onto this as we'd like.
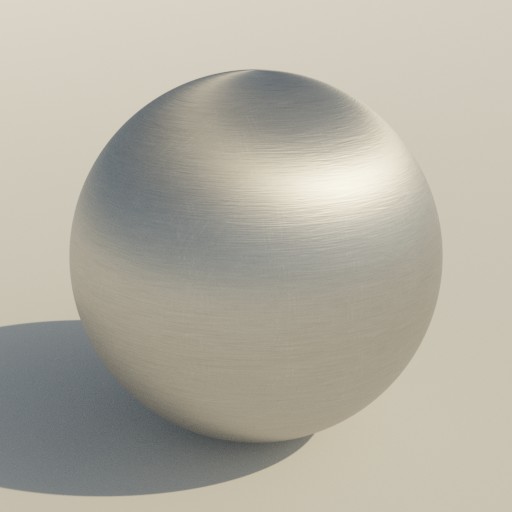
Since metal materials are reflective, the environment has a huge impact on how the material looks. In a default gray background environment in Blender, the material won't look very realistic even if it is. To see how the material looks, set it up in a few different lighting scenarios.
For example, indoor and outdoor lighting, direct sunlight, and on an overcast day. For this guide I've used this HDR from Poly Haven:
External Content: Poly Haven - Sunflowers Pure Sky
We can use this HDR by going to the shading workspace and setting the type of data from object to world. Go to add > search and find environment texture and place it in the graph then connect the color output to the background color input.
On the environment texture open the HDR we just downloaded and now this background will light our scene and reflect on our aluminum material.
Aluminum is a pretty versatile material and helps illustrate how we can recreate materials by adjusting a few values or by creating an advanced shader. While we focused on aluminum in this guide with the techniques shown we can add layers and adjust values to create whatever sort of metal we'd like.
Thank you for your time.
