


While setting up a scene and hitting render is fine, sometimes we need a bit more control after the render has finished. We can get a surprising amount of control by separating our renders into render layers and adjusting each pass on its own before recombining everything again into our final scene. So how do we gain this control?
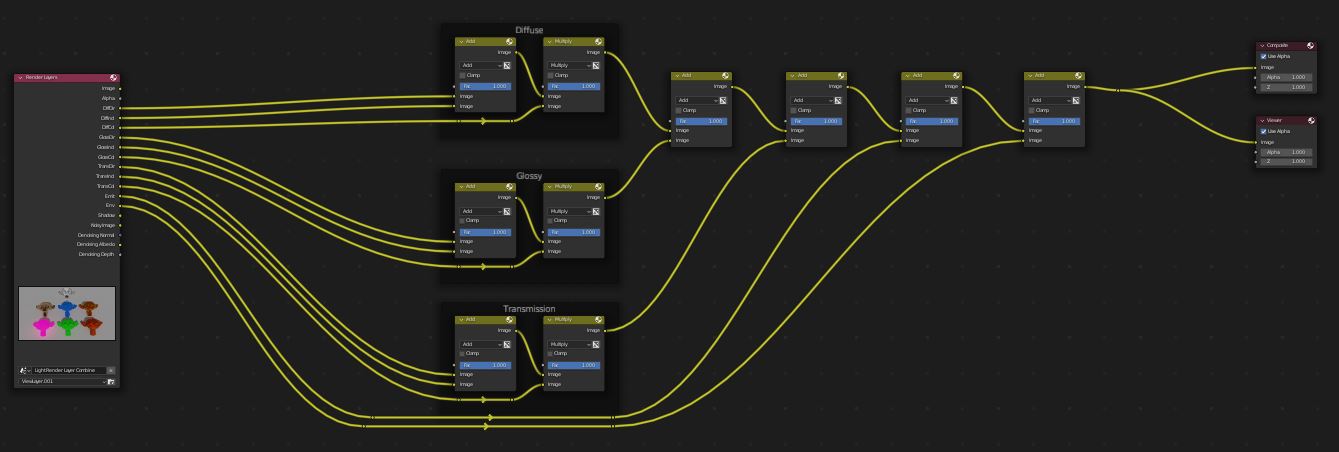
We can access the diffuse, glossy, and transmission light passes in Blender and adjust their look by combining them in the compositor to create the image.
For compositing render layers together, we can use the alpha over and Z combine nodes to merge different render layers either using their alpha channel as a mask or their depth map as a mask. In the case of Z combine we can use both depth and alpha as a factor.
In the rest of this article, we'll go over the basics of light layers. We'll also go over the mix node, alpha over node and z-combine node all of which can be used to combine layers.

To Composite Light Render Layers Together:
For a visual example of how the passes are combined to create the final image check out the Blender Manual Link about passes.
External Content: Blender Manual - Passes
In this guide we'll just go over some basic examples how we can use the passes to adjust our render. For a more in-depth guide on render layers check out this article.
Related Content: Render passes in Blender
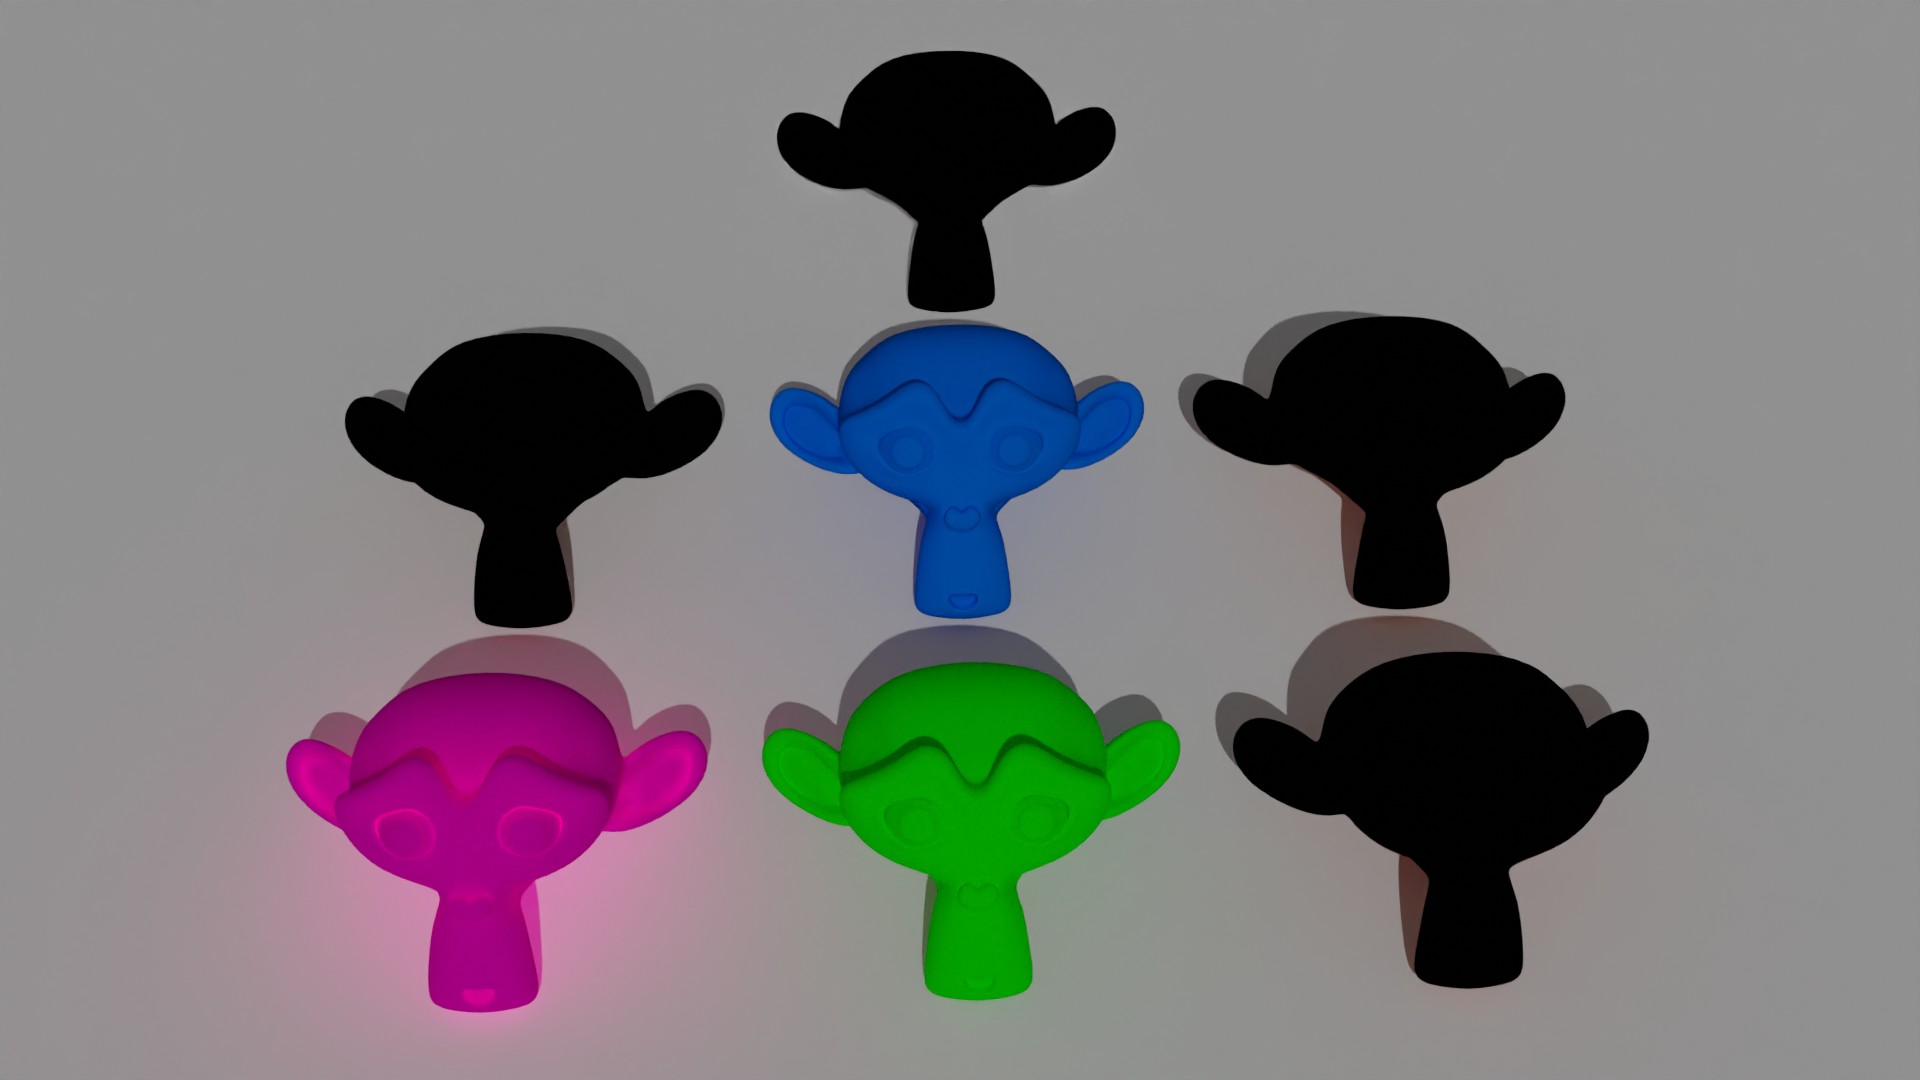
diffuse is kind of like the most basic lighting. The direct pass contains color light coming directly from sources, this can be an emissive object, or a light or anything that emits light in a scene. In this example the glow around the purple Suzanne is rendered in the diffuse direct pass.
Indirect is the bounce lighting, this is usually reflected light. for example a blue object in a bright scene bouncing blue light onto a white object. In the example the Indirect lighting is the subtle orange on the ground under the dark object, this is reflected light from the metallic material.
the diffuse color pass is just the color of the object, certain material types don't have any diffuse color such as fully metallic materials, these appear black in the diffuse color pass.
Glossy is the reflective light in a scene, this can be anything from the light on a low roughness material to a metallic material.
The direct glossy pass contains reflections that come directly from sources. By adjusting the intensity of the direct pass we can adjust how reflective materials look in the scene.
The indirect pass is usually is the reflections seen on the edge of a reflective object or the Fresnel effect. In the example this is the white light around the edges of some of he Suzannes. If we wanted to adjust the intensity of this we could adjust this pass.
The glossy color usually is just black and white and any materials that get their colors in the glossy pass get it from the direct and indirect pass.
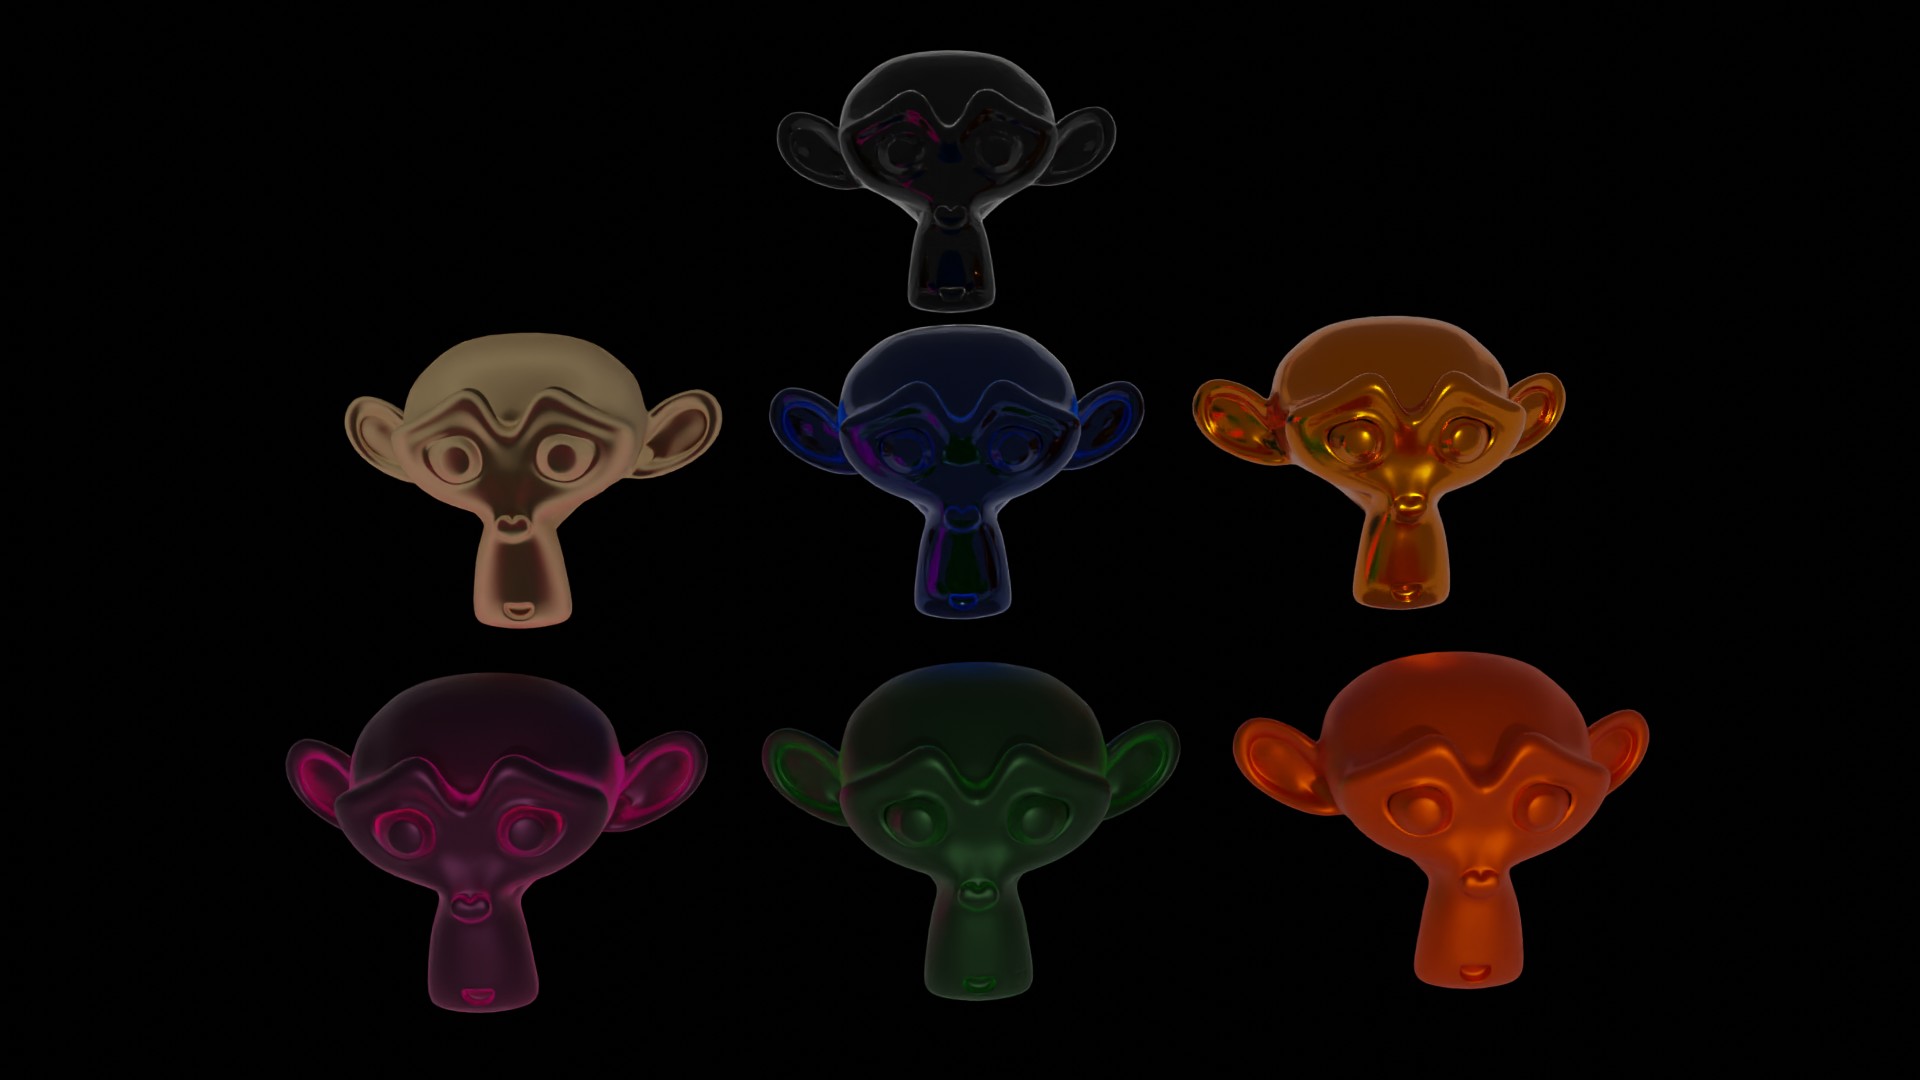
Transmission is any kind of glass material or any material that uses the principled BSDF transmission factor.
The direct pass for transmission seems to only be used for subtle effects so you'll need to check this one yourself to see if its actually being used.
The indirect pass contains the sort of reflective look of a transmission material. It's where glass gets it's actual glass look. We can adjust this pass to adjust how a transmission materials reflections look.
The color pass just contains the color of any transmission material.
To use the alpha over node:
The alpha over node takes the second input and uses its alpha channel as a mask to put it over the first input. Note that only the image we put on top needs an alpha channel.

we can use this node to composite multiple images together. For example we may render multiple parts of a scene in different renders. We can use the alpha over node to composite them back together.

We may also want certain elements of a render to always appear on top. This could be film grain or some sort of screen effect that needs to be modeled in the scene. We can use the alpha over node to make sure these layers are always on top.
Note that the image we're putting on top must have an alpha channel or else its going to completely cover the underlying image.
If we have any issues with weird outlines on the object, we put on top try enabling convert premultipled and adjusting the premultipled factor.
To use the Z combine node:
Z combine allows us to combine two different images using a depth map. We can also adjust the depth map to adjust where in the image the object is. We also only need one depth map to use this node.
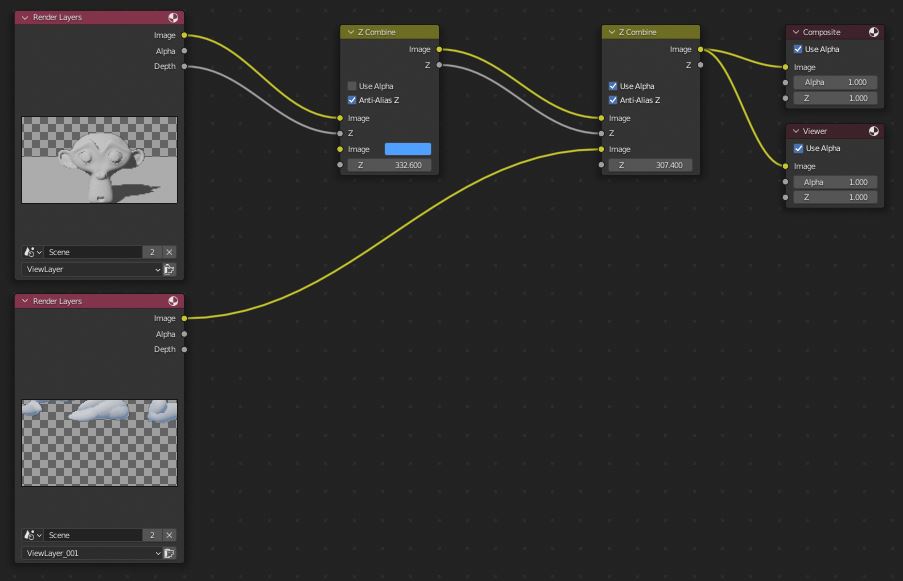
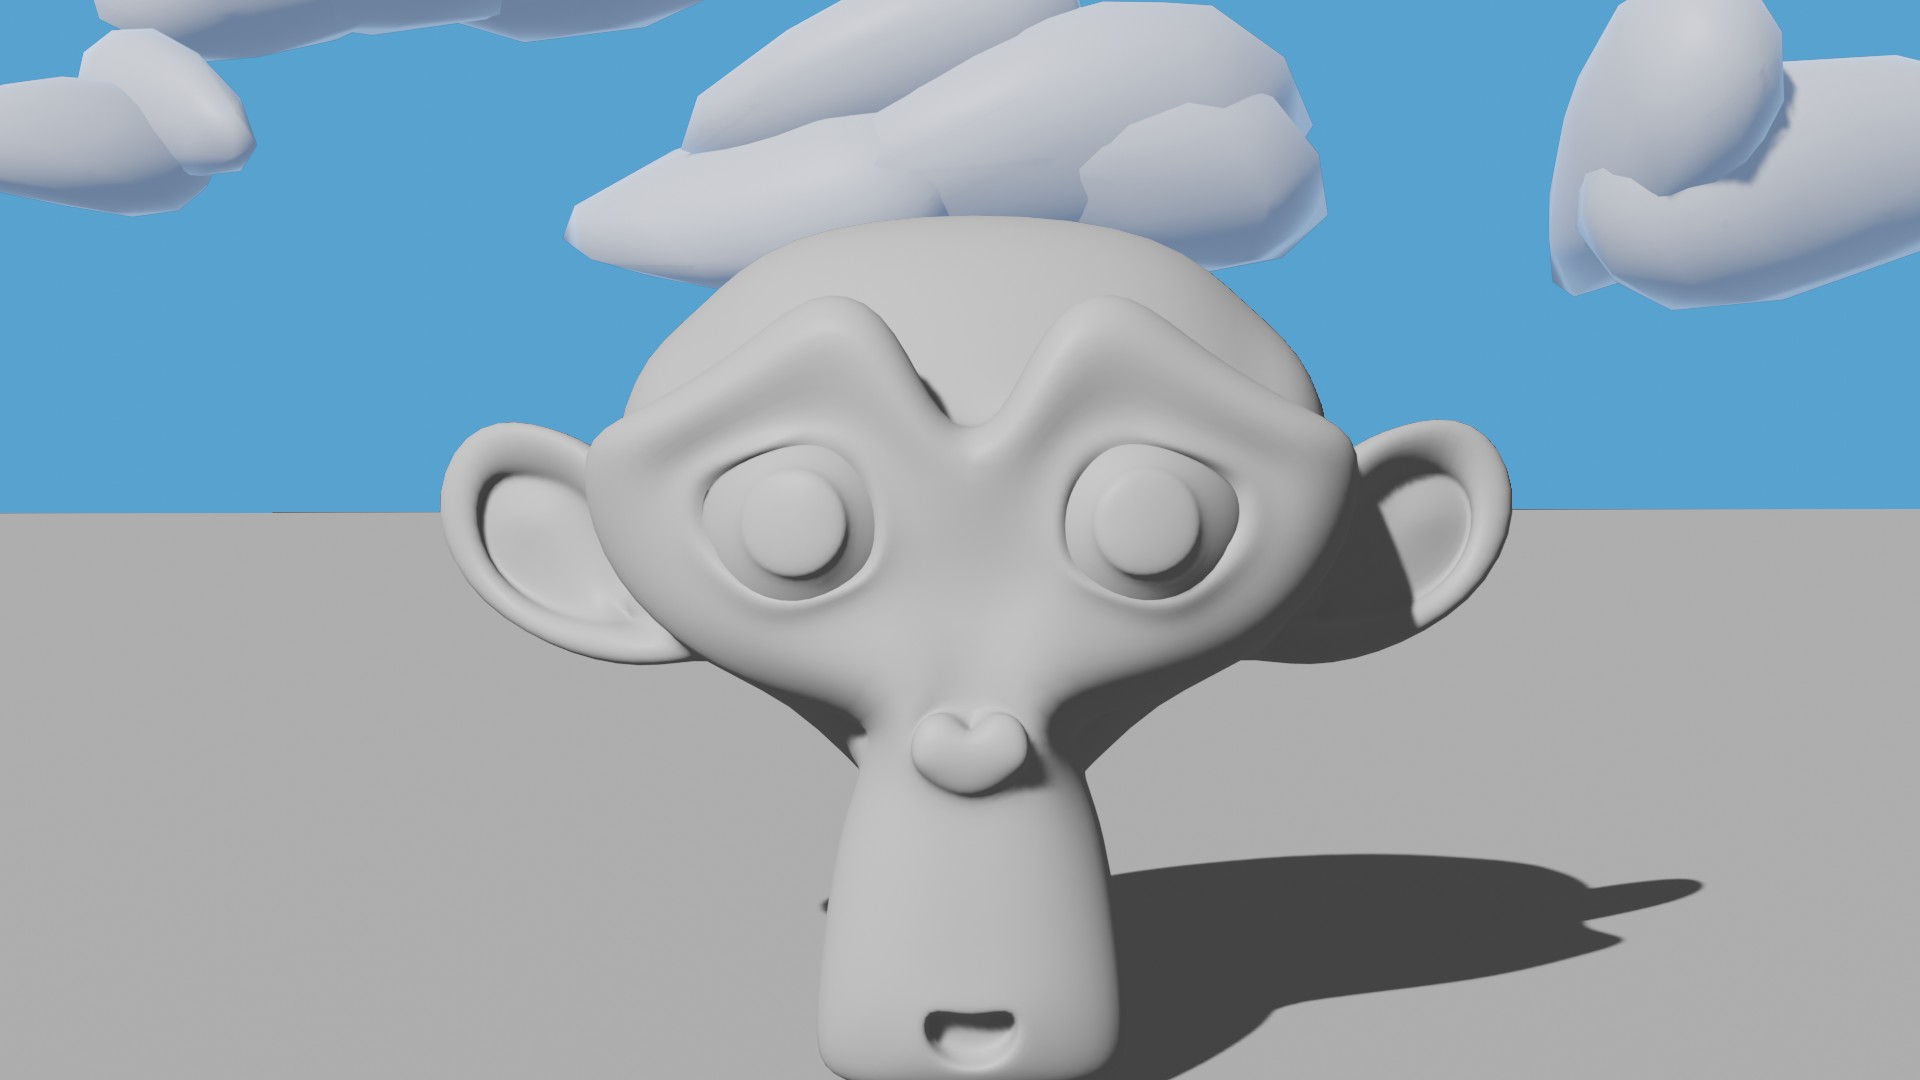
One example of how we could use this is compositing a sky into the background of a scene. We can adjust the z value until our sky texture is behind every other object.
This node also supports alpha channels. In the example image we use this to composite the clouds over the background. If we didn't enable this the background would be replaced with the transparency from the cloud layer.
To adjust the depth of the merge we can just use the z combine z value. To adjust a layer that has a depth map we can go to Add > Search > Math and set the mode to add. Connect the depth output to the first input of the math node and connect the output to the Z input.
Use the math nodes second value to adjust the depth of the object.
One issue we may run into with Z combine is that adjusting values doesn't seem to do anything. This can be because we need to use very large values.
The reason we need to use large values is because depth maps use values much higher than 1.
With Light layers, Alpha Over, and Z Combine we can do a lot of the basic compositing that we may run into when rendering Blender.
manually combining light layers allows us to fine tune each pass. While we could just adjust the materials sometimes, we can't get the exact look we want. This method is also usually much quicker than re-rendering the scene.
We can use the alpha over and z combine nodes in a lot of different ways to combine different render layers. Z combine is great for combining different layers in a scene using depth. Alpha over is more like traditional layering that we might find in a photo editing program.
Thank you for your time.
