


Soon after you start to dive into nodes, shaders, and compositing in Blender you will come across the color ramp node. This is one of the most used nodes and it is important to understand how it works.
A color ramp in Blender is a node that we can use in either the shader editor or in the compositor to take a grayscale range of values and remap them according to a gradient and output either another range of grayscale values or turn the input into a color value output.
We will explore the color ramp node from the shader nodes perspective. But it works the same in the compositor and lamp nodes as well.
If you are new to shader nodes in Blender, I would suggest that you start here:
Related content: The complete beginners guide to Blender nodes, Eevee, Cycles and PBR
Let's look at why the colorramp node is so useful and how we can use it to our advantage.
The color ramp node takes a single channel input. This is indicated by the gray socket on the left side of the node. It then remaps all the values in this channel to the corresponding RGB value in the ramp.
If the input is a color input, Blender will automatically convert the input to a grayscale value first.
By default, the scale on the color ramp node goes from black to white and as we take an input and remap the colors to the same color in the range no change is made. We need to adjust the color ramp for it to have any effect other than the remapping from color to grayscale.
A color ramp can be used several ways. We can create a color spectrum and recolor a texture based on the values in the color ramp. But the most common use is for masking. If we have two other textures that we want to mask between dynamically without having to assign faces to different materials and create sharp seams between them.
The most basic way to use a color ramp node is to plug in a texture, let the colorramp node change the values in some way and see how it affects the output.

In this case we took a noise texture and remapped the darker values to blue, a tighter range of middle grays to green and the light gray and white values to red.
To add an additional flag, press the plus on the colorramp node, to remove the selected flag, press the minus sign.
We then get this heatmap kind of effect on the plane I have applied this material to.
This may be useful for more technical textures. But if we want to have a more detailed color spectrum we can use the color eyedropper with an image we have imported into Blender.
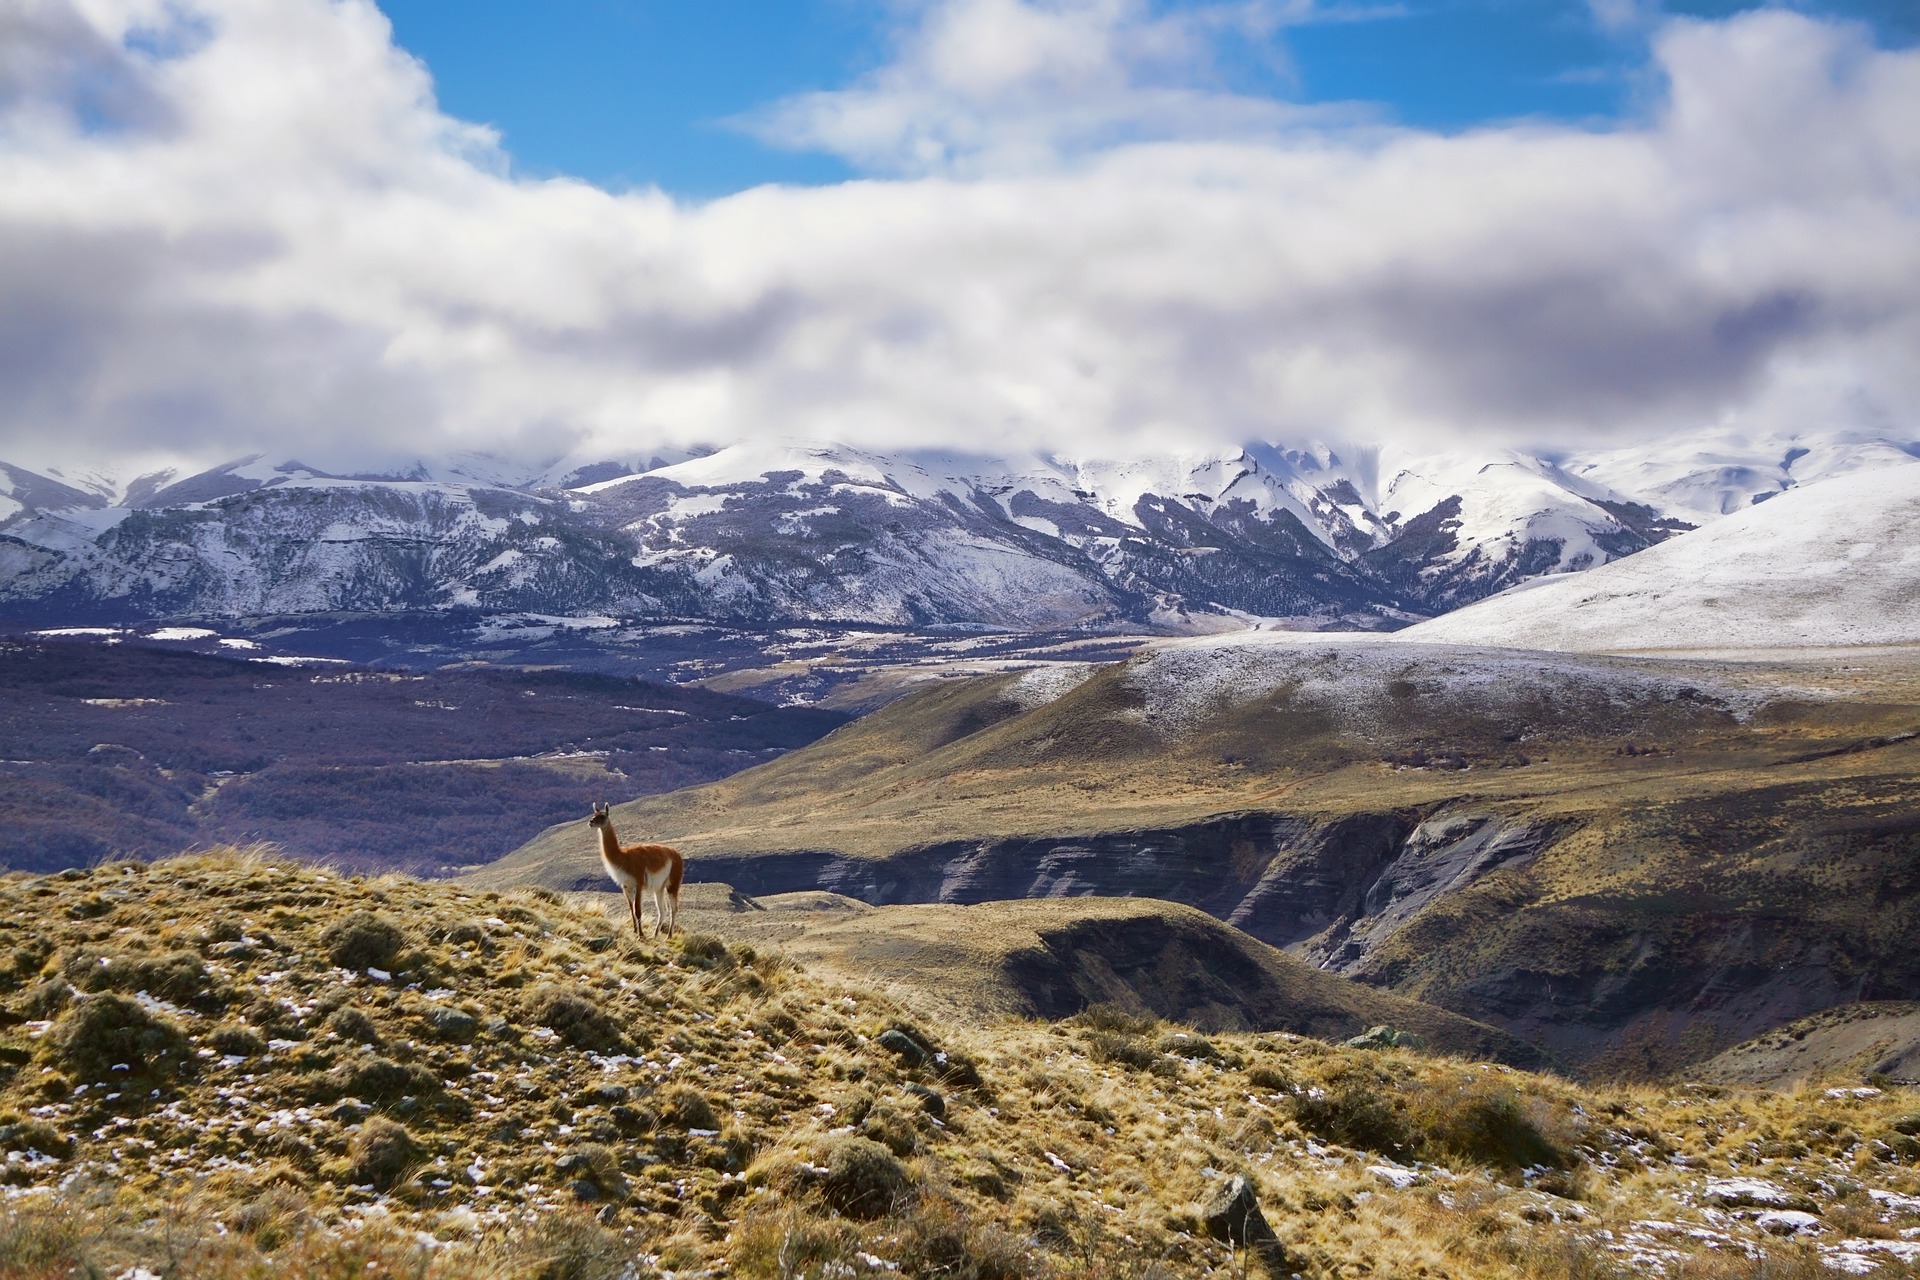
In this case I imported this image I found on Pixabay.
To use the colorramp eyedropper tool, press the drop-down menu on the colorramp node and choose the eyedropper. Then drag it across anywhere in the Blender interface.
I have imported the image above to the image editor and will drag across the ground. This gives us a brown detailed colorramp with varying colors.

This way we can create all sorts of color ranges by sampling from any image we want and use in our materials. This can be a handy way to get color ranges for various procedural textures.
Let's look at one of the most common examples. In this case, we take a noise texture and pipe the grayscale or color output into the color ramp. Then we simply push the black and white color flags very close to each other to create a texture that contains almost exclusively black and white.
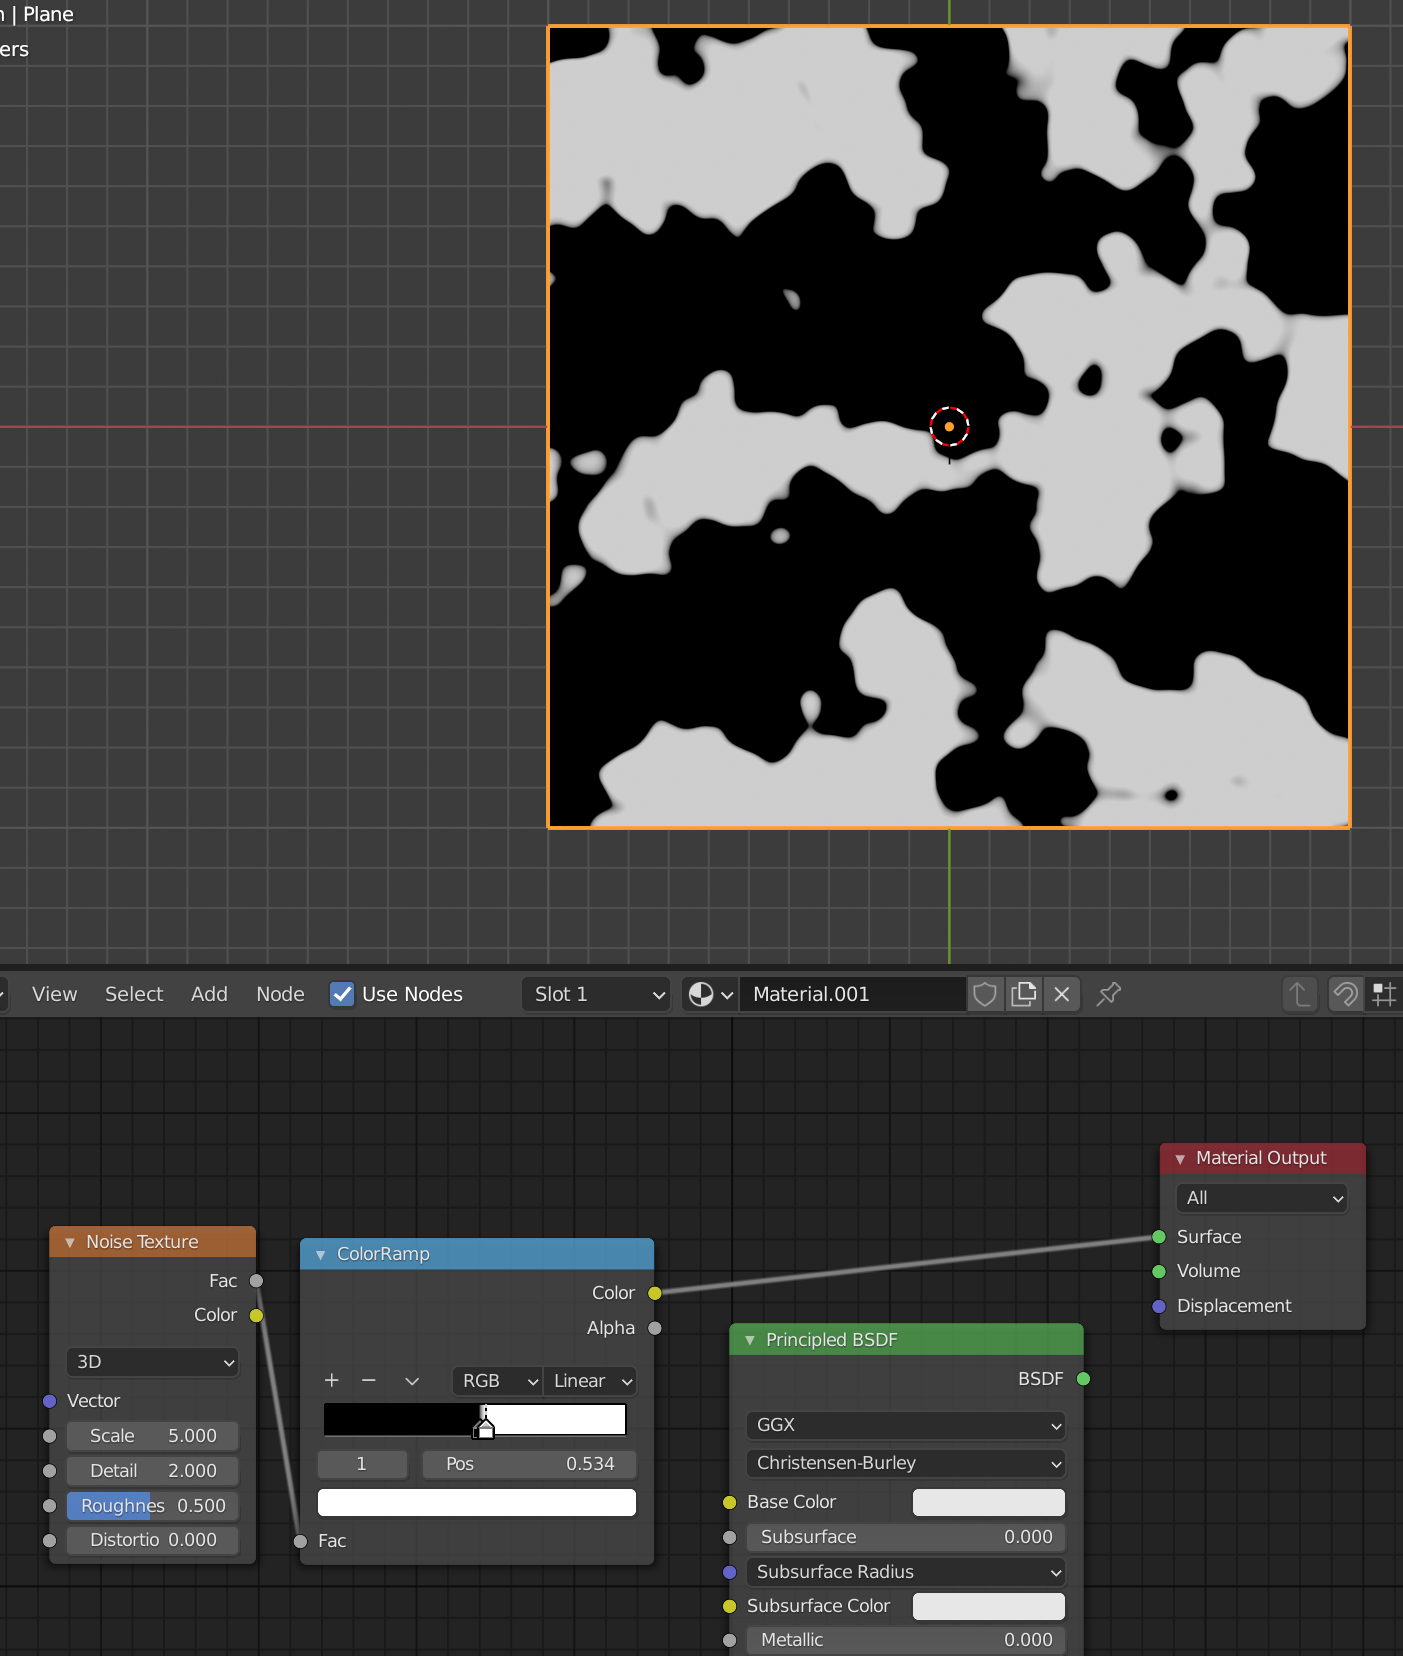
You can plug the colorramp straight to the material output to see the effect or use the node wrangler add-on and press Ctrl+Shift+Left-click to add a viewer node. The effect is the same.
We can now use this colorramp output to mask between two different textures or shaders. Here is an example with mixing between textures.
In this example, the voronoi texture will go where the noise mask is black and the brick texture will go where the noise texture is white. We will have a very narrow transition between the two thanks to how close the flags are to each other in the colorramp.
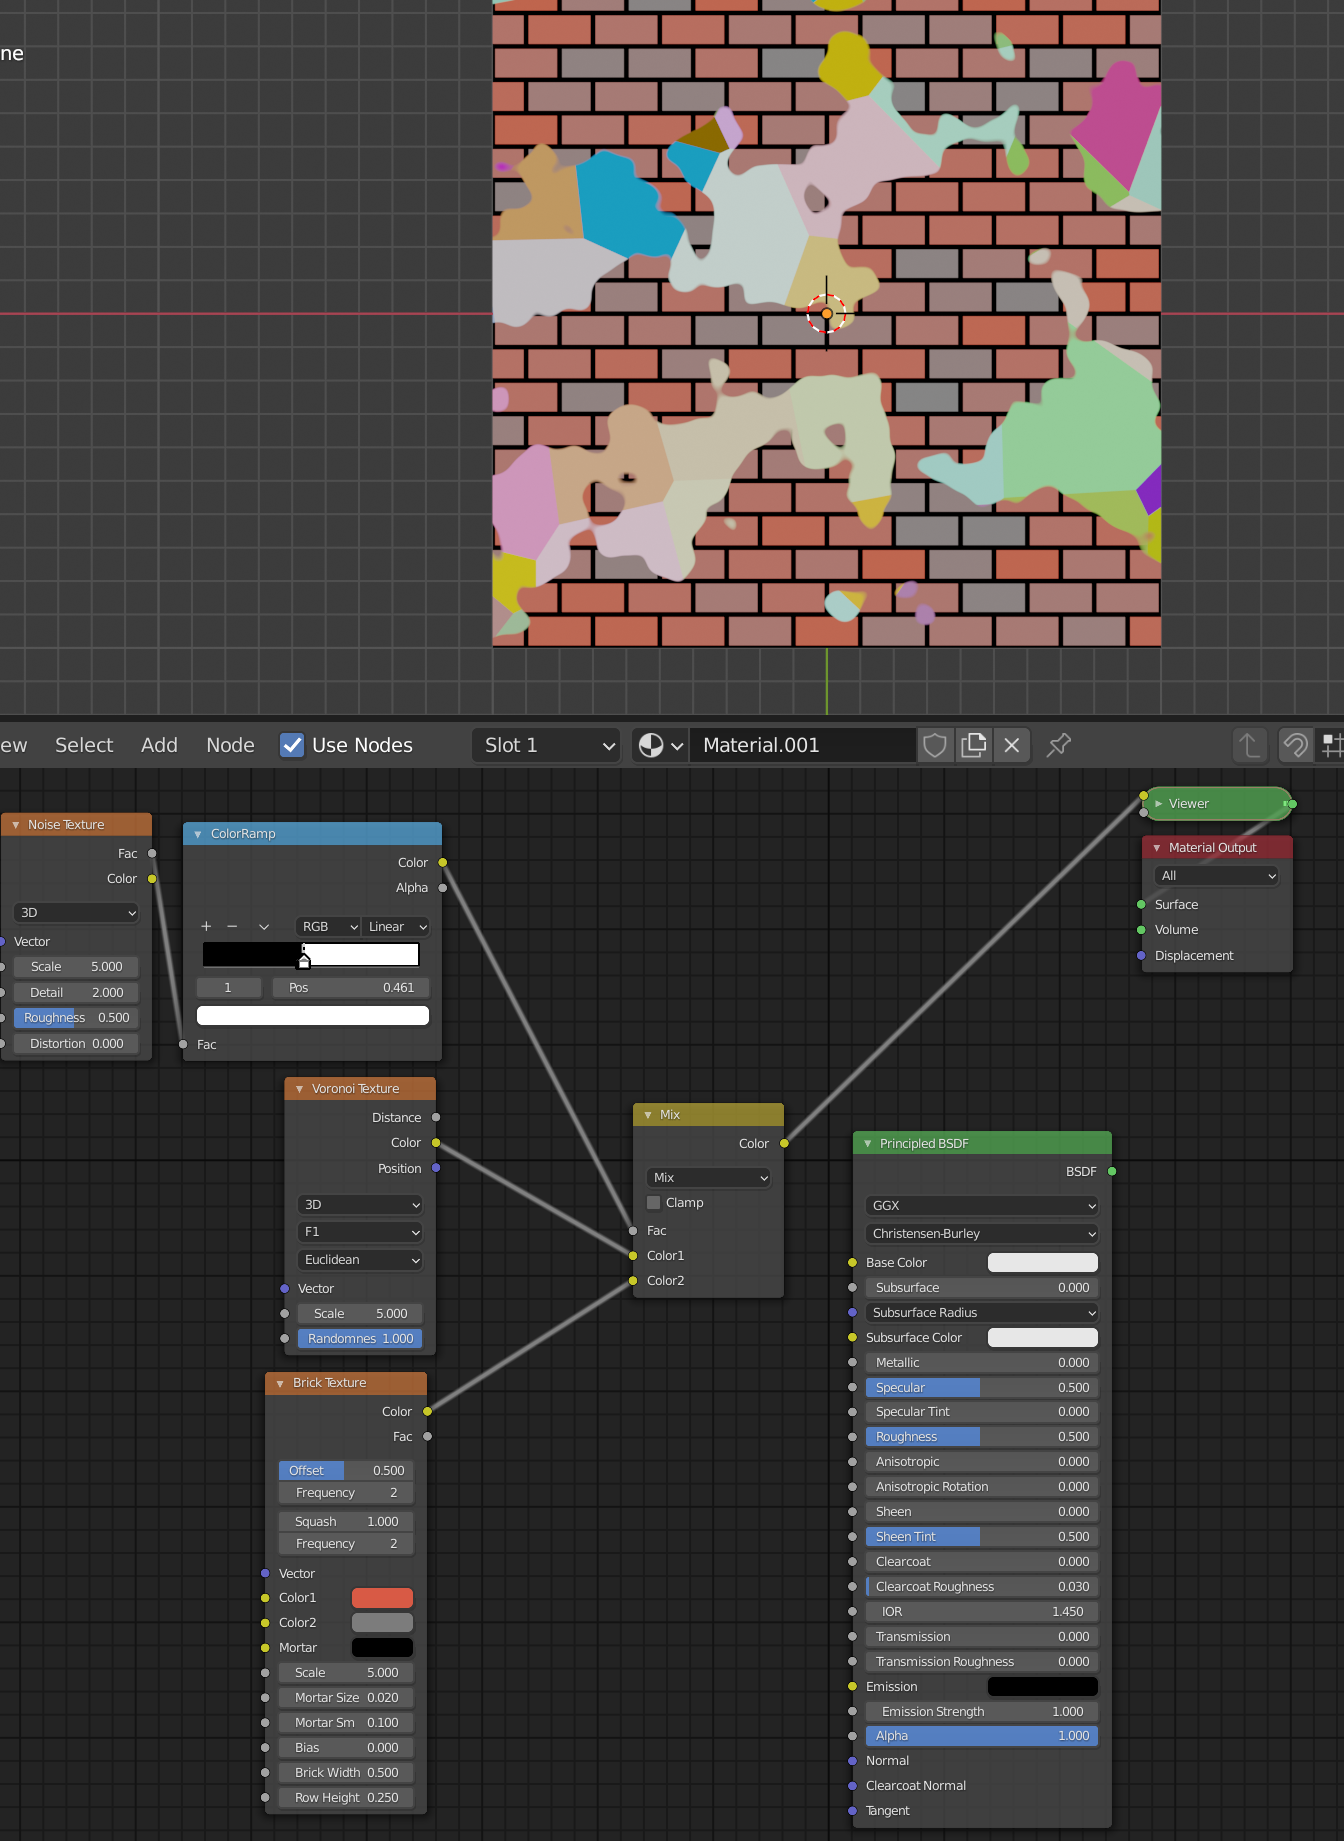
Here I used the node wrangler add-on to show you that there is no difference. But we can use the shortcut. You can enable node wrangler in your user preferences.
Related content: 30 Blender addons (install, manage, free and paid)
Transparency is rarely used with the colorramp node. But if we need it, it is separated from the color channels. Just like with any image.
By default, each flag in the colorramp has the alpha channel set to 1. Meaning fully opaque and there is no contrast in the output. To use the alpha channel, we need to change the alpha value in at least one flag.
Click the flag you want to change and then the color bar to adjust the alpha value to something below 1.
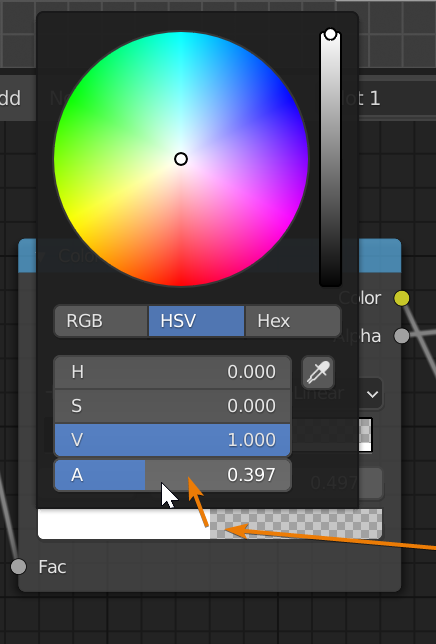
This is the result we will get.

In reality we can do the same thing with any of the red green and blue channels as well just by separating them.

You can see that the alpha channel is just another channel like red, green and blue in this case. If we want we can use any of these channels to create a mask. The transparency is there for when the other channels are occupied by their intended use. But when we are masking it does not matter what channel we use.
All we need is a channel that goes from 0 to 1.
Related content: How to use alpha transparent textures in Blender
If you need a rainbow color spectrum you can use the colorramp. Follow these steps.


This will result in a rainbow color scale.
When looking at the eyedropper earlier that we accessed from the drop-down menu you may have noticed that there are additional settings there.
For instance, we can flip the color ramp. We can also distribute the flags, called stops, either evenly or from the left. if you need from the right, just do left and flip.
There are also several interpolation modes. Most of the time we use linear. But the others have their uses.
For instance we can use b-spline to create softer transitions and constant can be used to remove any fading between colors.
The colorramp node is a versatile and much needed node when shading with cycles and eevee. We can also find it in light nodes where we may find the rainbow colorramp useful sometimes. We tend to use the colorramp less in the compositor but it is available there as well.
Knowing how the colorramp works is an essential piece of learning how to shade in Blender.
Thanks for your time.
