


When working with image texture or procedural textures in Blender we will often want to move or resize them. So how do we do it?
To move or resize a texture, navigate to the UV editing workspace and select the faces you want to edit in the 3D viewport. In the UV editor press A to select everything and use S to resize and G to Move.
In the rest of this article we'll go into detail about moving and resizing textures using either the shader editor or the UV editor.
Related content: How to add a texture to an object in Blender
Related content: The definitive tutorial to UV mapping in Blender
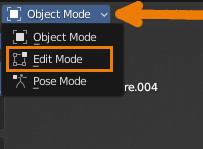
To move a texture that is UV Mapped we will need to first select our mesh, to select the mesh go to edit mode and press A to select all or select the part of the mesh you'd like to move the textures on.
Related content: How selecting works in Blender
Navigate to the UV editing workspace and again make sure that everything is selected, or the part of the mesh that you want to move the textures on.
Now press G to activate the move tool.
To move the selected UVs we can either move the mouse or type in an exact value. We can use the x and y key to lock the axis that we move the selection on.
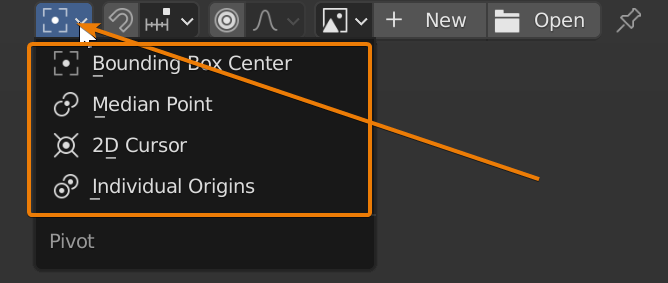
For scaling or resizing your texture press S for scale instead of G. You can change the position you scale from in the pivot menu. You can find it in the center of the header.
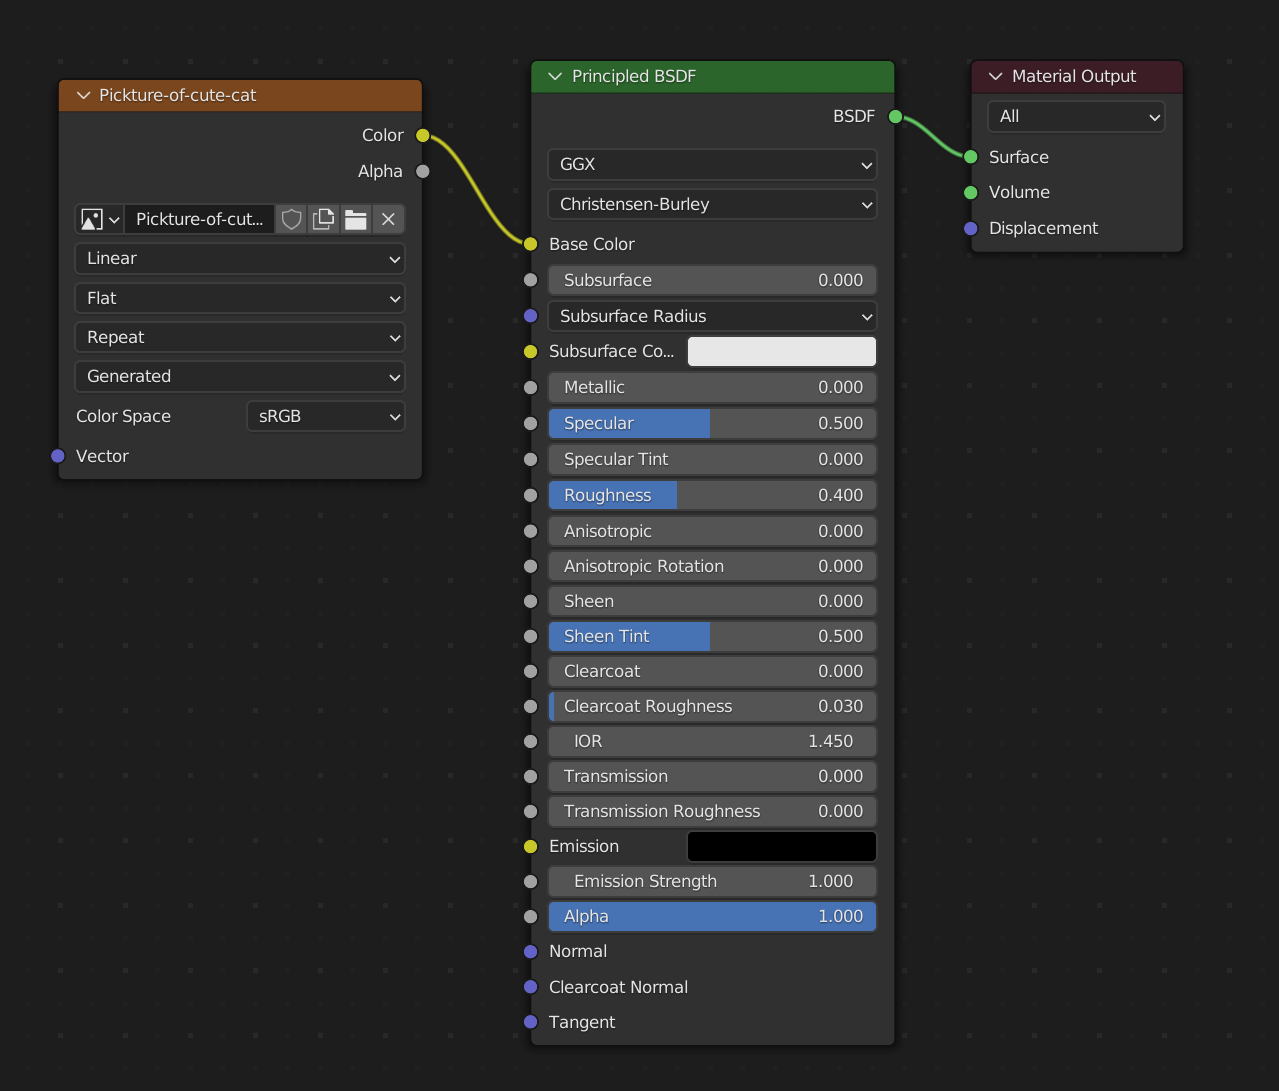
Another method we can use to move our texture is to use a mapping node in the shader editor. Start by going to the shader workspace. You should have something that looks similar to this.
Related content: The complete beginners guide to Blender nodes, Eevee, Cycles and PBR
If you don't see the node with the orange header you can add it by drag and dropping an image into the shader editor and connect the color to the base color of the principled bsdf.
To add the necessary nodes to be a ble to move and resize a texture from here, follow these steps:
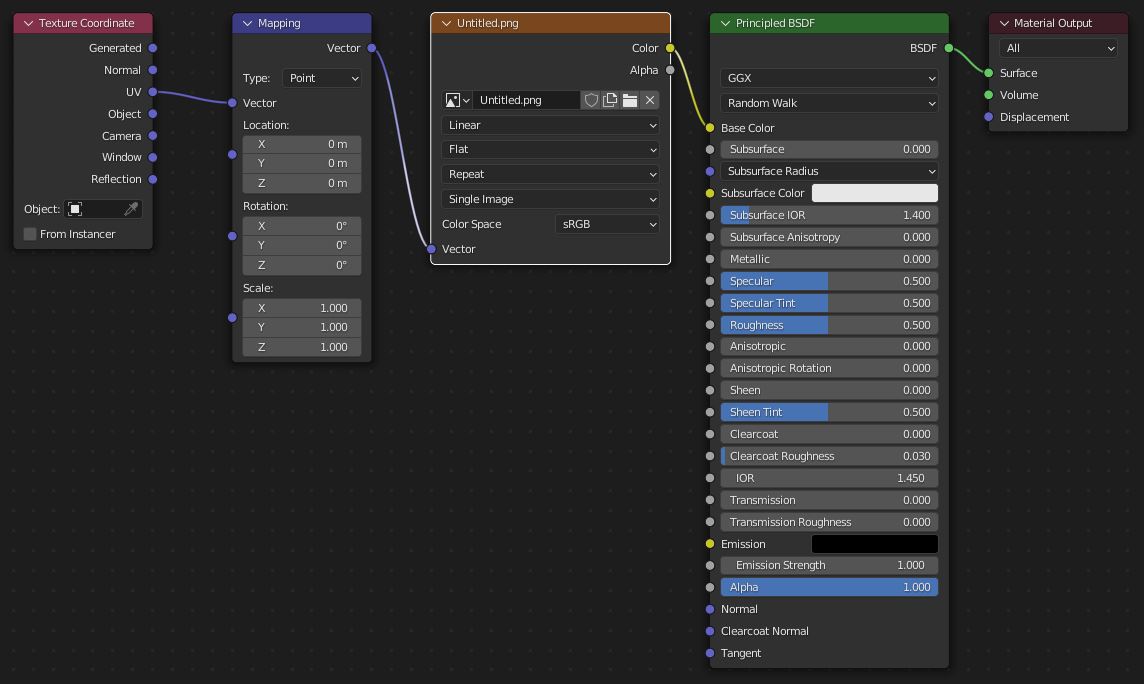
We can now change the Location, X and Y values to move the texture or change the X and Y scale values to scale the image texture.
This technique works even if we don't have a UV Map or if we are working with procedural textures, such as a noise texture.
For image textures without a UV map, check out this guide.
Related content: Blender box mapping workflow, a quick look
A limitation of this method is that we cannot export the result to another 3D application. Shader nodes is a Blender specific technology.
However we can use baking to store the new results in an image texture that we can then once again use UV mapping to add.
Related content: How to bake textures in Blender
This method also applies to the whole entire material. You can use the UV maps to apply these changes only to a part of the mesh.
We will often need to both move and rescale textures in Blender so knowing how to do both is very useful.
Being able to both move and scale textures with a mapping node as well as through a objects UVs will mean that we can achieve this effect both for procedural materials as well as objects that are only textured through UVs or models that we need to export.
Thanks for your time.
