


When creating art in Blender there are many cases where we may need a glass shader. Glass can add a lot of realism to our scenes and getting a glass shader right can be key to lighting our scenes in a convincing way.
We will explore glass shaders for both Cycles and Eevee.
To create a glass shader in blender:
In the rest of this article, we will go into more detail about the method listed above and a few more methods you can use to create a glass shader.
Related content: The complete beginners guide to Blender nodes, Eevee, Cycles and PBR
To start we will talk about the Glass BSDF Shader, this is probably the most simple and quickest way of creating a glass material.
When we add a Glass BSDF node to the shader graph it comes with a few options:
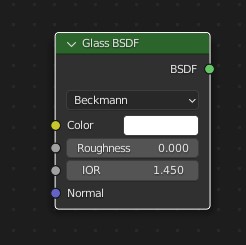
The algorithms are different scientific methods to calculate how the glass will be calculated and they give slightly different results. The biggest difference is that the sharp method won't take roughness into account and GGX is the only option supported when we get to Eevee.
The color will set the color of the glass, you can also control it through its input with a texture or other kinds of input.
Roughness will change how rough the reflection of the glass is, a high roughness value will make the reflections look hazy while a low roughness value will make the reflections very clear, this can also be controlled with any kind of texture.
To demonstrate this, we can setup a node network like this using the noise texture.

The cube has a solidify and bevel modifier in its stack to avoid a complete solid glass object. For interest, I also just added the monkey object inside to better show the contrast between a low and high roughness value.
Related content: How to bevel in Blender using the tool and modifier
The IOR value changes the angle that the glass will bend light at, later in the article I will describe reflection and refraction in more detail with examples but to keep it brief when light refracts off of glass it gets bent by the surface of the glass, by changing the IOR you change the angle.
With an IOR of 1, the glass does not bend the light. Add the color white and a roughness of zero and the glass will be invisible.
The Normal Input allows you to change the shape of the surface that light interacts with without changing your model, this allows you to add detail to the surface without having to add an excessive amount of polygons.
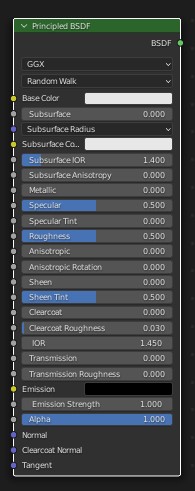
You can also achieve a similar effect with the Principled BSDF shader. Here we will cover the relevant inputs for glass. For a more complete guide on the principled BSDF, read this article.
Related content: Physically based rendering and Blender materials
Go ahead and connect the output socket to the surface input socket of the material output if it isn’t already.
Now, the main input we will be focusing on is transmission, as the name implies transmission is how much light is allowed to be transmitted through the surface, and consequently affected by it, it essentially lets your object act like a piece of glass, where the light can go through it and be affected like glass.
For now we will set our transmission to 1, with that you should see that our shader looks pretty close to the glass BSDF. I would also recommend setting specular to 1 though this is not required, the reason for this is that glass tends to be a very reflective material.
We can also change the transparency of the glass by changing the alpha value, a high alpha value will result in a very opaque material while a low alpha value will result in a very transparent material.
Other than that, we can use the base color, roughness and IOR inputs just like with the glass shader. For the algorithm used, the principled BSDF only supports GGX and multiscatter GGX.
Now, I’ve been mentioning reflections and refraction a bit so I’d like to go a bit more in depth and provide some examples of what they look like in practice, for this we will mainly be referring to the cycles render engine to help make the concept easier to understand.
Reflection in Blender is the light that bounces from a reflective surface, you can think of it like shining a light into a mirror and the light shining back onto you, in Blender it works in a very similar way.
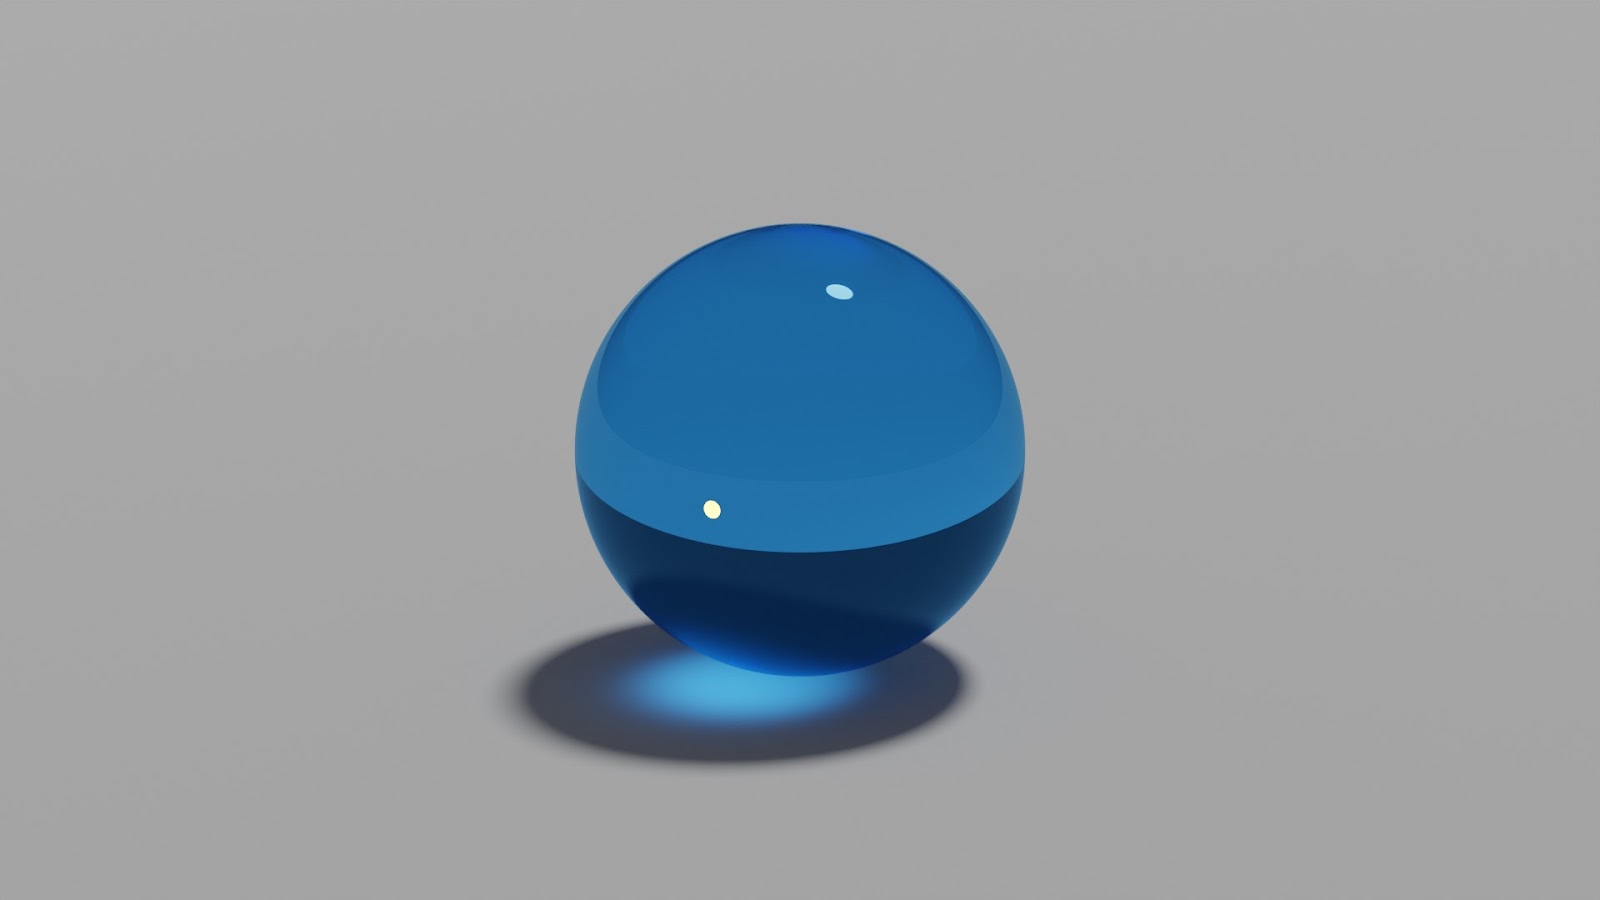
With Reflective Caustics enabled you can see that the light from the orange spotlight reflects out onto the surface around it.

Without Reflective Caustics that subtle reflection of light isn’t present.
Refractive light is a bit different, refraction is when a surface and or material bends the light that hits it, an example of this would be holding a magnifying glass up to a light, the light that comes out is bent to a smaller point.
With Refractive Caustics enabled you can see that the rounded surface of the sphere bends the light down to a point under it, you may also notice that since that light is being focused it also increases the intensity.
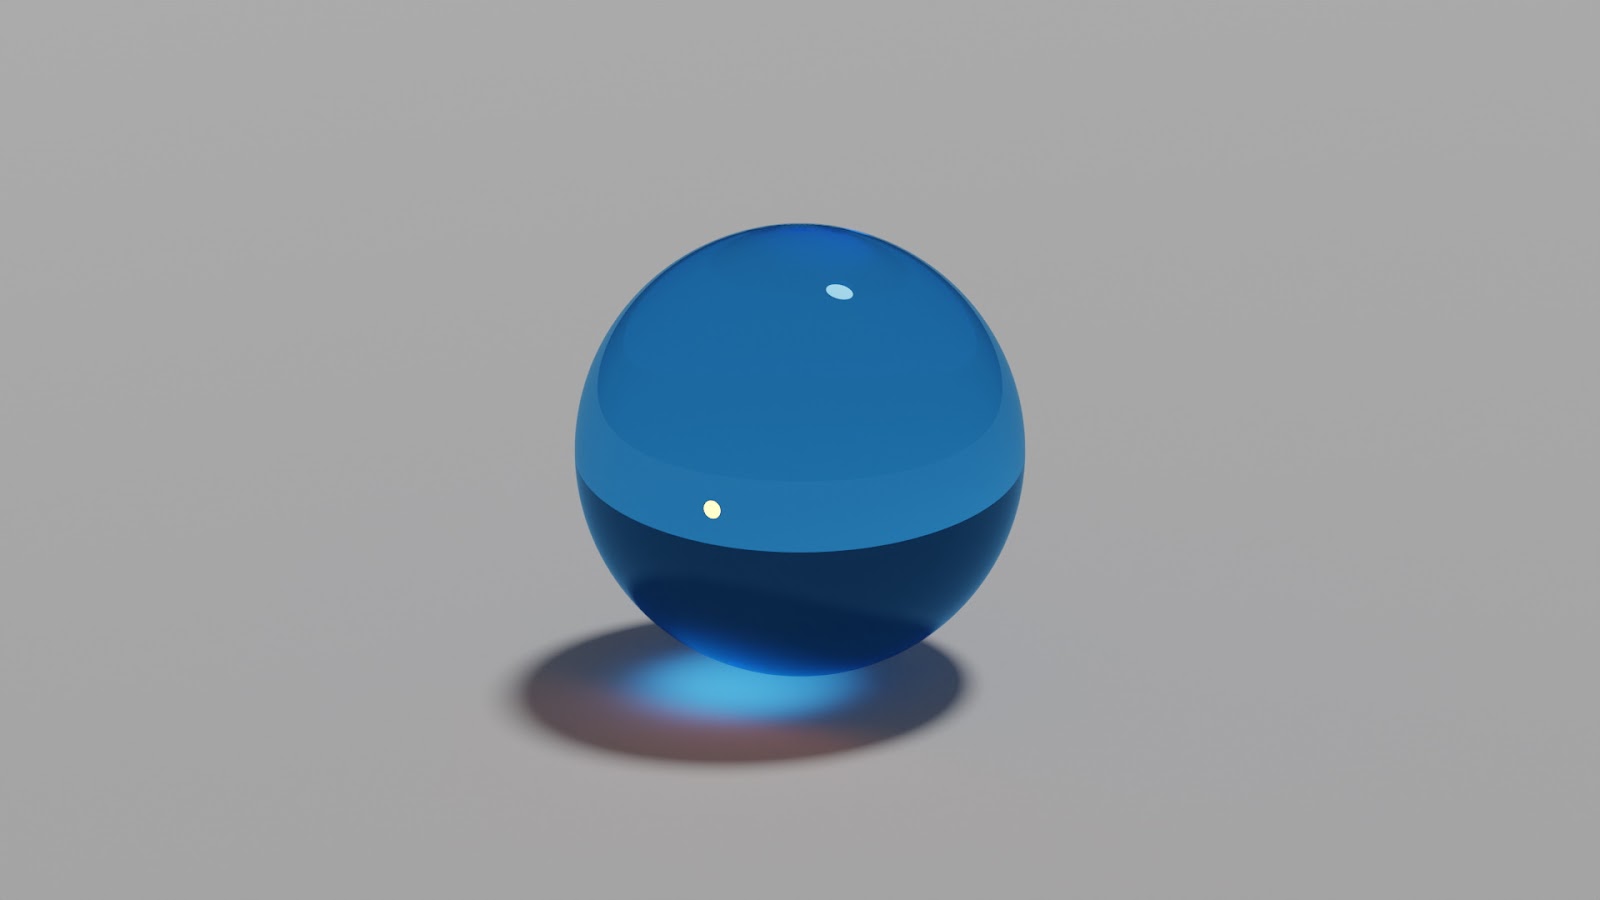
Without Refractive Caustics enabled you don’t get any kind of light bending.
In terms of the render settings for the glass everything should work fairly well out of the box though you can disable both reflective and refractive caustics to save on render times.
These options can be found in the Render Properties Panel Under Light Paths > Caustics.
Related content: Blender: A Cycles render settings guide
You can also change the Glossy and Transmission bounce counts to help optimize your render times, these can be found in the Render Properties Panel Under Light Paths > Max Bounces, lowering these values will likely result in quicker render times but lower quality and increasing them will result in higher quality but longer render times.
Since caustics can be very expensive to render, we can also get some performance gains with our glass shader by using the light path node, first disable both reflective and refractive caustics in the Render Properties under Screen Space Reflections then we can use a shader trick to emulate them instead.
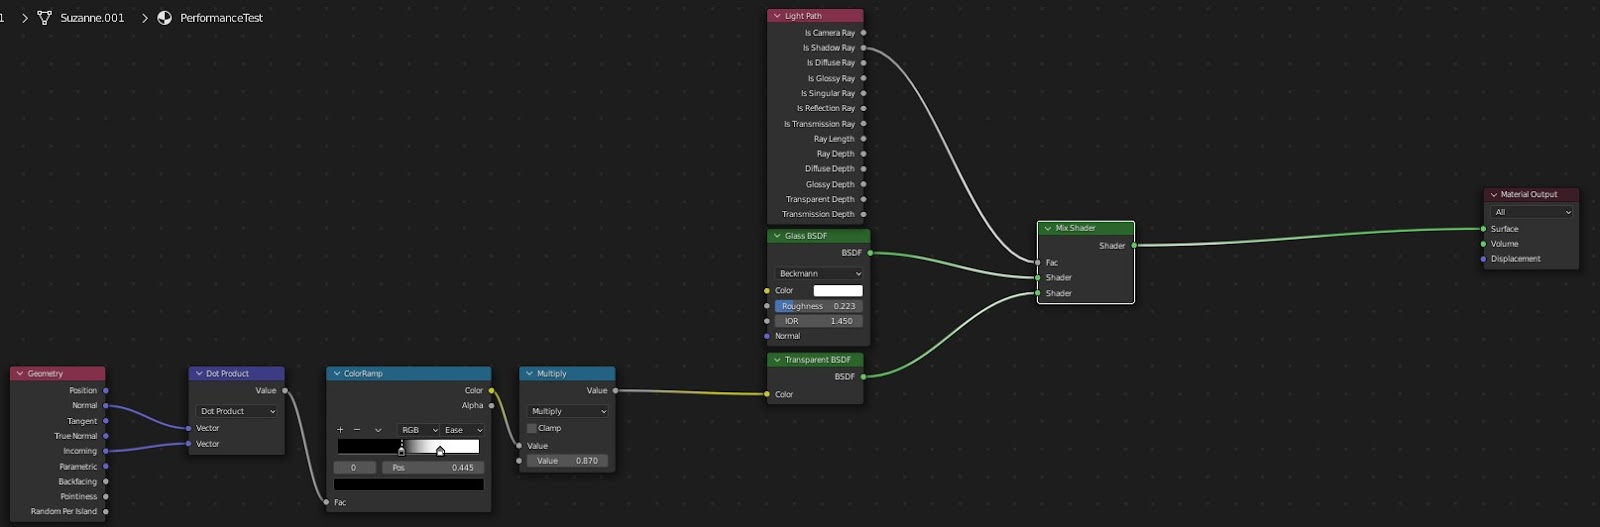
The Node Setup for this shader will look like this, you can recreate this setup by pressing Shift + A and searching for the title of each node show above, then connecting them in the same order, keep in mind that the Dot Product node is a Vector Math node set to Dot Product and the Multiply node is a math node set to multiply, note you can also add this to an existing shader by just mixing in the these changes at the end.
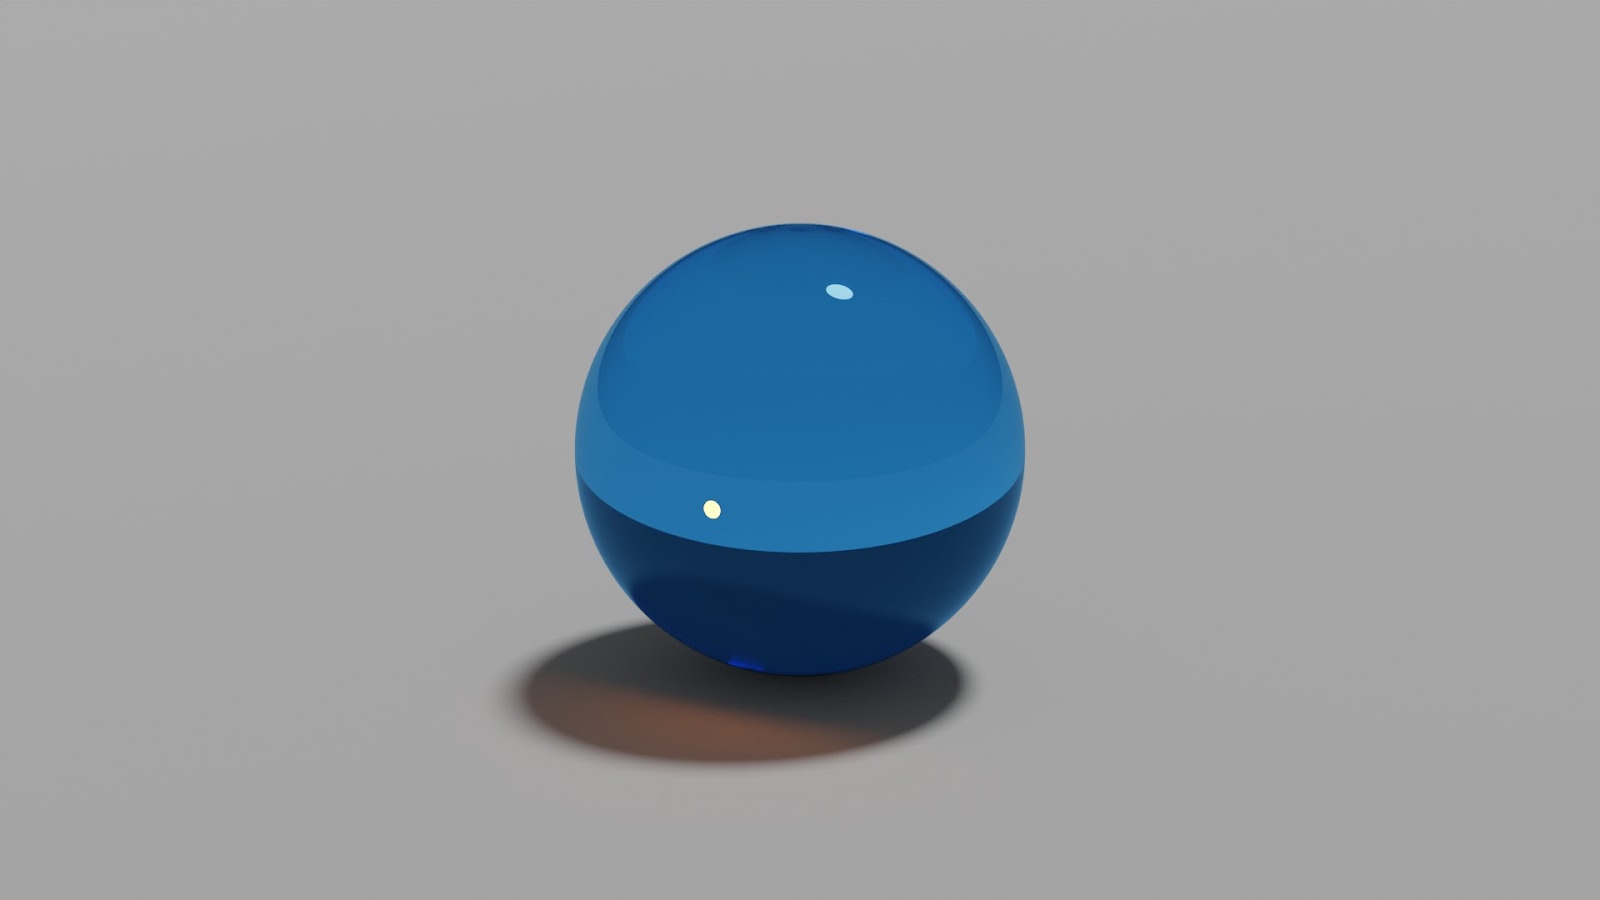
With default caustics enabled your results will look something like this, keep in mind this is with a low sample count, as you can see the caustics lack some definition.
With the custom caustics you get a result like this

Of course, you may want to change the values of the above shader, mainly the multiply value and the glass properties as well as your light’s angle, this method also comes with a slight decrease of render times, and an increase in definition on the refracted light.
In Eevee we need to fake the glass a bit more and the render settings as well as settings for the material itself play a much bigger part. So it is not as straight forward as it is in Cycles.
Let's start with the render settings. Go to your render tab and select Eevee as the render engine. Next turn on screen space reflection and check refractions.
Related content: A guide to Blender Eevee render settings
Next select your object and add a material by going to the material tab and pressing the plus sign next to the list.
Related content: The complete beginners guide to Blender nodes, Eevee, Cycles and PBR
Once you have a material created, expand the settings section.

There are some different schools on how to setup these settings for a glass material. Some say that backface culling should be on and some say that it should be off. Depending on the glass shader setup you may also want to experiment with the two blend modes alpha blend and alpha hashed.
With the shader I am about to show you I have found these settings to work well, that is also reflected in the image above.
All glass materials that can be created in Eevee likely have one or more problems. But in essence we have two choices. We can make a refraction-based glass shader or a transparent glass shader.
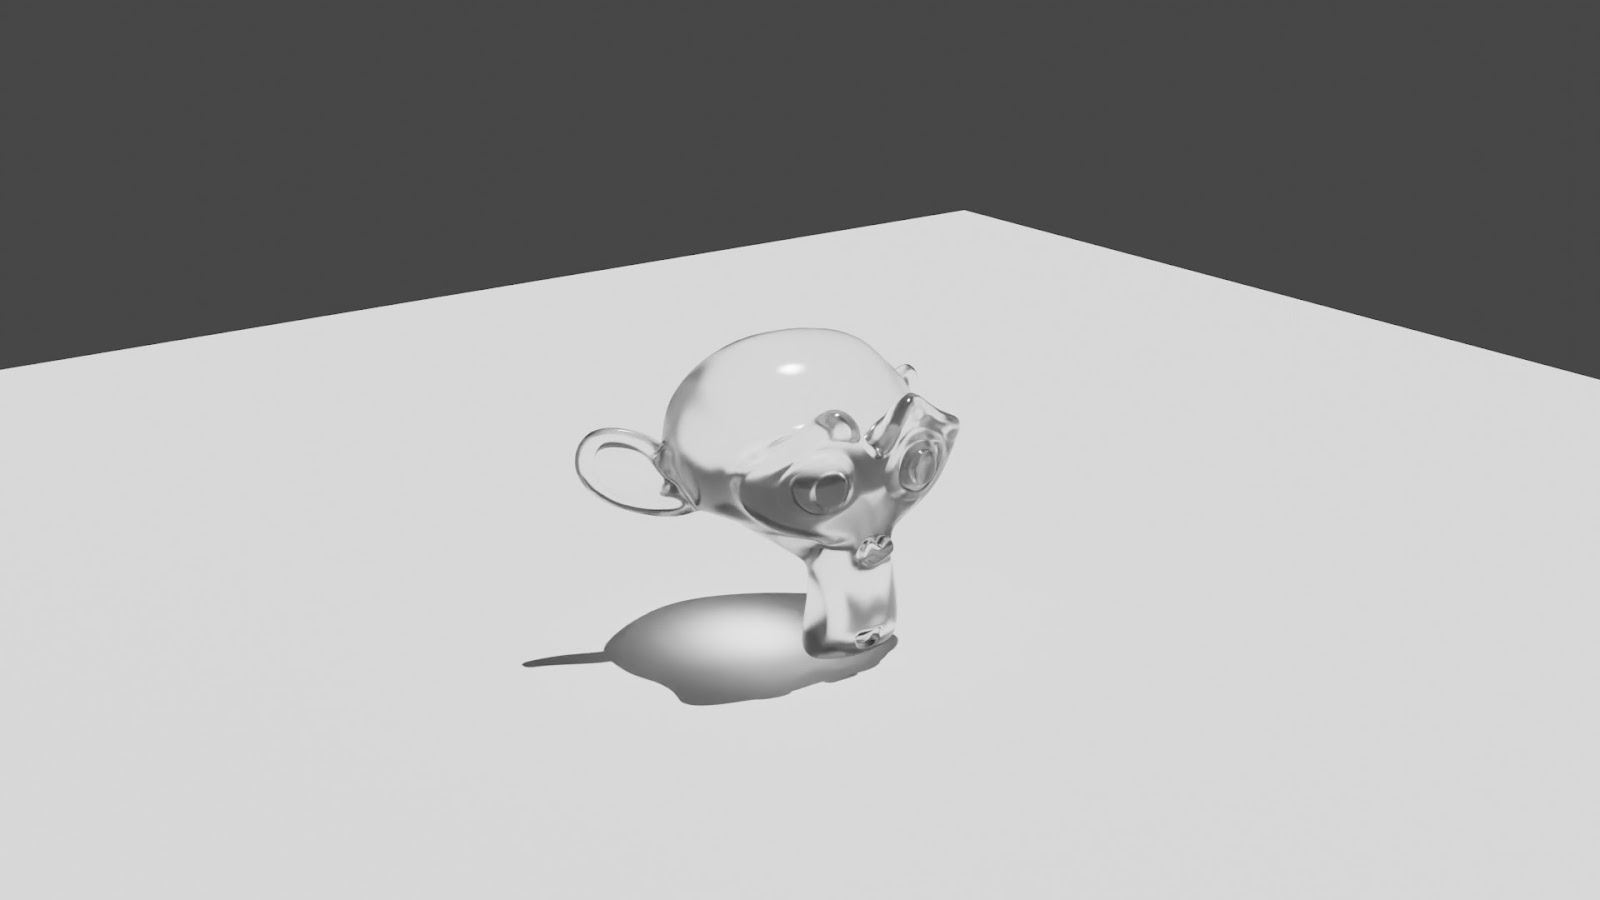
If we choose refraction, we won't see other glass objects behind our glass objects. But we can see objects with other properties, such as metals and diffuse materials. In a lot of cases the simplest way is therefore to just create a shader like this.
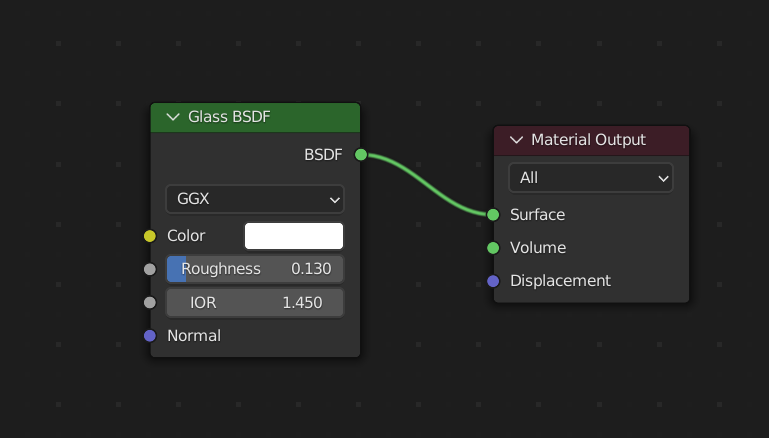
This is essentially the same as this setup.

However this is not very adjustable and the emphasis on reflection is often way too high. It often looks more like a metal than an actual glass shader.
But it gives us refractions.
Since the transparency method doesn't have an equivalent node, we use the refraction and glossy combination above and replace refraction with transparency and we have a shader that looks like this.

However, the transparency based setup has a significant disadvantage and that is that the light that travels through the shader doesn't get bent. But we can clearly see other transparency based shaders behind it.
This allow us to stack glass, and this is a quite common occurance.
Related content: How to use alpha transparent textures in Blender
Let's now take a look at a material setup that can help us combine these two features. Click on the image to enlarge it and see the full details.
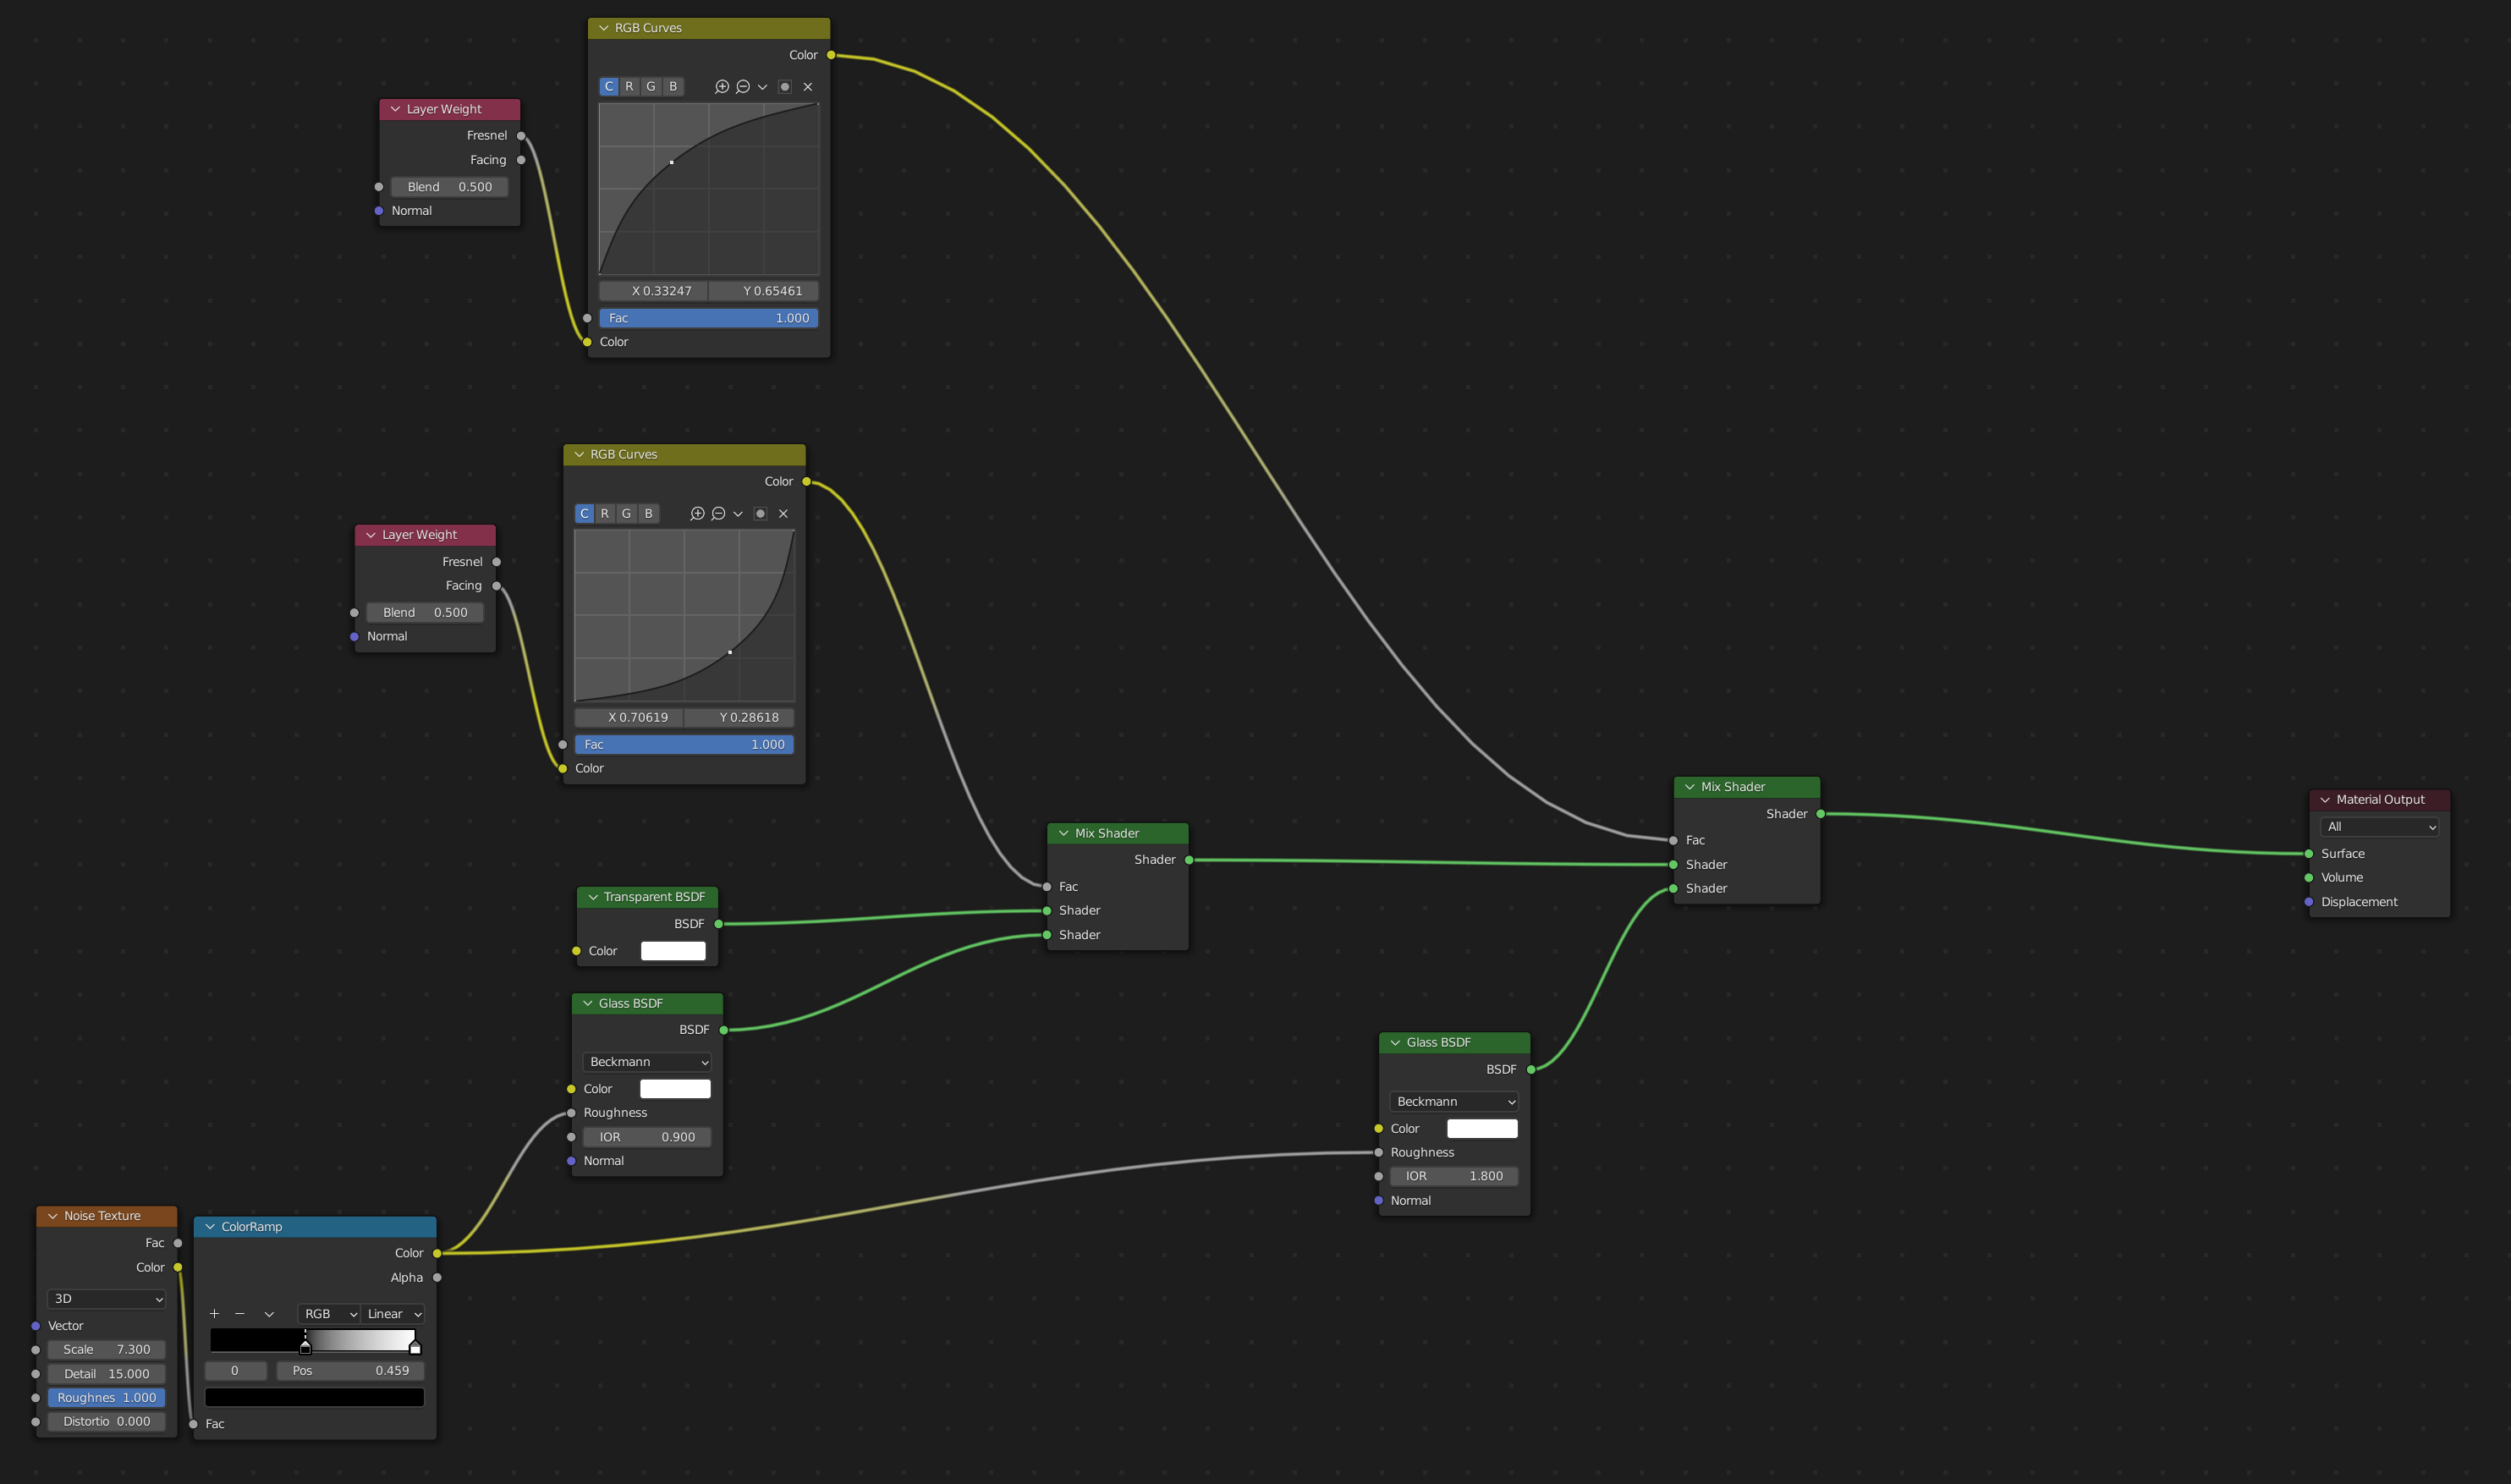
Here we use the layer weight node to combine a glass shader and a transparent shader. In this process the reflections will be washed out quite a bit so we add another glass shader on top of this combination with an opposite rgb curve.
On top of that I add a little bit of varying roughness to both glass shaderswith a noise texture and color ramp combination.
Related content: How the color ramp node works in Blender
Here is an example image.

The monkey object in the foreground has a solidify modifier attached to make it hollow inside as opposed to the middle monkey that is a complete solid. We can also see that the glasses behind can be seen through each other while the green cube spills reflections onto the glass.
To conclude, glass shaders are a very useful tool for a 3D artist and having a good understanding of how they work can help us create even more interesting scenes and make better use of them when we do need them.
Thank you for your time.
