


In Blender, modifiers are great automatic operations used to modify an object’s geometry non-destructively. In particular we will be discussing the Solidify modifier, a common and versatile modifier used to add thickness to an object, which can become very valuable for your workflow.
To use a solidify modifier, select your object. Next, click on the Modifier tab, which is the blue wrench icon in the properties panel then click Add Modifier and choose Solidify.
Continue reading to learn more about how to use the solidify modifier, where we will go through the different settings, examples of when you may want to use the modifier, and also troubleshoot any issues that you may face.
Modifiers are a common method of modifying, generating, and deforming meshes. There are also modifiers that can add physics to your mesh and scene.
Related content: How modifiers work in Blender, an overview
The solidify modifier is a modifier that you can add to an object to add thickness to the surfaces, generating geometry on your object without actually applying these changes to the mesh itself.
For flat geometry or planes, the solidify modifier will simply add thickness and depth, whilst for solid objects, the modifier will add thickness to the surfaces and make the inside of the objects hollow.
Instead of adding thickness to the entire surface, you can also set the modifier to add a rim around your mesh.
A common example for when to use the modifier is when you want to add thickness to walls and geometry. Since it is a modifier, you can easily turn it on or off and change any setting on the fly, allowing you to make these changes in a non-destructive way.
To use the solidify modifier, first select your object, then access the modifier properties. From there, click add modifier and go down to solidify under the generate column.
Related content: Top 10 Blender modifiers and how they work
You will then be able to see the different solidify modifier settings that you can change to suit your needs.
For example, if you wanted to add thickness to a wall for an interior scene, firstly you can create a plane. Then add the solidify modifier to the plane and adjust the thickness to your liking.
If in any case you want to adjust the thickness or make any changes to the mesh itself, through accessing edit mode you will be able to see that the geometry of your mesh hasn’t changed itself until you apply the modifier.
If you would like to apply the modifier, simply go to the modifier properties, click on the small downward arrow at the top and select apply.
Related content: How to apply modifiers in Blender
There are two modes of the solidify modifier; simple and complex.
Simple is the default setting that simply extrudes the object’s geometry. This is the most common setting that you would use and will likely solidify the mesh as expected.
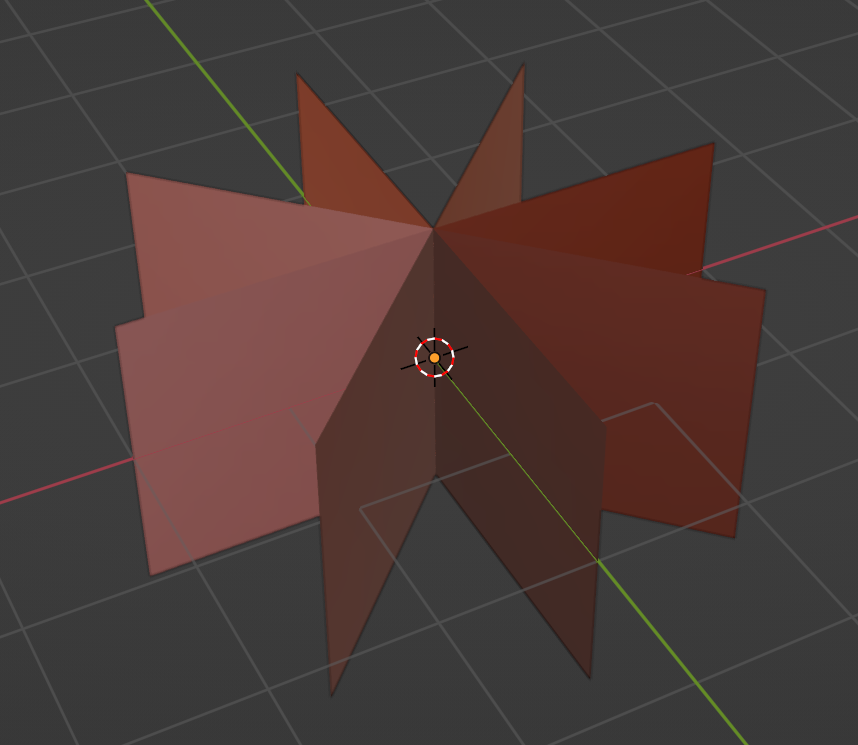
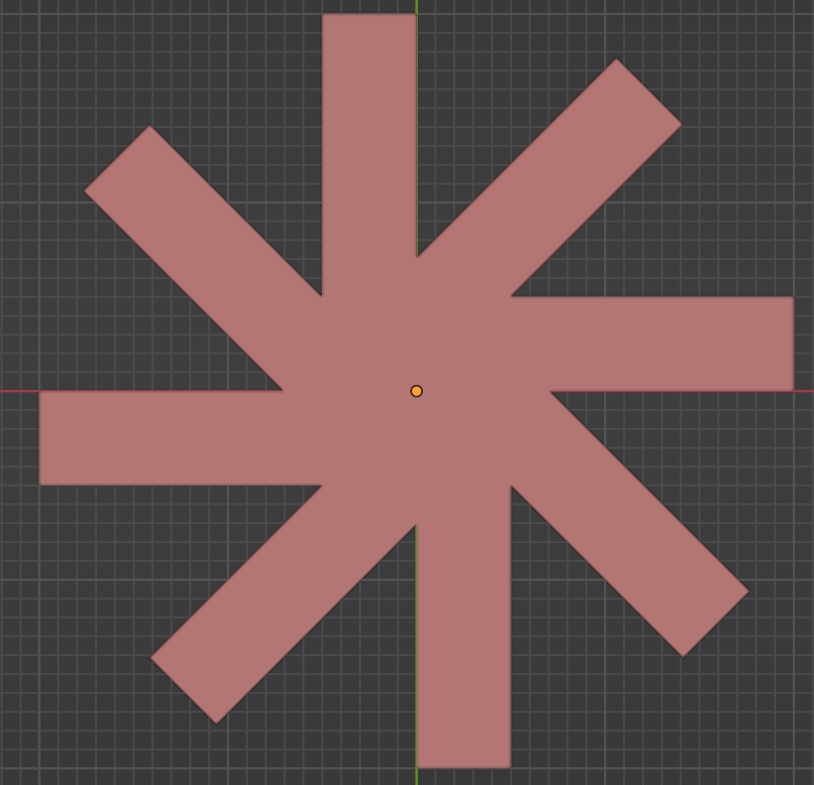
Simple mode may not work so well for more complex geometry, as it will not work on geometry with edges that have more than two adjacent faces. Here is an example geometry.
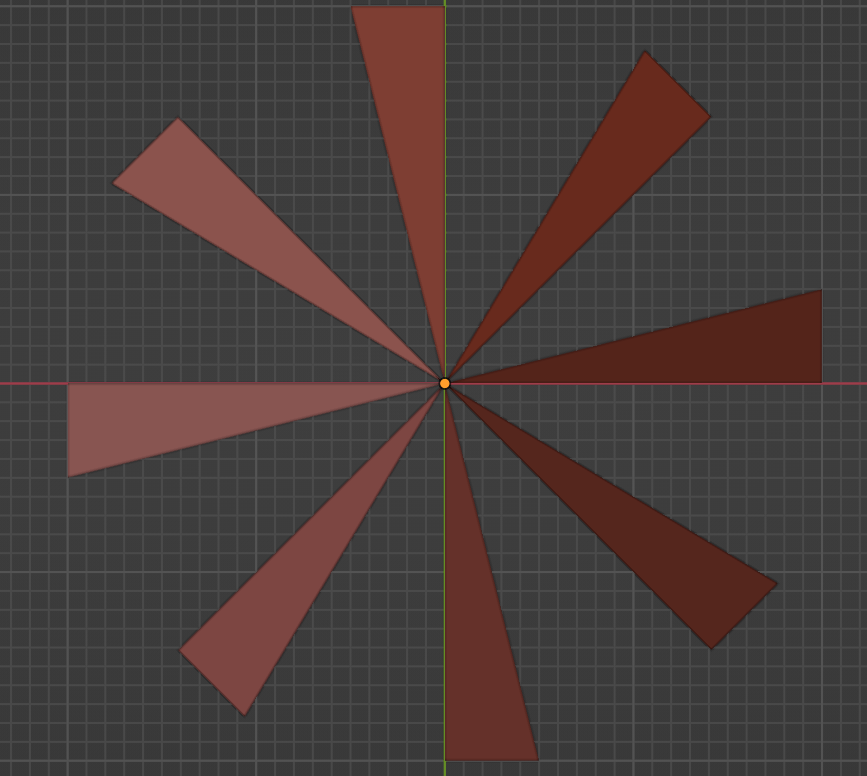
This geometry is impossible to have in the real world since each plane lacks depth. Each plane is infinitely thin. If we use the simple mode on this mesh it will look like this from the top view.
For more intricate geometry, complex mode has a more thorough algorithm, which allows it to calculate the solidify modifier more precisely. Here is an example using the mesh above with the same solidify modifier switched to complex mode.
You can see how the edge holding everything together in the center gets expanded into a volume and the chosen thickness is maintained along each plane.
Complex mode is more exhaustive, making the mode slower and more computationally heavy. Therefore, simple mode is recommended for most situations.
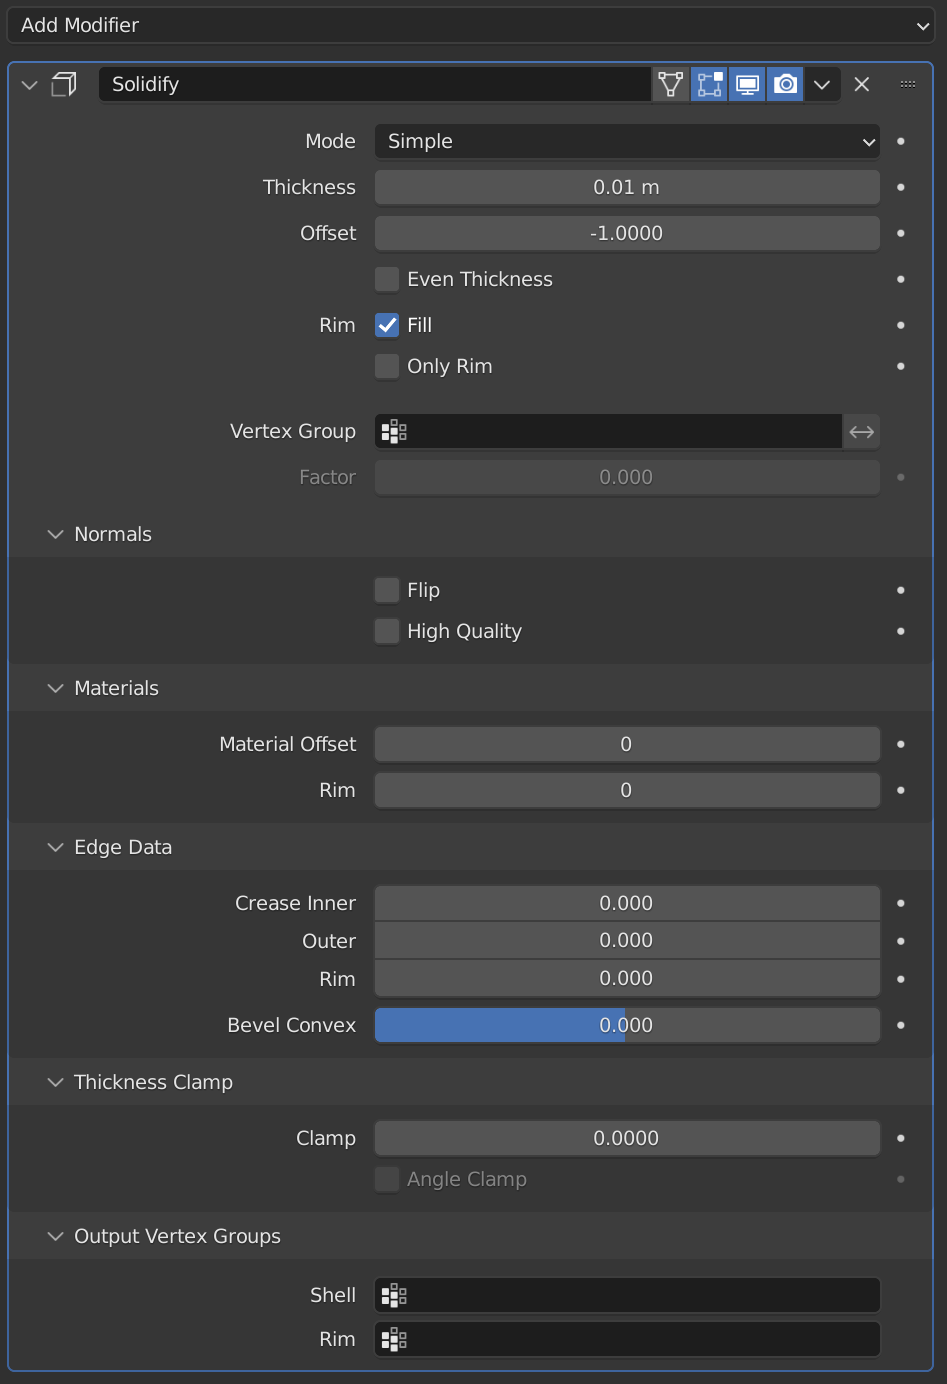
After adding the solidify modifier, you will be able to access the settings, such as setting the thickness of the shell.
Below are the different settings of the simple mode solidify modifier and what they do.
For setting related to complex mode and additional explanations on the solidify modifier check out the Blender manual.
External content: Blender manual - solidify modifier
If in any case your solidify modifier isn’t working as you expect it to, here are the solutions for some common problems.
This is a common problem you might face. If the modifier is creating an uneven thickness on your object, firstly ensure that you have checked Even Thickness in the modifier properties.
Then ensure that you apply the scale of your mesh. Simply click Ctrl+A in object mode and apply the scale. The scale of your object may be skewed if you have been scaling it in object mode.
Related content: How and why do we apply scale in Blender?
If your mesh is intersecting with itself, it may be due to your normals. In this case you can recalculate your normals with the shortcut Shift+N. You can gain a better understanding of normals and how they work by reading this article:
Related content: What are normals and how do they work in Blender?
It may also be helpful to note that the solidify modifier works best with geometry that goes from flat to manifold. The modifier therefore will not work well on geometry that is a mix of non-manifold and manifold geometry. For those cases, you can try to see if complex mode solves your issue.
Another solution is to separate the different pieces of your geometry. If we had a geometry like the one above, we could separate the mesh into individual faces and apply the geometry. The result would be solidified walls that would intersect in the middle. After that we can try to use boolean modifiers or remesh to get the desired result.
Related content: How to use boolean modifier in Blender
Related content: Remeshing in Blender
Sometimes we may also have to rethink our approach to creating the mesh in the first place. The solidify modifier may not always be the answer.
Overall, the solidifier modifier can be a considerably helpful operation, which is simple to use and can also have many functions in your modeling process. We have also covered how the modifier works, as well as what the settings do in the modifier properties.
Thank you for your time.
